
Clarity grade
Approve the actual sheet for transparency, haze, tint and surface quality.
B2B OEM / HIGH-TRANSPARENCY ACRYLIC
Create clear acrylic stands with controlled transparency, white-ink support, clean cut edges and repeatable body-to-base fit. Approve the actual sheet, print layers, haze and surface standard, slot tolerance, protective pack and QC evidence before bulk production.
Clear acrylic intent belongs to transparent bodies and bases without a colored, aurora or holographic material effect. Generic custom standee purchasing remains on the core stand page.

PRODUCT DEFINITION
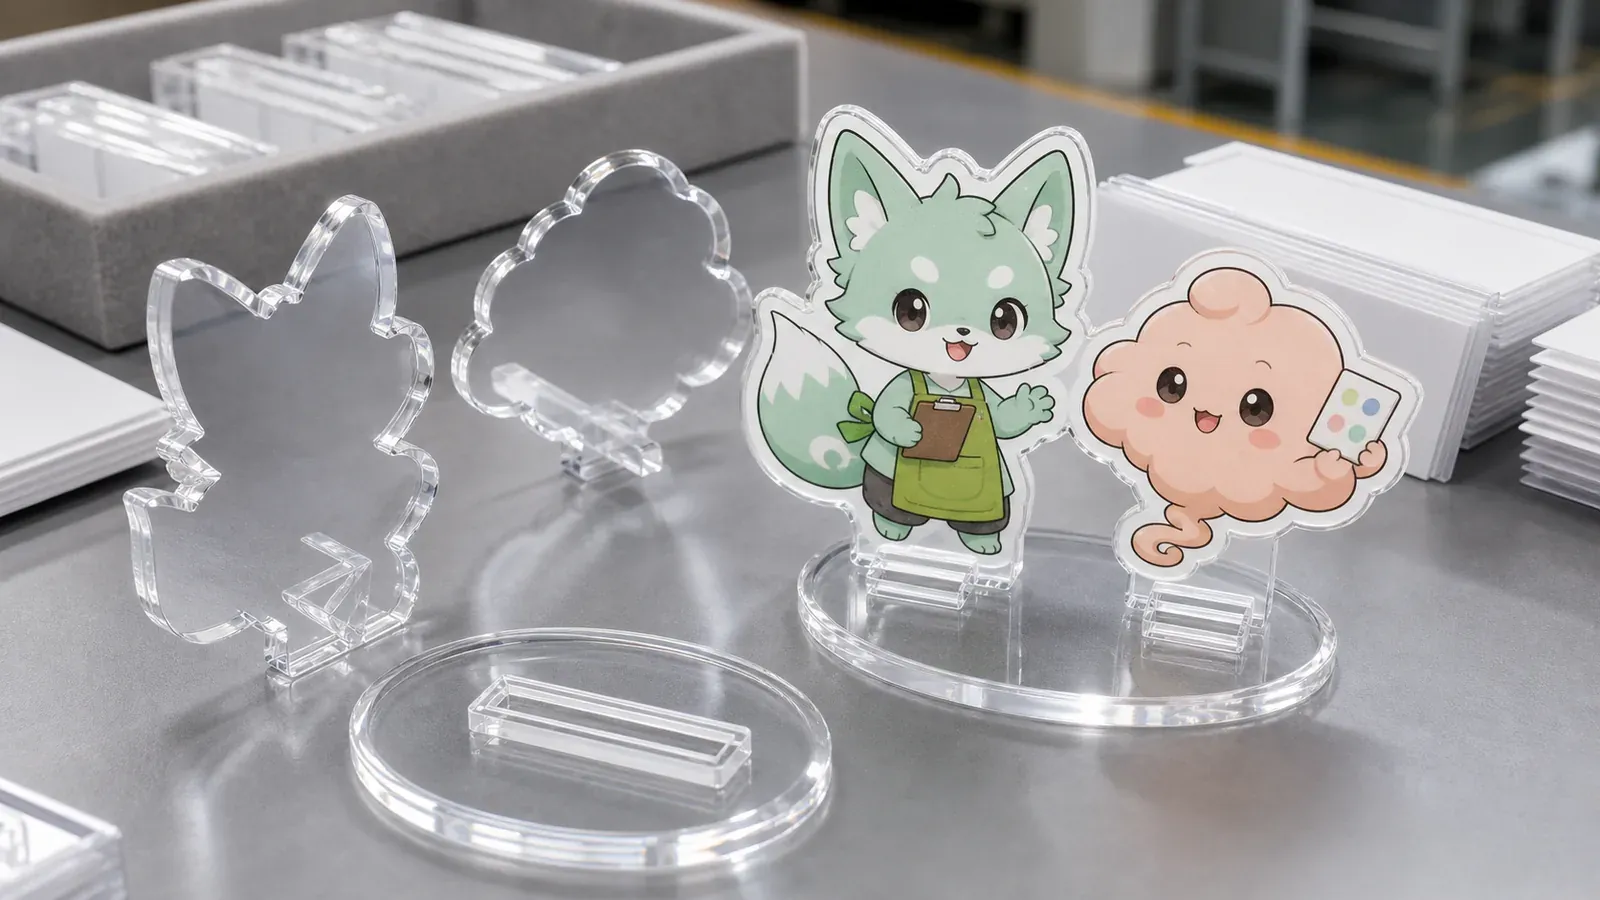
Clear acrylic stands use transparent acrylic bodies and bases so unprinted areas remain visibly clear. Procurement quality depends on sheet clarity, haze, surface condition, cut edge, print registration and the relationship between color artwork and the white-ink support layer.
Transparency makes small defects easier to see. Dust, fingerprints, protective-film residue, fine scratches and chipped edges can become obvious under retail lighting. The approval sample should be inspected after film removal and against both light and dark backgrounds.
This page owns high-transparency material, clear zones, white-ink planning and clean-surface control. Colored, aurora and holographic materials retain their own search intent, while general thickness and standee specifications remain on the core and thickness pages.
For general body sizes, print, base and supplier selection, use the Custom Acrylic Standees page.
PROJECT DECISIONS
The product name is not a complete specification. Record the material or structure decisions that create this page's distinct buyer intent.
Approve the actual sheet for transparency, haze, tint and surface quality.
Use full or selective support based on opacity and the amount of clear space required.
Check laser-cut edge color, chips, stress marks and polish expectations.
Record when film is removed and how each face is protected afterward.
SPECIFICATION CONTRACT
Connect artwork, material, body, base, packaging and SKU data in one controlled revision.
| Material | Clear acrylic code, nominal thickness, actual tolerance, tint, haze and protective film. |
|---|---|
| Body geometry | Finished dimensions, cut line, narrow points, tab and upright direction. |
| Print layers | Color, white ink, transparent areas, front/reverse relationship and safe area. |
| Clarity standard | Accepted sheet tint, visible dust, haze, bubbles, inclusions and surface marks. |
| Base fit | Base shape, slot direction, width, insertion force, lean and assembled stability. |
| Edge standard | Cut edge, chips, burrs, heat marks and any visible stress around tab or slot. |
| Packaging | Face protection, body/base separation, sleeve, card, label and carton cushioning. |
| Order matrix | Quantity by design, material, thickness, base, pack and destination. |
PRIMARY CONTROL
White ink controls opacity. A full white plate supports pale colors and facial details but removes transparency behind the printed area. Selective white ink can keep windows, effects or background shapes clear while preserving contrast where the artwork needs it.
The approved file should show color and white layers separately. Review white halos, registration, small transparent islands and reverse-side appearance on the physical sample. A digital proof cannot fully show how clear material interacts with shelf, wall or tabletop backgrounds.
APPROVAL EVIDENCE
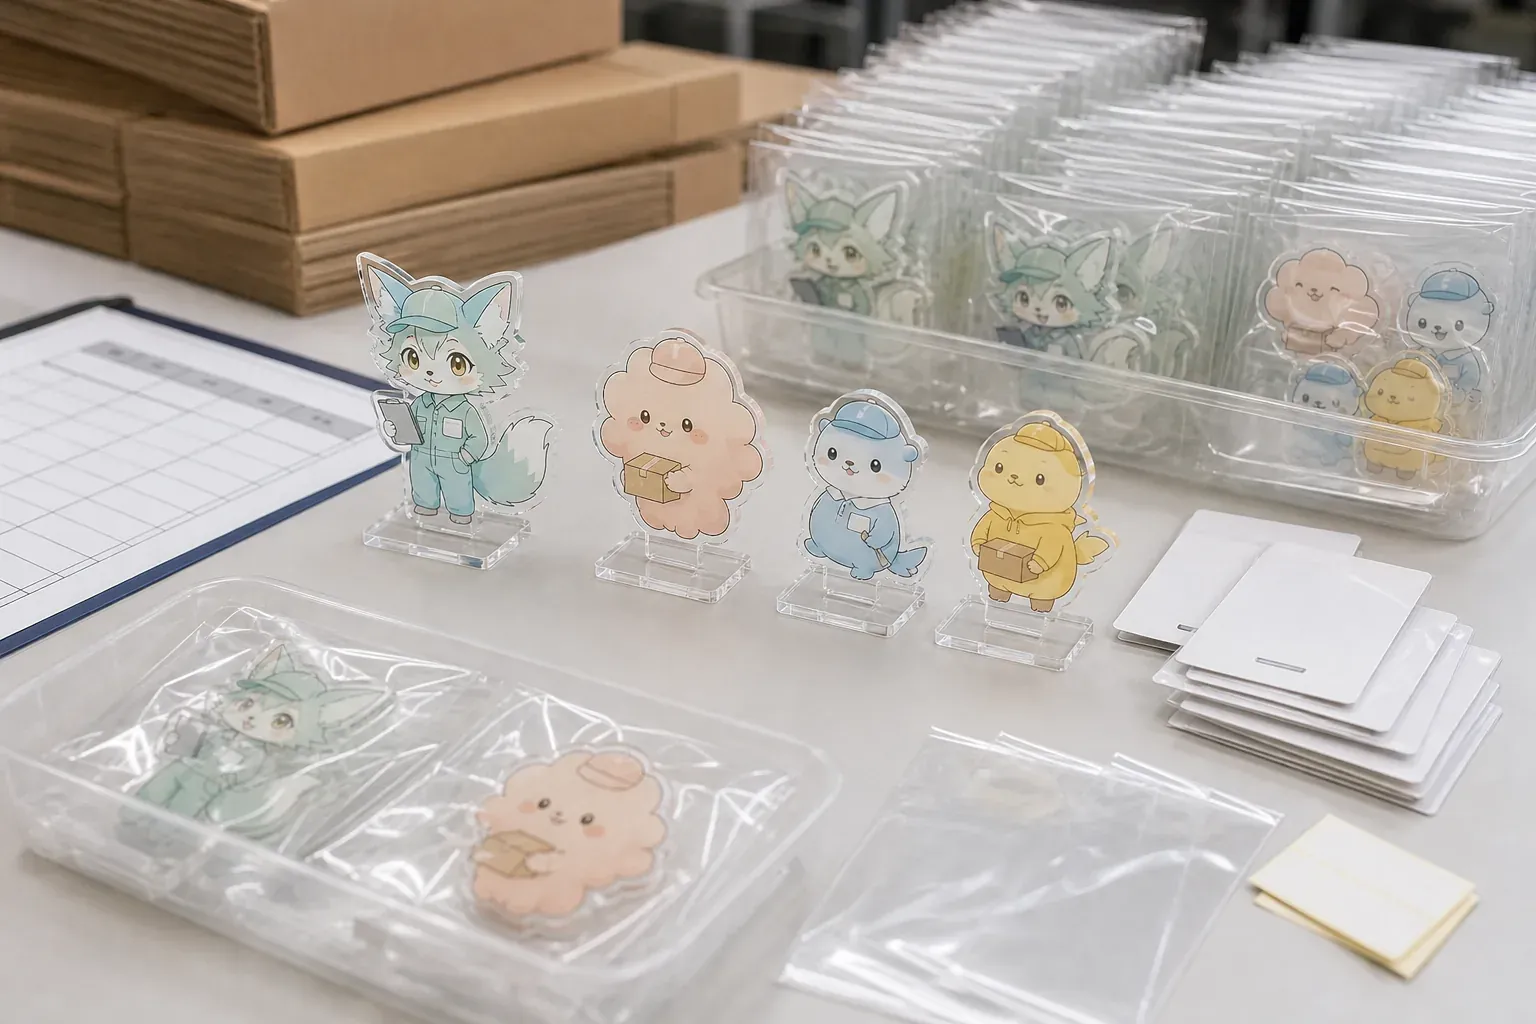
Each item answers a different production question. A loose material sample alone cannot approve print, assembly, packaging or shipment condition.
Actual clear material shows tint, haze, thickness and surface condition.
Color, white ink and transparent zones are reviewed on light and dark backgrounds.
Body and base prove insertion force, lean, stability and clean slot edges.
Final protection prevents dust, fingerprints and face-to-face rubbing.
STAND ENGINEERING
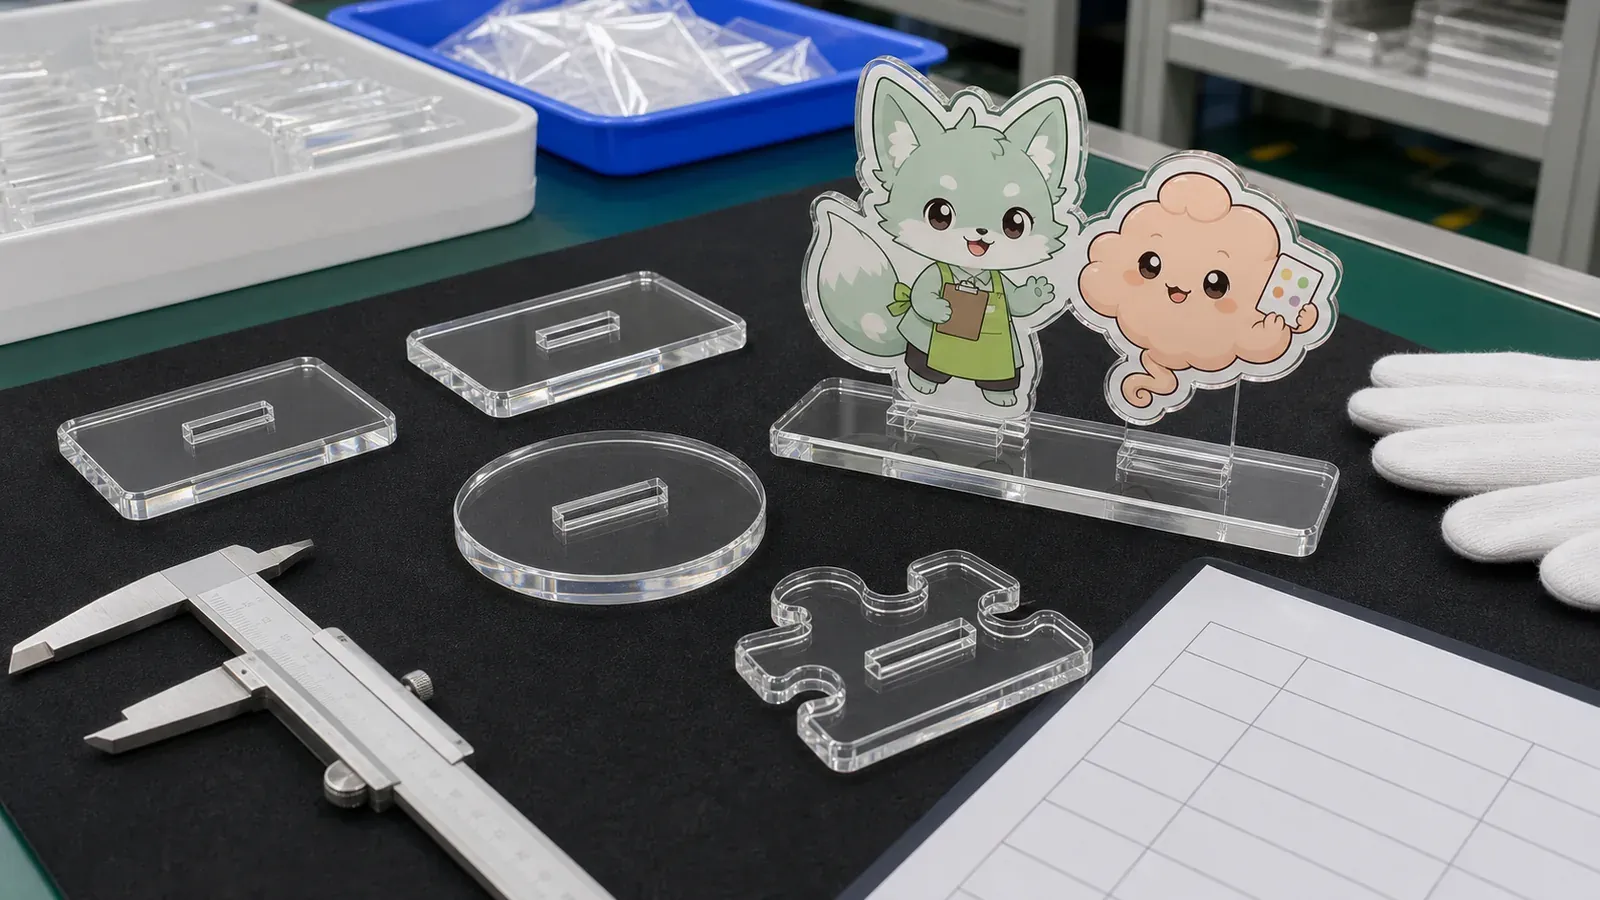
Clear material exposes the slot and tab relationship. Measure the actual sheet and approve insertion force using production-intent body and base samples. A loose fit creates visible lean, while an excessively tight fit can mark the tab, crack the base or trap debris in the slot.
Inspect the body after protective-film removal. Check both faces under angled light, then assemble the stand and confirm that fingerprints, dust and friction marks are not introduced during packing. Clear surfaces need disciplined handling because minor contamination remains visible in the final product.
Use the Acrylic Material Thickness Guide when sheet tolerance or component weight affects the project.
MASS-PRODUCTION RISK
Unexpected sheet tint or haze becomes visible in the finished product.
Pale colors and small details lose contrast against changing backgrounds.
Halos appear around artwork and reduce the clean transparent look.
Scratches or residue are discovered only after production or packing.
The clear body leans or the base develops stress marks during assembly.
Particles and fingerprints become sealed into individual packs.
Fine scratches develop on the largest visible clear surfaces.
Chips, burrs or heat marks reduce the premium transparent appearance.
QUALITY CONTROL
Inspection should follow the material, artwork, assembled stand and final pack rather than use a generic pass/fail statement.
Review the Acrylic Goods Quality Inspection guide when planning sample size and evidence.
PACKAGING AND SKU CONTROL
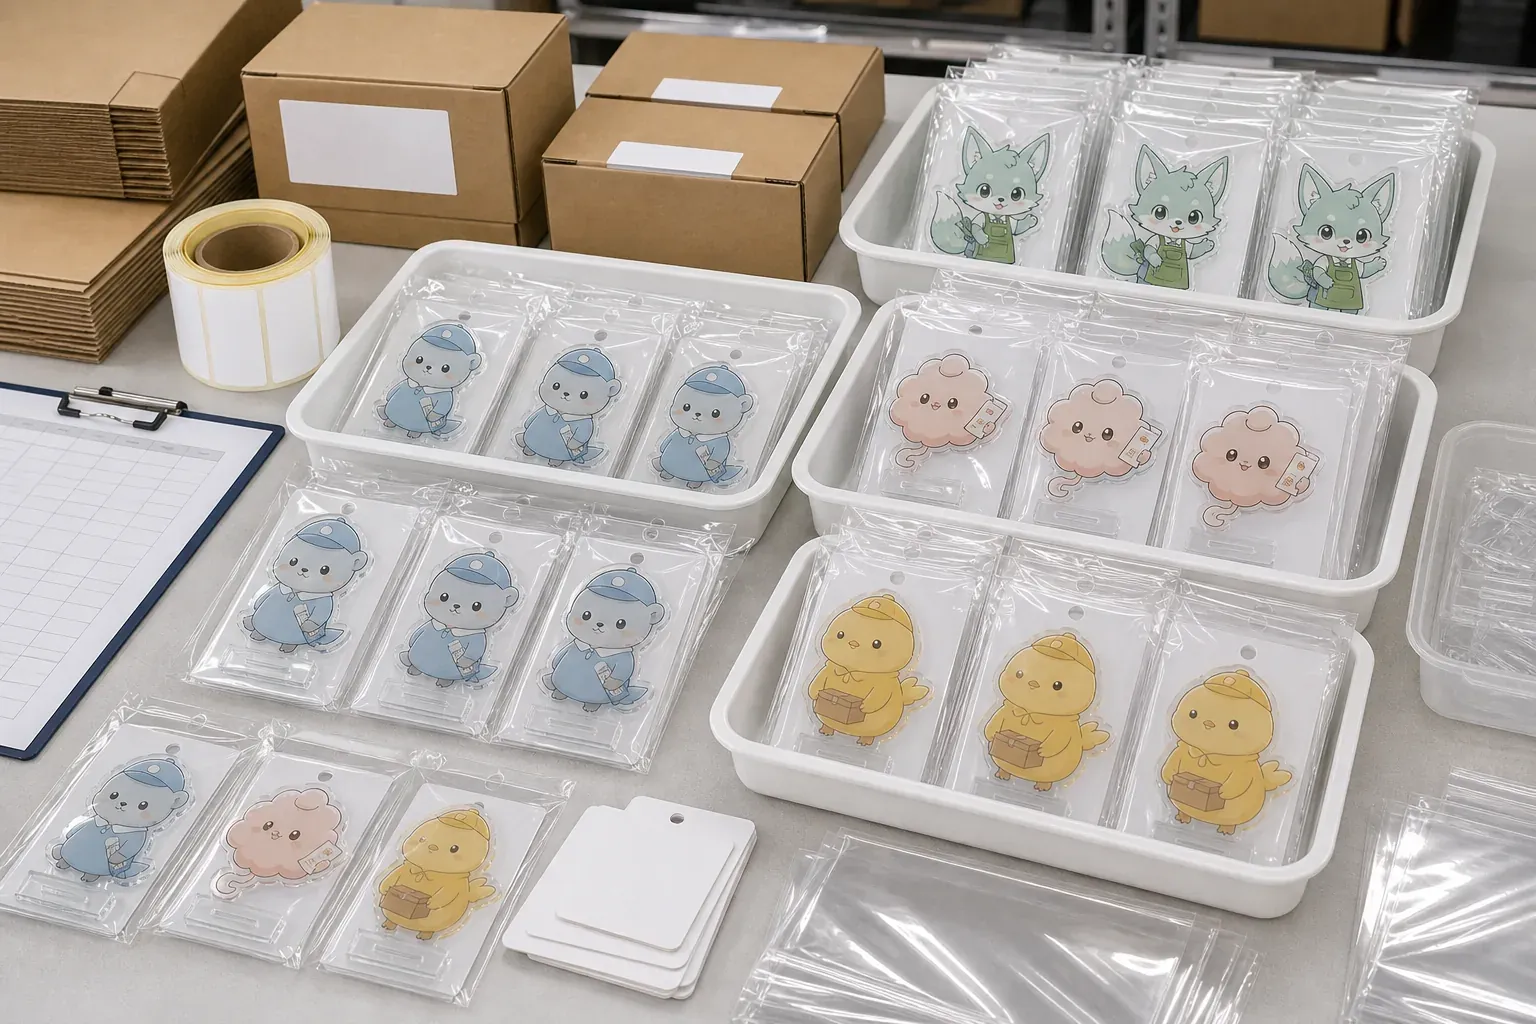
Record body, base, protective layers, labels and carton quantities by SKU. The sellable pack should prevent face-to-face rubbing, missing components and mixups between visually similar variants.
Separate body and base, protect exposed faces, and apply the correct card or SKU label.
Use an opaque pack, controlled design code, randomization rule and inner-box quantity.
Verify component count, orientation, separators and the approved set combination.
Plan carton labels, destination split, warehouse or venue instructions and arrival condition.
Use the Acrylic Scratch-Prevention Packaging guide before pack approval.
BUYER USE CASES
Keep the unprinted background visually open while supporting detailed artwork.
Use transparent bodies and bases where fixtures should not dominate the product.
Combine clear windows, selective white ink and overlapping printed elements.
Apply one clarity, fit and packing standard across many character designs.
QUOTE CHECKLIST
Mark undecided items for recommendation. A useful quote starts from quantity by design and the page-specific material or structure decision.
ORDER CONDITIONS
Finished size, material or structure, design split, base, assembly, packaging, inspection and destination all affect the practical route.
Share total quantity and the split for every approved artwork and material combination.
Identify which material, print, base, assembly and pack require physical approval.
Timing is confirmed after files, samples, materials, packing and inspection conditions are approved.
Provide country, destination, required arrival date and any shipment split or venue rule.
PRODUCTION WORKFLOW
See the complete OEM order process.
FAQ
Approve sheet tint, haze, transparency, thickness, protective film and surface condition on the actual production-intent sample.
White ink supports opacity and contrast. Without it, pale colors and small details can change against different backgrounds.
Yes. Mark those areas separately and check that white ink, color spread and cut geometry do not reduce the intended clear space.
Record the removal stage for sample approval and production. Final surface inspection must occur after film removal, followed by controlled handling and packing.
Use the actual body and base material to check insertion force, lean, stability, stress marks and clean slot edges.
They are reviewed after size, thickness, design split, print layers, base, packaging, inspection and destination are known.
RELATED RESOURCES
PROJECT REVIEW
Send artwork, the defining material or structure reference, finished size, quantity by design, base, packaging and destination. Unconfirmed items can be marked for recommendation.