
B2B OEM / GLITTER FINISH
Glitter Acrylic Keychains
Create custom glitter acrylic keychains with a controlled particle color, size, density and transparent effect. Approve the actual finish sample, print and white-ink layers, cut edge, hardware, SKU code and sellable packaging before bulk production.
Projects are quoted from finished size, glitter construction, particle option, artwork, quantity by design, hardware, packaging, inspection scope and delivery destination. General acrylic keychain procurement remains on the core keychain page.
PRODUCT DEFINITION
What are glitter acrylic keychains?
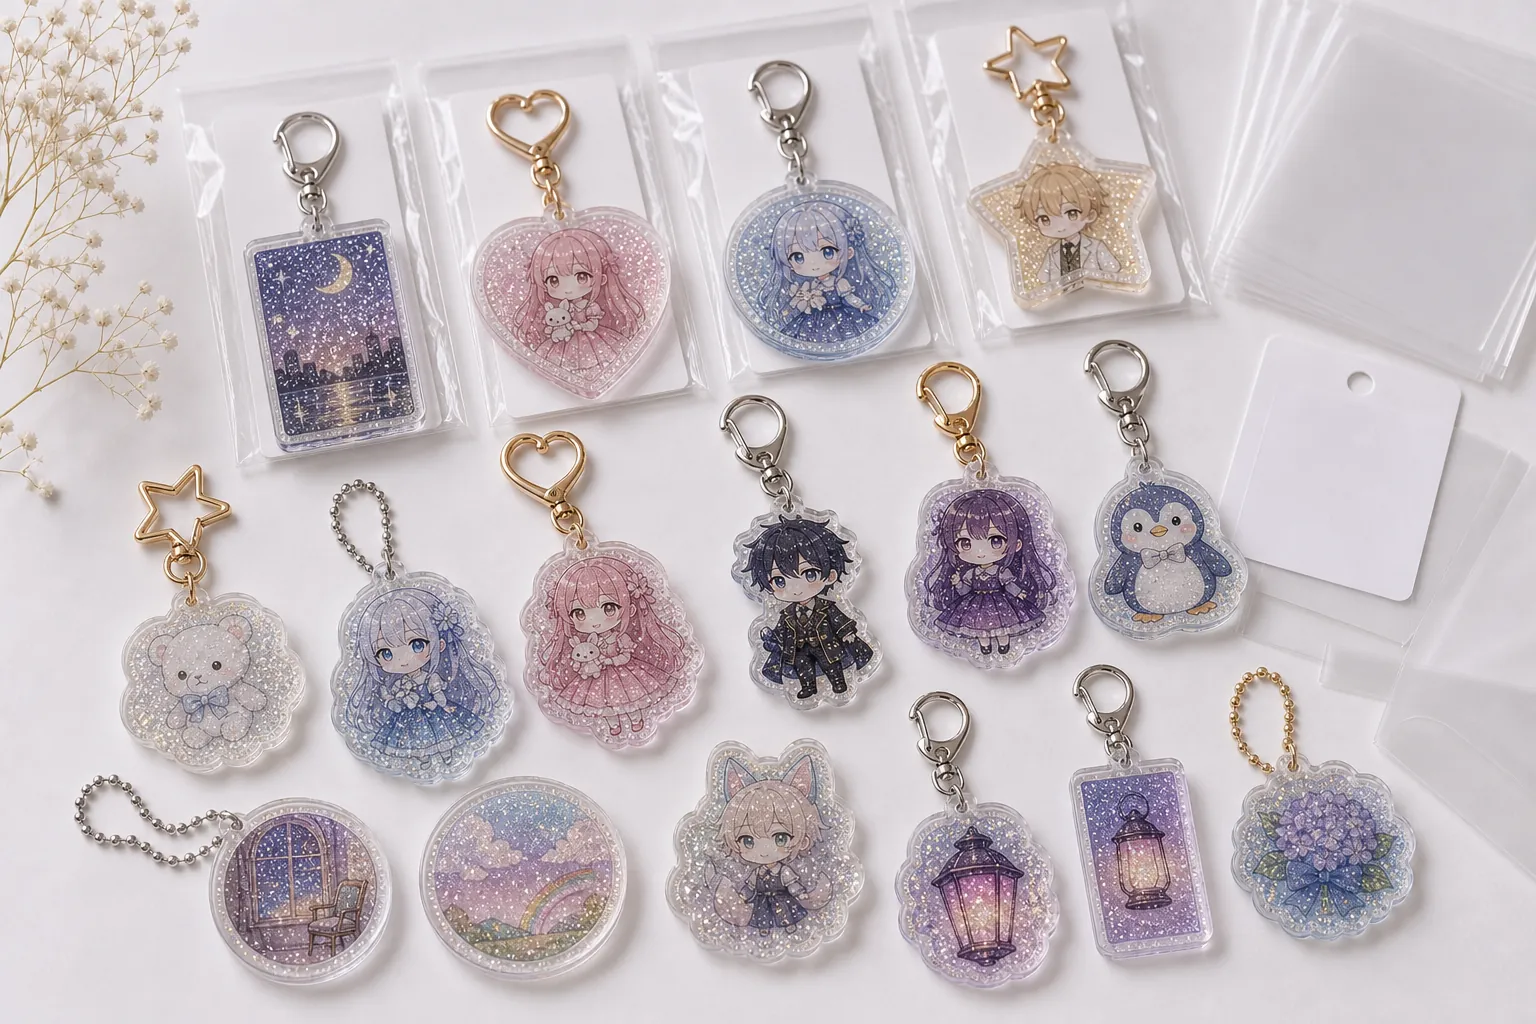
Glitter acrylic keychains are printed and cut acrylic keychains that use visible decorative particles as a planned finish. Depending on the approved construction, the particles may appear through a transparent body or within a specified decorative layer. The supplier should confirm the exact manufacturing route for the project instead of assuming that every glitter sample is built the same way.
The defining procurement issue is the repeatable glitter appearance. Buyers should specify particle color, approximate size and shape, target density, transparent areas, print contrast and the range of natural particle distribution that is acceptable. These decisions should be approved on physical samples because screen mockups cannot reproduce reflection, overlap or viewing-angle changes.
For standard sizes, generic print, supplier selection and acrylic keychain purchasing without a glitter requirement, use the Custom Acrylic Keychains page. This page retains only glitter-finish intent.
- Standard acrylic keychain: the primary decisions are body size, print, cut, hardware and packaging.
- Glitter acrylic keychain: particle selection, density, distribution, transparency and SKU separation become additional controls.
- Holographic acrylic keychain: a film or material effect changes with the viewing angle; it should be specified separately from individual glitter particles.
- Epoxy acrylic keychain: a raised clear resin surface introduces coverage and curing decisions; glitter alone does not imply an epoxy dome.
FINISH SELECTION
Choose the glitter construction before artwork approval
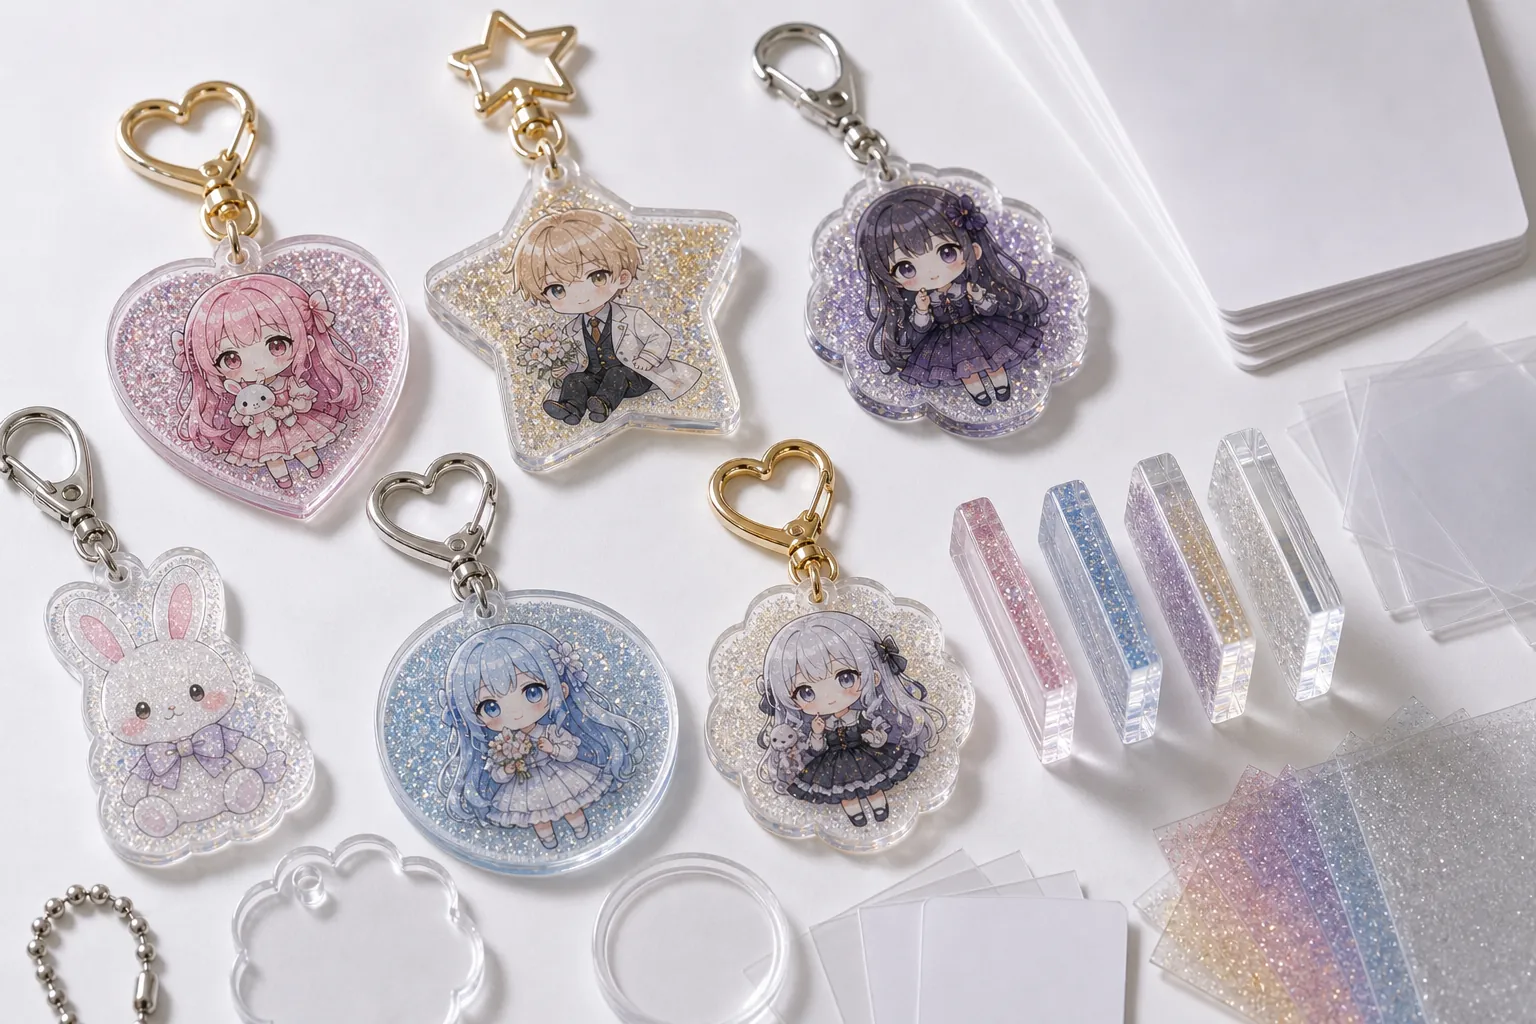
A reference photo is useful for direction, but the production specification needs a named sample or material code and a practical visual acceptance range.
Particle color
Record a color name and approved sample. Silver, gold, pastel or multicolor descriptions alone may not identify the exact reflected tone.
Particle size and shape
Fine particles create a different texture from larger flakes, stars or mixed shapes and may affect small artwork details differently.
Coverage density
Define whether the effect should remain light and transparent or appear dense enough to become a major background feature.
Finish construction
Confirm where the particles sit in relation to the acrylic body, print and any additional surface layer used for the project.
SPECIFICATION CONTRACT
Build one glitter keychain specification sheet
The sheet should connect the acrylic body, artwork, glitter option, hardware and final packaging so each SKU can be released without verbal assumptions.
| Finished body | Record width, height, acrylic thickness, cut shape, narrow points, hole diameter, edge distance and packed dimensions. |
|---|---|
| Print layers | Separate color, white ink and transparent areas. Mark which face carries the artwork and which areas depend on the glitter background. |
| Glitter option | Assign a sample or material code for particle color, size, shape, density and construction. Attach the approved physical reference. |
| Visual range | Define acceptable overall density and distribution. Do not require each loose particle to occupy an identical coordinate. |
| Surface and edge | Confirm flat or raised construction, surface marks, edge finish, chips, particle exposure and any area that must remain clear. |
| Hardware | Match the hole and body size to the jump ring, key ring, lobster clasp, ball chain, cord or decorative fitting. |
| Retail packing | Define individual bag, backing card, blind bag, barcode or SKU label, set assembly and scratch protection. |
| Order matrix | List total quantity, quantity per design, glitter code, hardware, packing code, carton mark and destination for every SKU. |
PARTICLE CONTROL
Control particle size, density and transparent space
Glitter is read as an overall field rather than a printed coordinate. Small changes in particle overlap can alter how much artwork, white ink or clear acrylic remains visible. Buyers should approve a practical range that preserves the intended effect across many units.
Dense glitter can add strong sparkle but may compete with fine character details or small text. A lighter density can preserve transparency but may look less uniform when viewed against different backgrounds. The sample should be checked on white, dark and neutral surfaces and under ordinary ambient lighting.
- Approved glitter sample or code
- Particle color and reflected tone
- Approximate particle size
- Shape or mixed-particle rule
- Target density range
- Clear space around important art
- Front and reverse viewing effect
- Natural distribution tolerance
PRINT AND WHITE INK
Coordinate artwork contrast with the glitter background
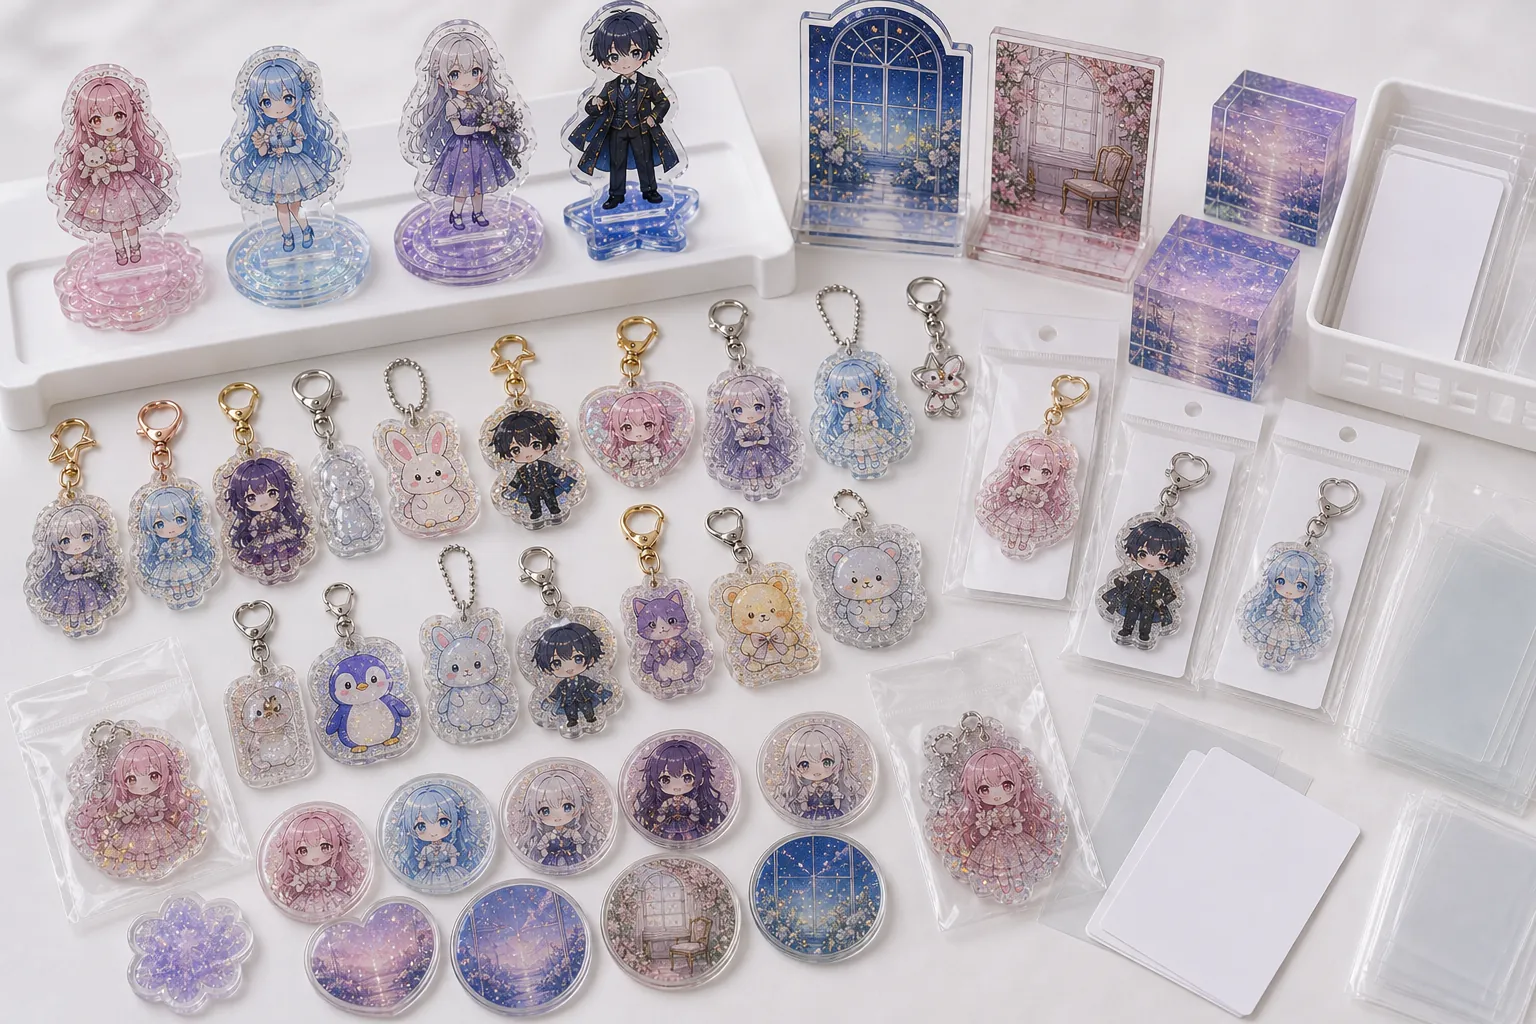
The print file should separate color artwork, white-ink support and transparent areas. White ink can isolate selected artwork from the glitter effect, while unprinted or selective-white areas allow more particles and transparency to remain visible. The intended balance should be reviewed on the real material.
Fine lines, pale colors and small text may lose contrast over a busy particle field. Keep critical details inside the safe print area and decide whether outlines, white backing or a clearer local zone are needed. If artwork is visible from both sides, define the viewing direction and layer order so the reverse does not look unintended.
- Color layer: keep important facial details, text and logos readable against the approved glitter option.
- White-ink layer: identify full, selective and no-white areas according to the intended opacity and sparkle visibility.
- Glitter reference: link the artwork SKU to one approved particle code and density standard.
SIZE AND HARDWARE
Check finished size, hole position and attachment fit
The decorative finish does not replace the mechanical specification. Body size, narrow points, hole geometry and hardware still determine handling and packing.
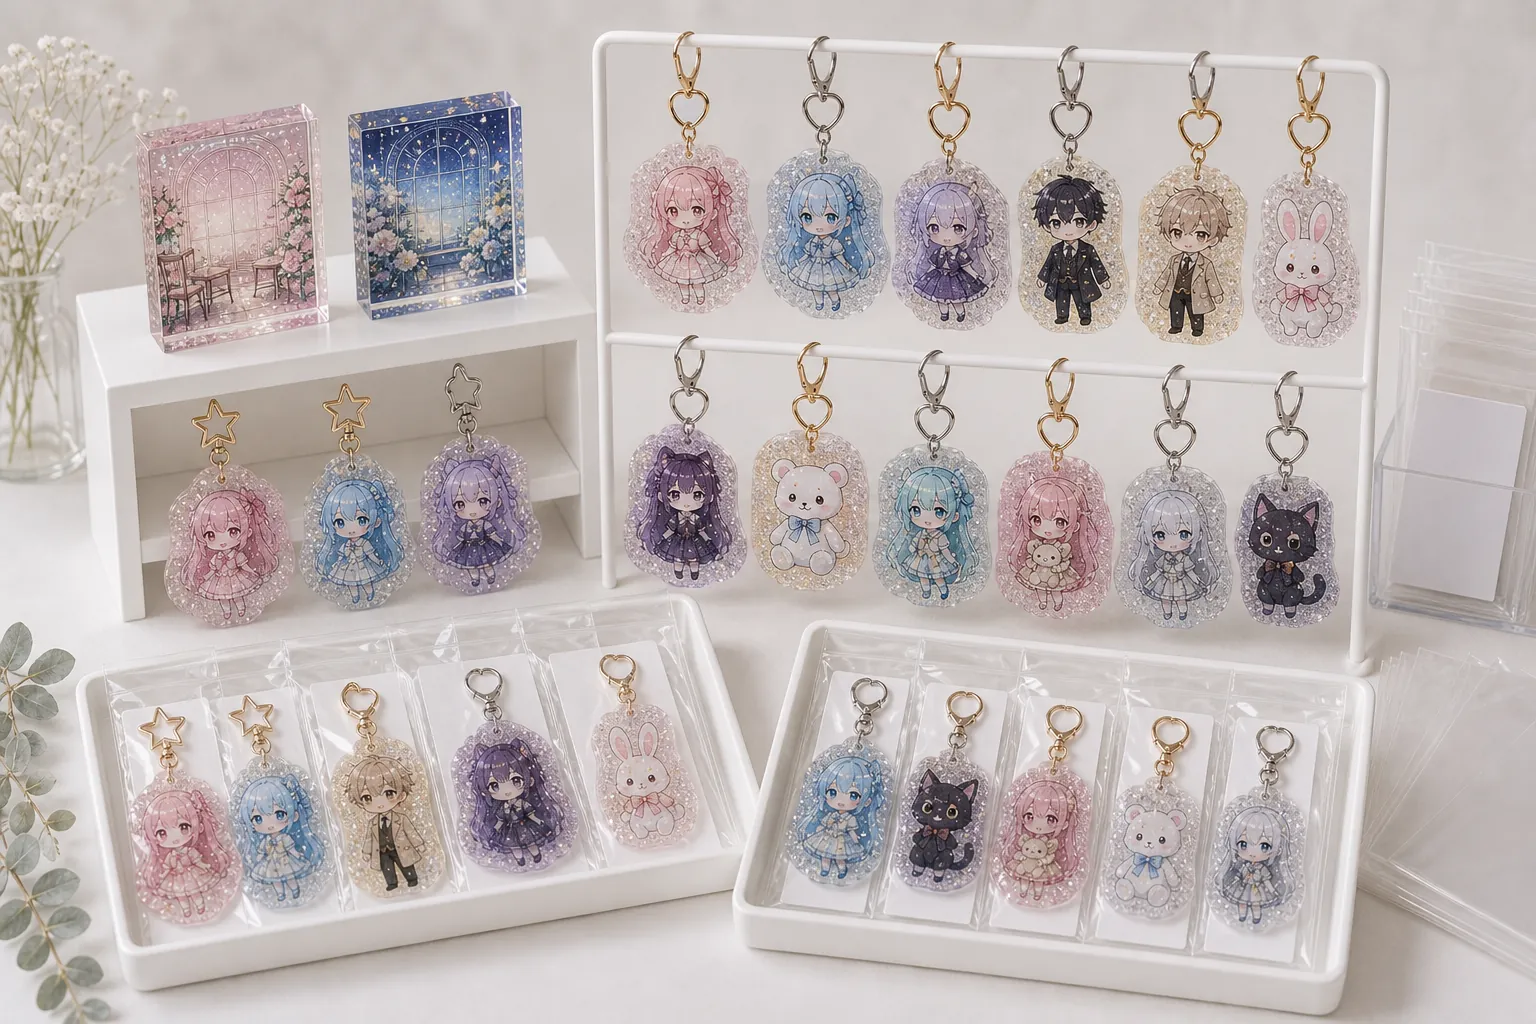
Record the finished acrylic dimensions and verify that the hardware hole has enough distance from the cut edge. Large particles or strong visual density near a small hole can make the attachment area look crowded, so the sample should be reviewed after the ring or clasp is assembled.
- Finished width and height
- Acrylic thickness
- Hole diameter and center position
- Distance from hole to cut edge
- Narrow points and corners
- Hardware type and finish color
- Assembled hanging direction
- Packed weight and dimensions
Use the Acrylic Keychain Fittings Guide to compare attachment types before sample approval.
Attachment review on the physical sample
Check the assembled unit from the intended front direction. The jump ring or clasp should move without catching on a narrow acrylic point, and the chosen finish color should support the artwork rather than hide it.
For sets with several shapes, record the hardware orientation for each design. A shared component can still hang differently when hole positions vary, so the approved sample and order matrix should show the correct direction by SKU.
SAMPLE APPROVAL
Approve glitter acrylic keychains in six steps
A screen proof can confirm artwork layers but not the final reflection, density or distribution. Physical samples should establish the visual and mechanical standard.
Define the finish intent
State the desired particle color, shape, size, density, transparency and comparison reference.
Lock the physical guide
Record finished size, cut line, hole, narrow points, acrylic thickness and hardware.
Separate artwork layers
Name color, white ink, transparent zones and any area that needs clear visual space.
Inspect the finish sample
Review overall density, particle range, artwork contrast, surface, edge, color and viewing angle.
Approve the sellable unit
Assemble the selected hardware and place the sample in final-style packaging with the correct SKU label.
Release one revision
Consolidate artwork, glitter code, hardware, packing and inspection changes before bulk production.
MASS-PRODUCTION RISK
Failure risks to resolve before bulk production
Density is not defined
Without an approved range, one sample may look transparent while another appears crowded or visually heavy.
Particle option is described only by name
Terms such as silver or rainbow may cover different shapes, sizes and tones; use a physical code or sample.
Fine artwork loses contrast
Small details can compete with reflective particles when white ink and transparent zones are not planned together.
Glitter and holographic effects are mixed
These finishes have different visual behavior and should not share one ambiguous specification or keyword target.
Similar variants are mixed during packing
Close glitter colors require clear finish codes, labeled trays, packing records and carton identification.
The sample uses a different background
Transparency and density can look different on white, dark and neutral surfaces; approve more than one viewing condition.
Hardware hides a critical detail
Hole placement and attachment orientation may cover artwork or disturb the visual balance around the glitter field.
Late material changes bypass approval
A changed particle size, color, density or construction is a finish change and should be resampled or explicitly accepted.
QUALITY CONTROL
QC checkpoints for a repeatable glitter finish
Inspection criteria should follow the approved physical sample and final specification. The scope can cover overall glitter appearance, print, acrylic body, hardware assembly, packaging accuracy and pre-shipment checks.
- Glitter identityConfirm the correct particle code, color family, size or shape group and approved construction for each SKU.
- Density and distributionReview the overall finish against the accepted range without demanding identical particle coordinates.
- Print and white inkCheck color density, registration, white halos, readability and transparent areas over the glitter background.
- Cut, edge and surfaceInspect dimensions, narrow points, chips, edge finish, marks and any visible particle exposure.
- Hardware assemblyConfirm fitting type, color, ring closure, movement and intended hanging direction.
- Pack and carton accuracyVerify SKU, card, label, quantity, set or random rule and separation of similar finish variants.
See the Acrylic Goods Quality Inspection guide for inspection planning.
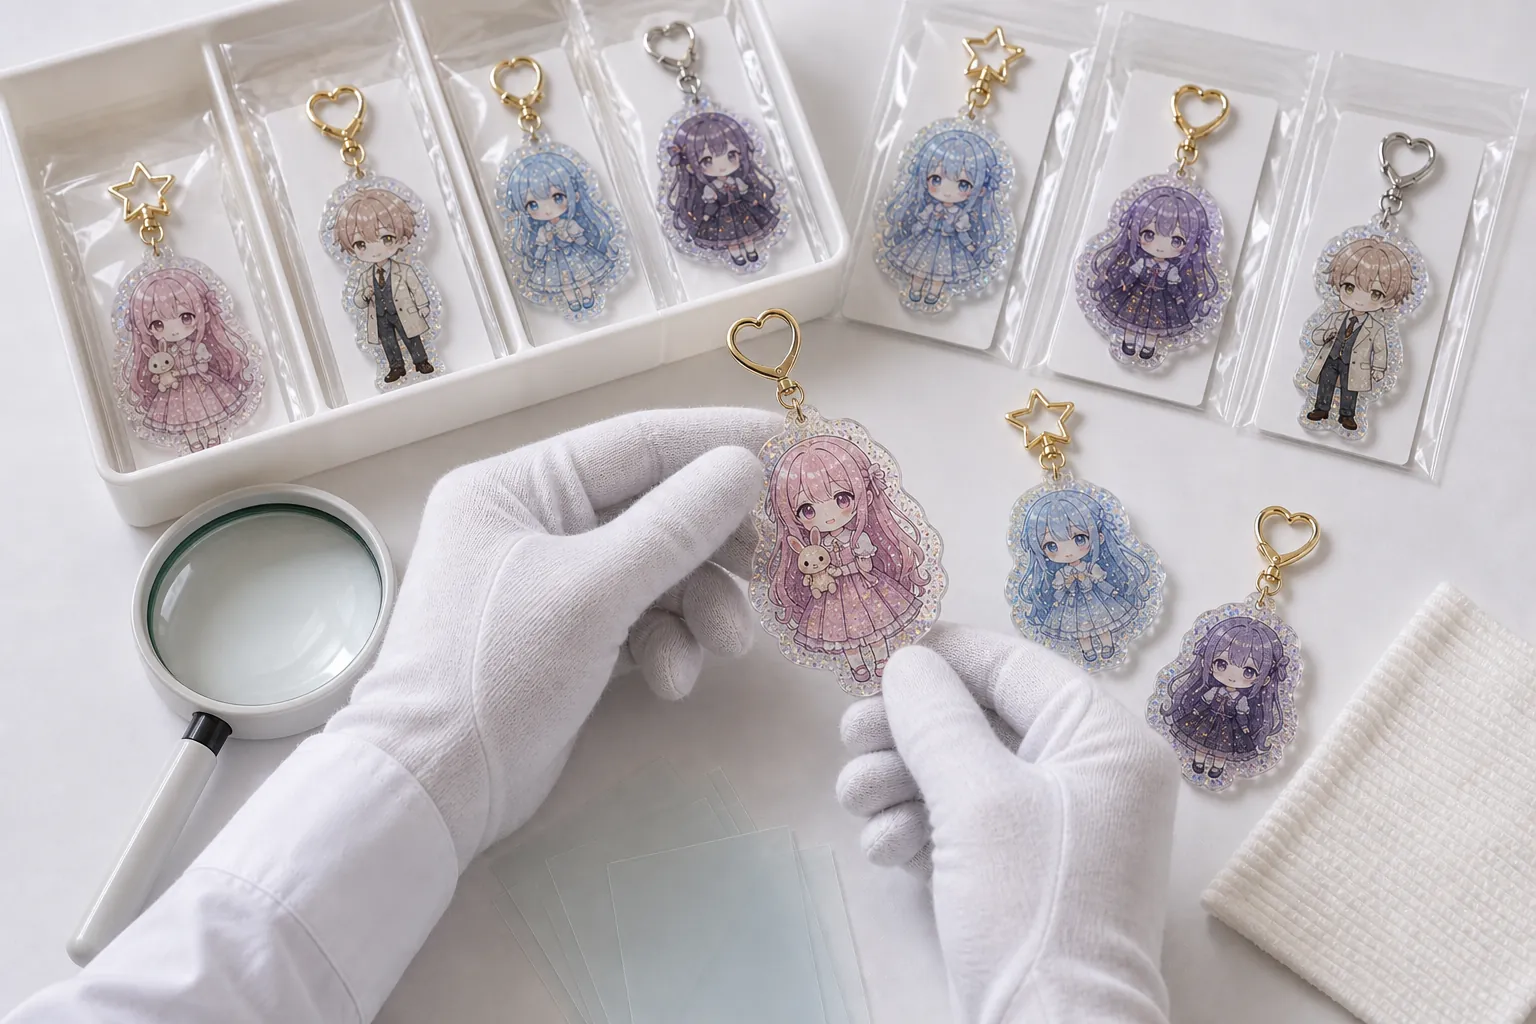
PACKAGING AND SKU CONTROL
Separate close glitter variants in the sellable pack
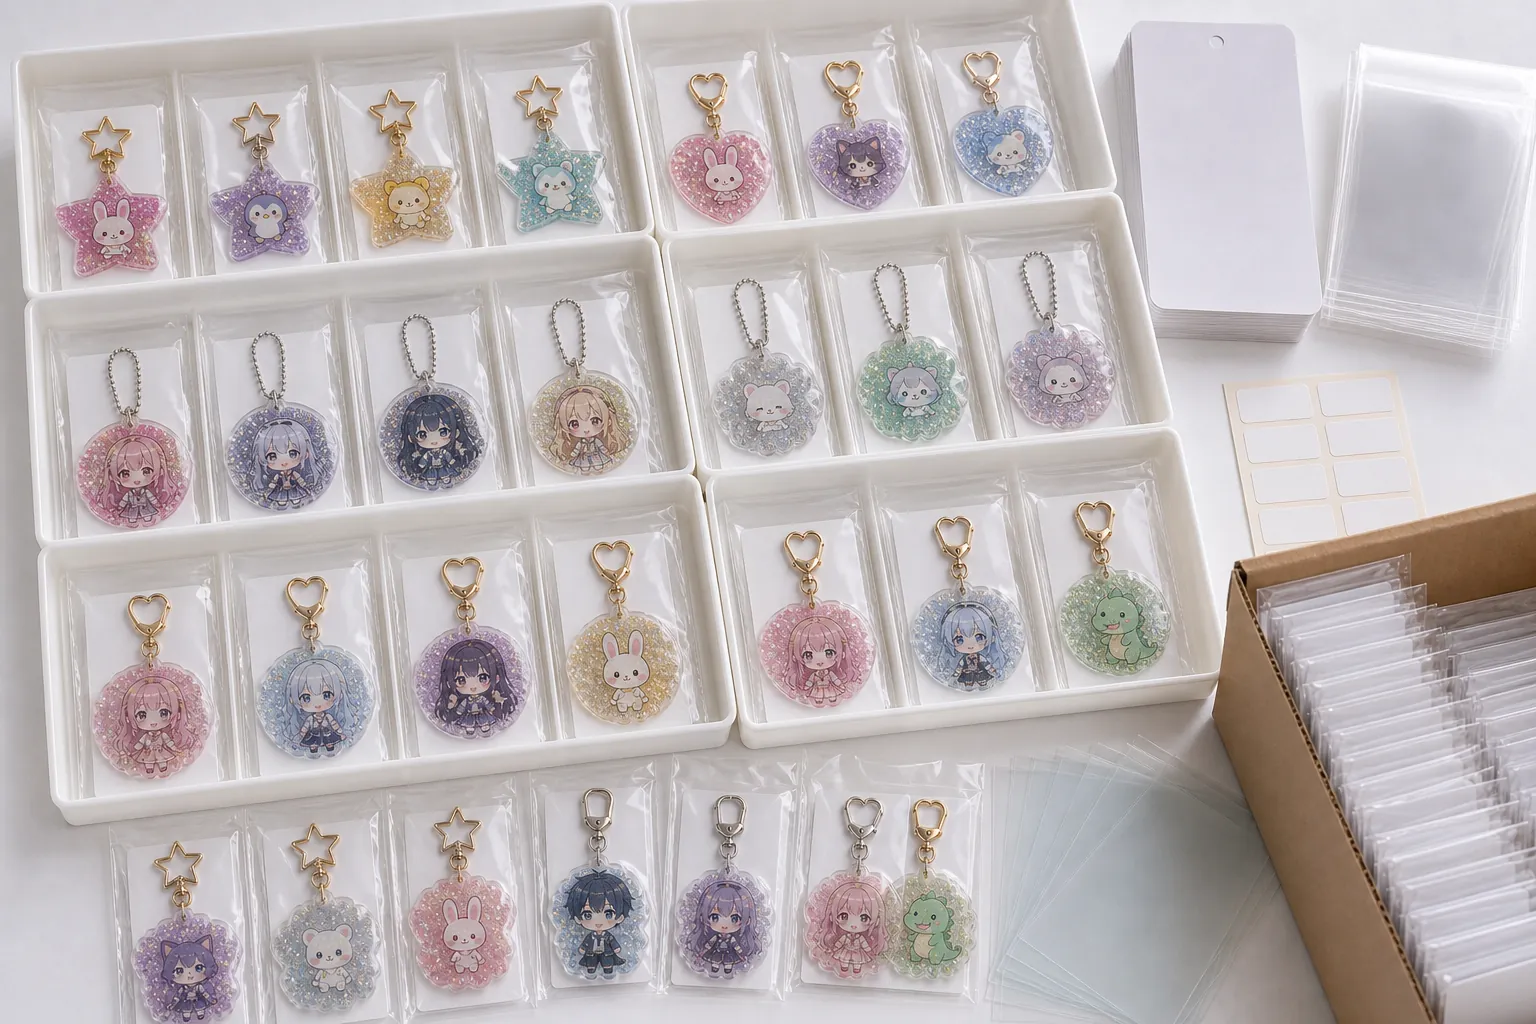
Glitter color and density may create variants that look similar at a glance. The order matrix should connect artwork code, glitter code, hardware, backing card, barcode or SKU label and carton mark. Labeled work-in-process trays and packing records reduce mixups before final carton checks.
Individual retail
Clear bag or sleeve, backing card, SKU label and surface protection for open-display products.
Blind merchandise
Opaque bag, design code, randomization rule, inner-box quantity and controlled variant count.
Multi-piece set
Correct item combination, finish code, hardware orientation, separators and missing-part check.
Event fulfillment
Quantity by SKU, destination split, carton labels and venue or warehouse instructions.
Review the Keychain Scratch-Prevention Packaging guide before approving the final pack.
MERCHANDISE PROGRAMS
Use glitter where the finish supports the collection
The effect should be selected for a specific merchandise idea rather than added as a generic decoration. It can support seasonal, event, creator and retail programs when the artwork contrast and variant structure are planned around the approved particles.
Seasonal releases
Use an approved color family for holiday, anniversary or campaign-specific merchandise.
Creator collections
Match glitter color and density to character palettes while keeping expressions and line art readable.
Event sales
Coordinate quantities, SKU labels, carton splits and arrival conditions for venue delivery.
Retail series
Plan front display, backing cards, blind or open packaging and consistent visual range across many designs.
QUOTE CHECKLIST
Information needed for an accurate project quote
Unconfirmed items can be marked for recommendation. The glitter option and quantity split should be clear before comparing a realistic production route.
- Artwork for every design
- Finished body width and height
- Acrylic thickness and construction
- Cut line and hole position
- Color, white-ink and transparent layers
- Approved glitter sample or material code
- Particle color, size, shape and density intent
- Hardware type and finish color
- Total quantity and quantity per design
- Individual, blind or set packaging
- Backing card, barcode and label needs
- Required arrival date and destination
ORDER CONDITIONS
MOQ, sampling and delivery are project-specific
Quantity and schedule cannot be confirmed from the finish name alone. Finished size, number of designs, glitter option, hardware, packaging labor, inspection scope and destination all affect the practical route.
Quantity per design
Share the combined quantity and the split by approved artwork and glitter SKU.
Sample scope
Identify which particle options, print layers, hardware and packs require physical approval.
Bulk schedule
The schedule is confirmed after approved files, sample revisions, materials, packing and inspection conditions are known.
Delivery plan
Provide the country, destination, required arrival date, shipment split and venue or warehouse requirements.
PRODUCTION WORKFLOW
From glitter selection to shipment
- 01 InquiryArtwork, finish intent, quantities and destination
- 02 ReviewBody, layers, glitter code, hole, hardware and pack
- 03 SampleParticle effect, print, edge and sellable-unit check
- 04 ApprovalOne final artwork and specification revision
- 05 ProductionManufacturing, assembly, sorting, packing and QC
- 06 DeliveryCarton labels, documents and agreed shipment
Review the complete OEM order process before scheduling artwork submission and sample approval.
FAQ
Glitter acrylic keychain FAQ
What is the practical MOQ for glitter acrylic keychains?
The practical MOQ depends on finished size, glitter construction, particle option, quantity per design, hardware, packaging and inspection requirements. Share the total quantity and design split so the production route can be reviewed for the actual project.
Can different glitter colors be used in one order?
Multiple glitter colors or particle options can be reviewed, but each combination should be treated as a controlled SKU with its own artwork, finish code, quantity, hardware and packing data. The sample set should establish the visual standard for every approved option.
How should glitter placement be shown in the artwork?
Provide editable artwork with separate color, white-ink, cut-line and hole layers. Add a clearly named glitter area, material reference or marked mockup showing the intended color, density, transparent zones and any area that must remain visually clear.
Will every glitter particle sit in exactly the same position?
Individual particle position can vary within a glitter finish. Buyers should approve the overall color, particle size, density, distribution and visible range on physical samples instead of treating one particle arrangement as a fixed print registration.
Can retail, blind or set packaging be prepared?
Individual bags, backing cards, opaque blind bags, SKU or barcode labels, set assembly and labeled cartons can be discussed. The packing specification should keep similar glitter variants separated and protect printed and acrylic surfaces from rubbing.
How are sampling, QC and delivery timing confirmed?
Timing is confirmed after artwork, glitter option, quantity by design, hardware, packaging, inspection scope and destination are known. Bulk production should begin from approved physical samples and one final specification revision.
RELATED RESOURCES
Continue the acrylic keychain review
PROJECT REVIEW
Prepare a glitter acrylic keychain specification
Send the artwork, glitter reference, finished size, quantity by design, hardware, packaging and delivery destination. Unconfirmed items can be marked for recommendation.