
Custom acrylic puzzles combine controlled UV printing with a separate precision cut-line layout.
Prepare the print artwork and cut paths separately, confirm the acrylic and print construction, then print, register, cut, finish, inspect, and pack. Approve color, geometry, piece fit, and the sellable pack on a finished pre-production sample.
into manufacturing conditions.
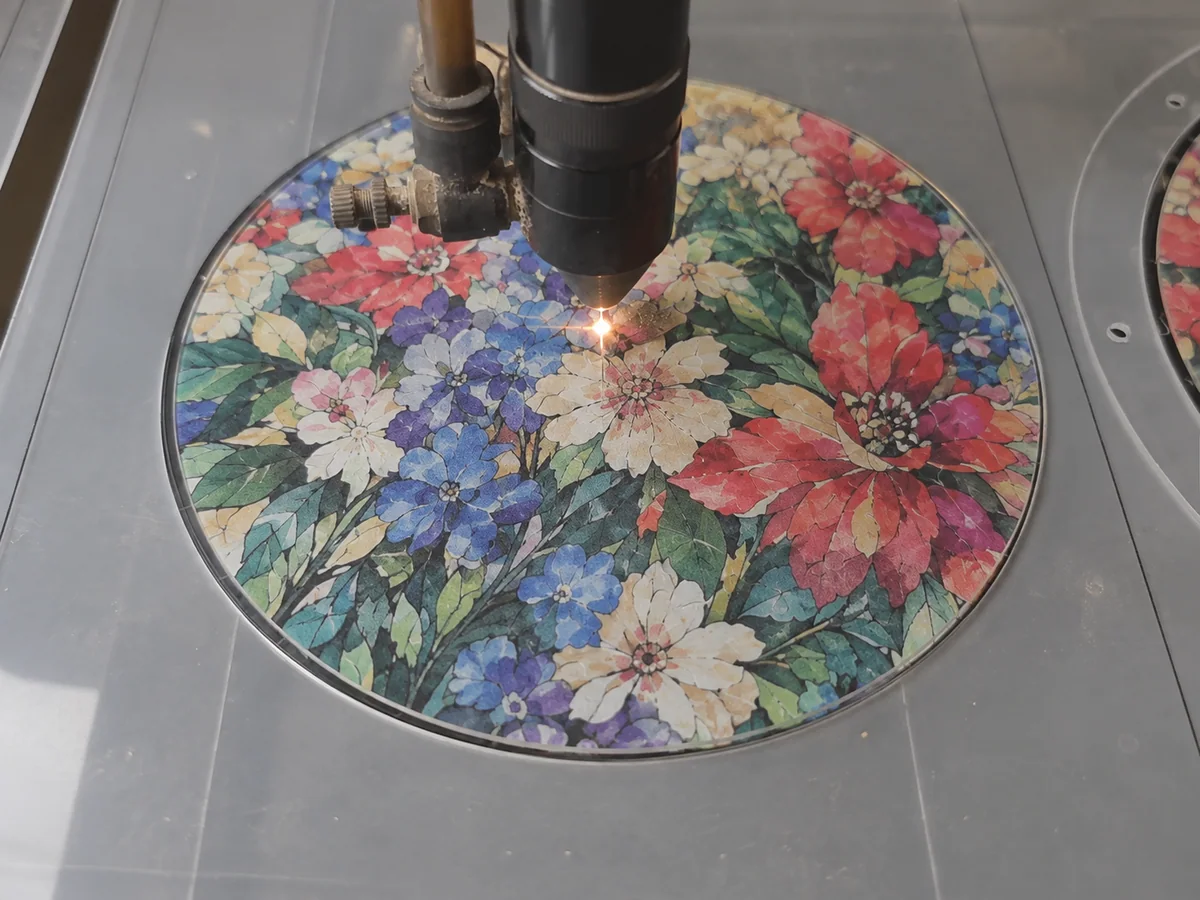
The video demonstrates a printed acrylic sheet being cut into puzzle-piece geometry. It does not show the complete UV-printing, cleaning, finished-set inspection, or packaging workflow.
PRODUCT DIFFERENCE
Acrylic Puzzle vs. Acrylic Puzzle Frame
An acrylic puzzle is a set of individually cut pieces whose count, fit, and completed image must be controlled. An acrylic puzzle frame adds an outer frame, clear plates, or holding components so the assembled design can be displayed. Decide first whether the product is meant mainly to be assembled or displayed.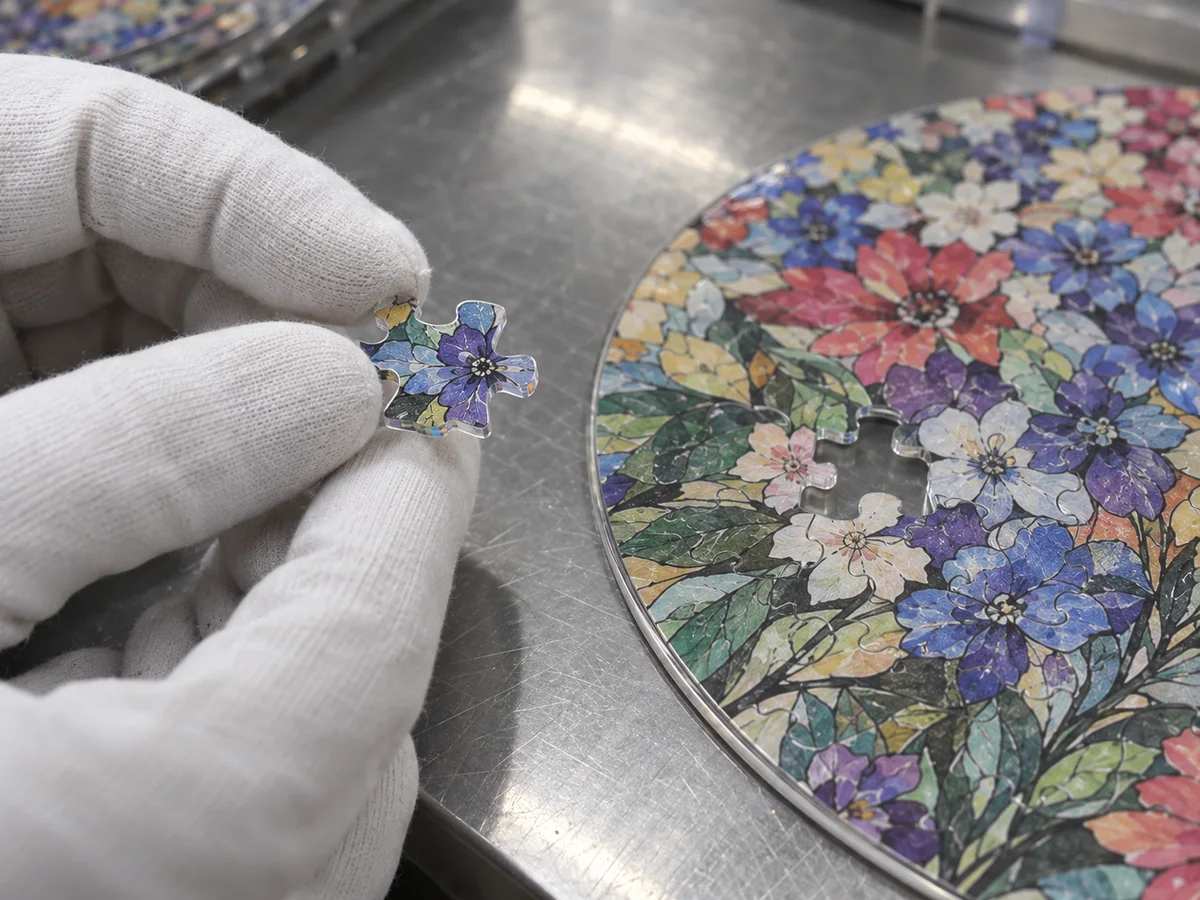
Acrylic Puzzle
- Construction
- Loose puzzle pieces, with an optional backing card, tray, or inner bag.
- Typical use
- Assembly experiences, event merchandise, commemorative goods, and interactive products.
- QC focus
- Piece count, fit, chips, scratches, and the completed image.
- Pack design
- Retention that limits missing pieces and piece-to-piece rubbing.

Acrylic Puzzle Frame
- Construction
- Puzzle pieces plus an outer frame, clear plates, base plate, or fixing components.
- Typical use
- Photo gifts, display pieces, commemorative items, and desk or wall displays.
- QC focus
- Piece fit plus frame position, clarity, assembly, and fixing parts.
- Pack design
- Protection against frame scratches, movement, and missing components.
STEP01
Prepare the Artwork
Convert the design into production-ready files
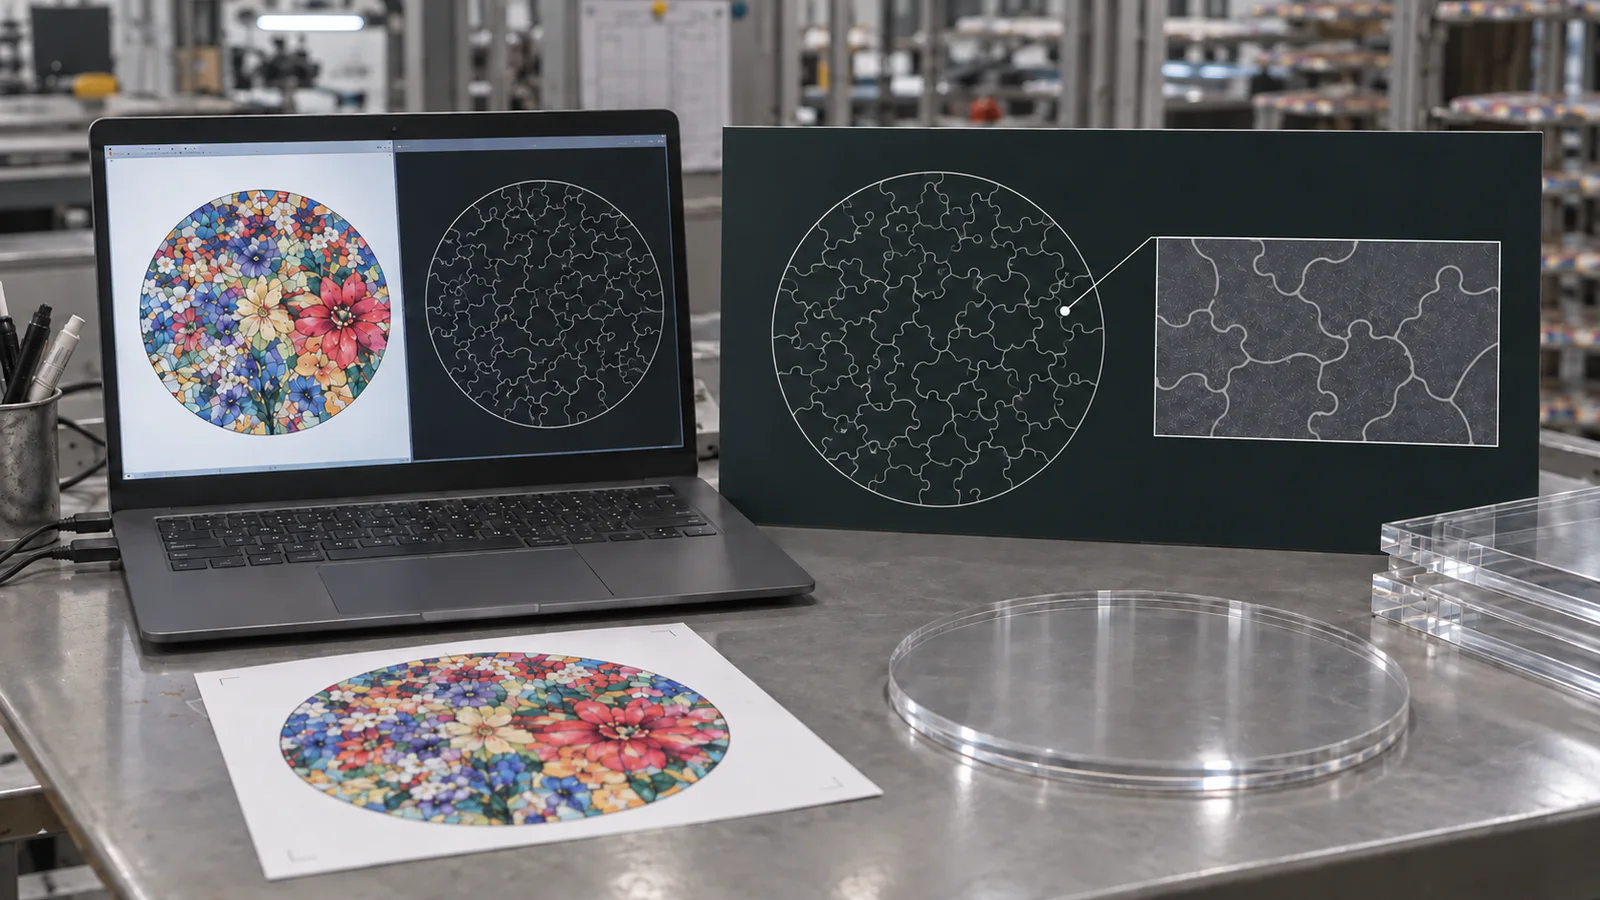
Separate the color artwork, white-ink layer, outer contour, and puzzle-piece cut lines. Lock the finished size and approved file revision.
STEP02
Confirm the Material
Align thickness, clarity, and surface condition
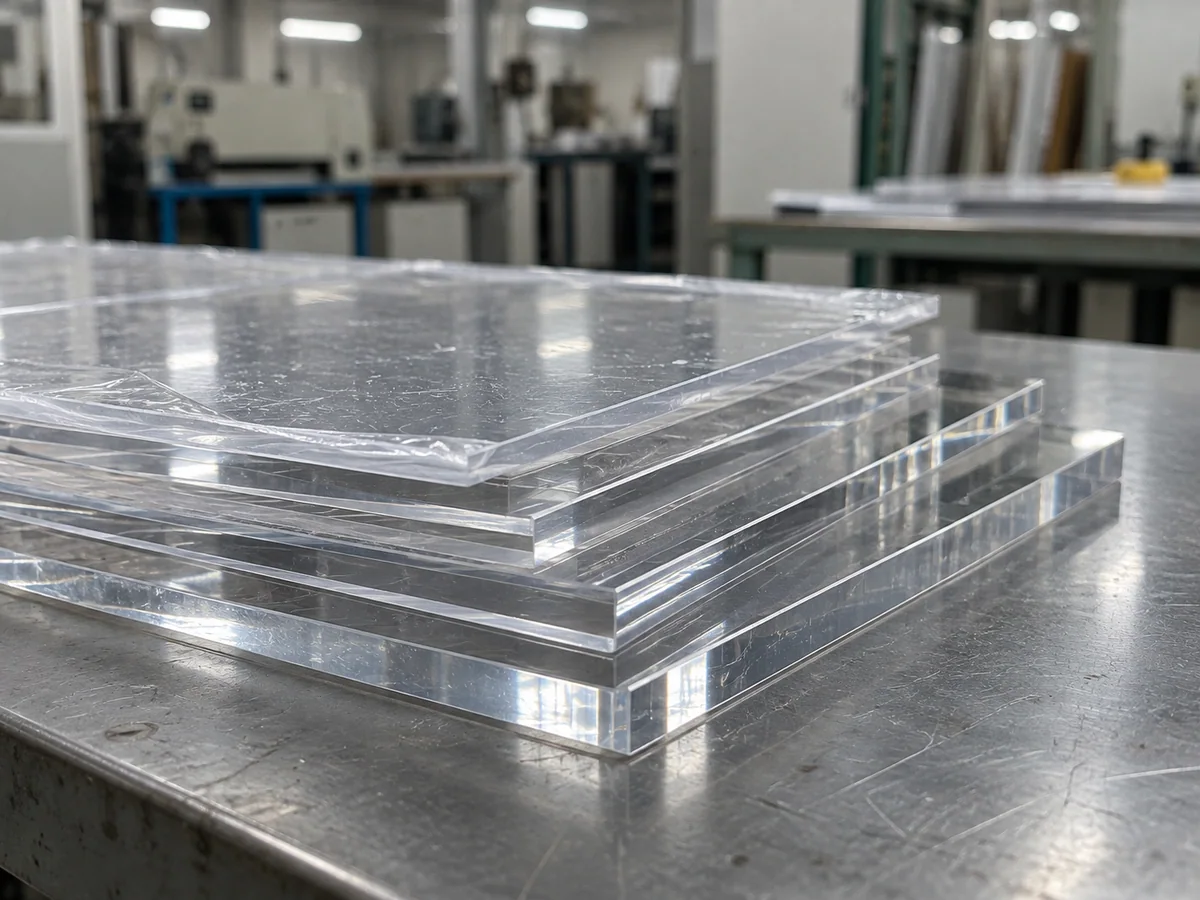
Confirm the sheet specification, thickness, transparency, surface finish, and protective film. Consider how the pieces will be handled and retained in the final pack.
STEP03
UV Print the Design
Define white ink and clear areas
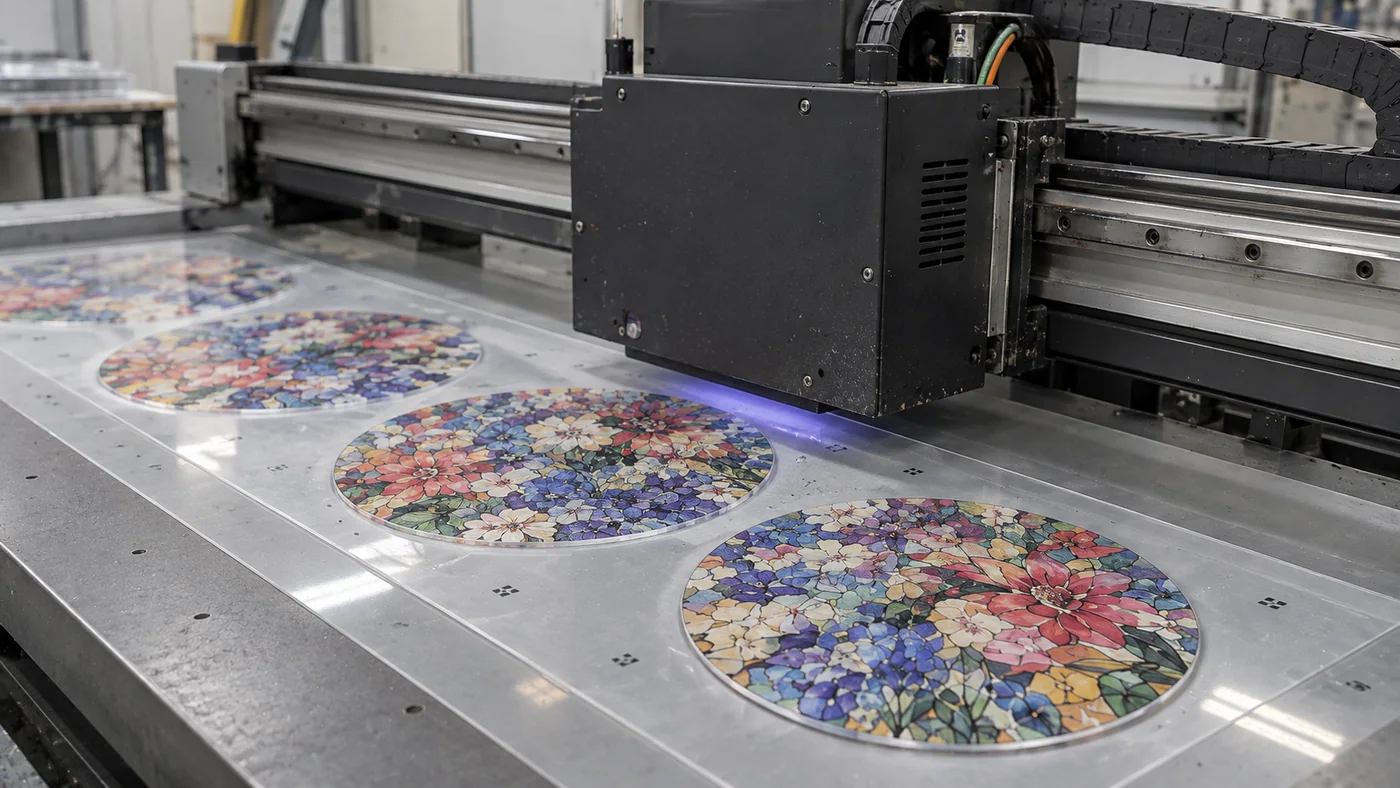
Transparent acrylic changes appearance against different backgrounds. Define the print side, white-ink coverage, and areas that remain clear, then approve the finished appearance.
STEP04
Laser Cut the Pieces
Register the printed image to the piece geometry
Align the printed acrylic to the cut data, then cut the outer contour and individual pieces. The complete set must be assembled to check the result.
STEP05
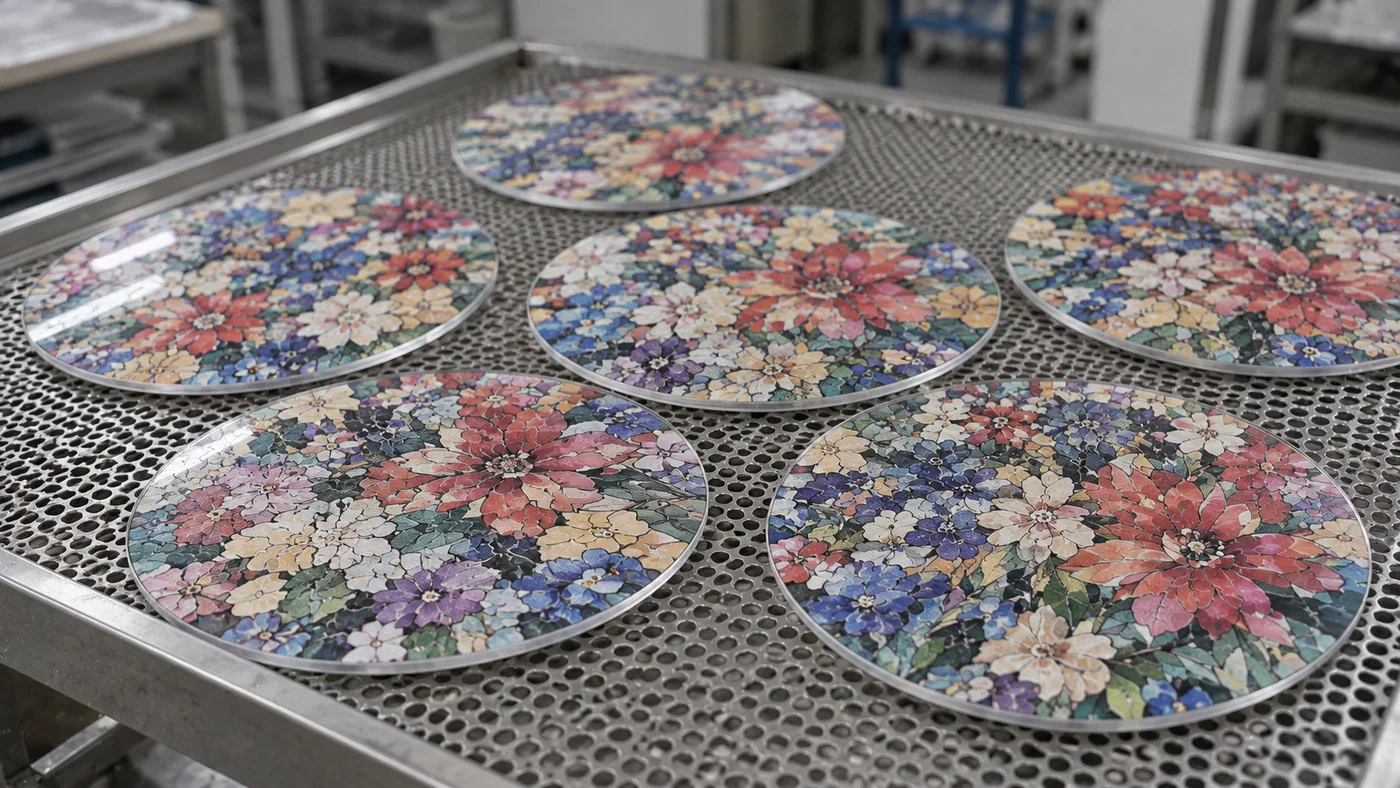
Clean and Finish
Prepare the surfaces and edges for inspection
Remove cutting debris and review the edges, surfaces, and protective film. The set should reach inspection without hidden chips, residue, or handling damage.
STEP06
Inspect the Set
Check each finished set against the approval basis
Review piece count, print alignment, scratches, edge condition, and fit against the approved finished sample.
STEP07
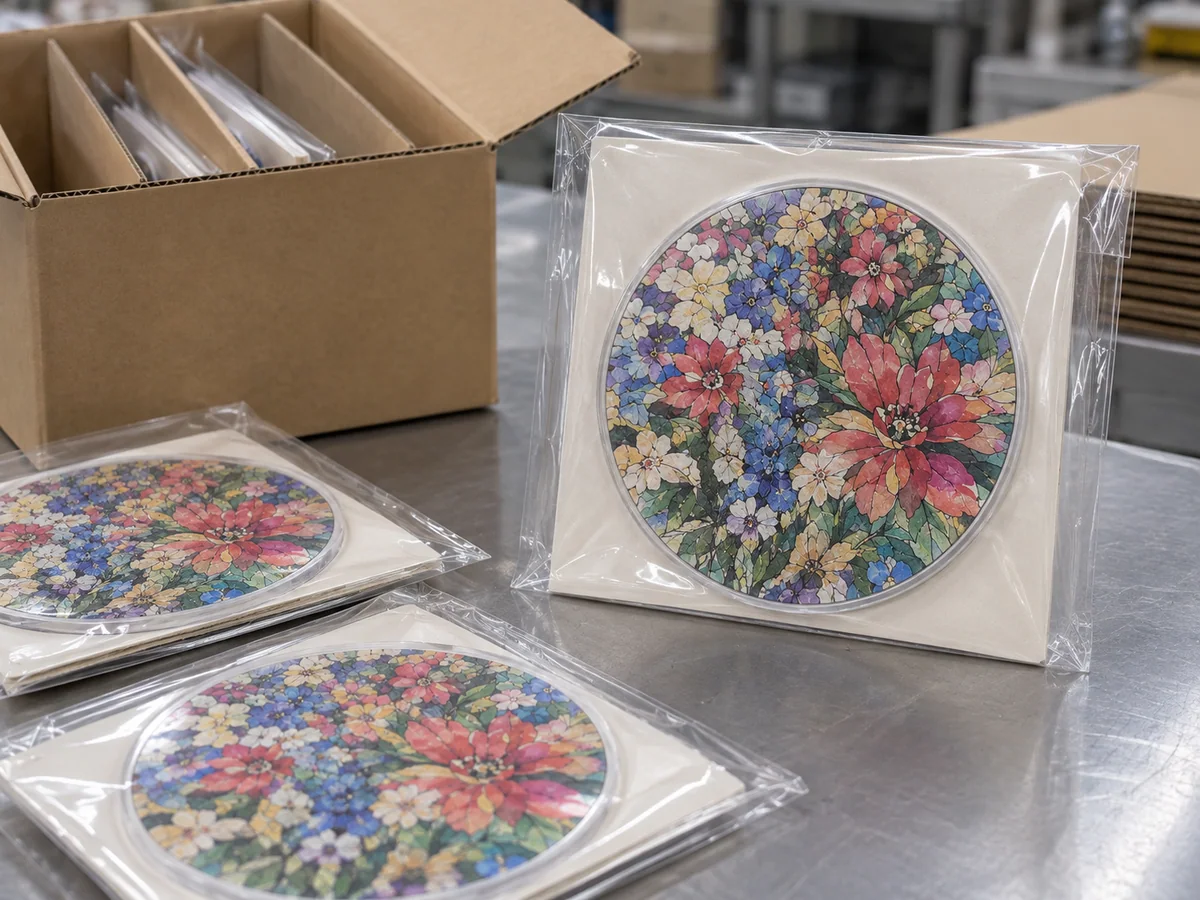
Pack and Ship
Protect the surfaces and keep the set complete
Select packaging that protects the finish and retains every piece, then verify labels and SKUs before shipment.
PRE-PRODUCTION SAMPLE
Five Checks for Sample Approval
Use the same viewing and judgment conditions before bulk production to reduce interpretation gaps.CHECK BEFORE ORDERING
Six Common Risks and Practical Controls
Use the finished sample as the decision basis instead of relying on one numerical value.Thin necks and sharp internal corners can chip or become difficult to handle.
CONTROLSimplify fragile geometry and test strength and assembly at actual size.Incorrect coverage can cause weak color or a visible white halo.
CONTROLSeparate color and white layers and mark clear areas in the approved data.Cut width and material conditions can create an overly tight or loose fit.
CONTROLAssemble a complete finished set made under the intended conditions.Surface condition, cleaning, ink, and curing can affect adhesion.
CONTROLAgree on the relevant pretreatment and adhesion check for the material and use.Stacking and handling can cause rubbing, chips, edge marks, or haze.
CONTROLCompare surface and edge condition with the approved sample under consistent lighting.Missing pieces, mixed SKUs, and movement in the pack can create delivery claims.
CONTROLDefine count checks, SKU identification, retention, and carton labeling.QUALITY CONTROL
Control the Product Against One Approval Basis
Bulk units should be reviewed using the same criteria as the approved sample.ACRYLIC PUZZLE QUALITY CONTROL
Align Acceptance Criteria at Four Quality Gates
Instead of adding isolated inspections, share the approval basis at the data, sample, bulk-production, and pre-shipment stages.Data Review
Confirm color artwork, white ink, cut lines, finished size, piece count, and viewing direction.
Pre-Production Sample
Approve color, clarity, adhesion, edges, fit, piece count, and the finished pack.
Bulk Production
Compare first-off and in-process samples with the approval basis for position, scratches, chips, and edges.
Pre-Shipment Check
Verify piece count, SKU, individual pack, retention, carton marks, and quantity.
| Item | How to Check | Approval Basis |
|---|---|---|
| Color, White Ink, Clear Areas | Compare approved data and product under consistent lighting | Approve color and transparency on the finished sample |
| Print Position and Adhesion | Review contours, fine lines, white boundaries, and the agreed adhesion check | Approve a condition appropriate to the material and use |
| Edges and Surfaces | Change the viewing angle to check scratches, chips, haze, marks, and feel | Share the accepted appearance standard |
| Piece Fit | Assemble the complete set, not only a few representative pieces | Approve tightness, looseness, and the completed form |
| Count and Packaging | Verify piece count, SKU, retention, bags, cards, and boxes | Approve the complete delivery condition |
SPECIFICATION QUICK GUIDE
How to Specify a Custom Acrylic Puzzle: Seven RFQ Fields
Work backward from the sales method and document finished size, piece count, frame requirement, print side, white ink, packaging, and sales channel. Mark open decisions as proposal requested so they are not confused with approved conditions.| Field | Typical Options | Manufacturing or Quote Impact | How to State It |
|---|---|---|---|
| Finished Size | Width × height, diameter, display space, pack limit | Affects sheet use, weight, pack dimensions, and shipping. | W × H mm, diameter, or proposal requested |
| Piece Count | Low count, complex layout, proposal requested | Changes cutting distance, piece control, fit, and assembly difficulty. | Target count; if open, share the user and use case |
| Frame | None, outer frame, display frame with front and back plates | Adds components, assembly, retention, packaging, and QC items. | None / outer frame / display frame requested |
| Print Side | Front print, reverse print, double-sided | Affects viewing direction, clarity, surface protection, and print layers. | Define the front view and preferred print side, or mark open |
| White Ink | None, spot white, full white underbase | Changes clear areas, color appearance, and opacity. | Supply a white layer or mark areas to remain clear |
| Packaging | OPP bag + card, folding carton, PET, inner tray, rigid box | Affects scratch control, retention, display, labels, and cost. | Share the sales method and whether the product must remain visible |
| Sales Method | Events, retail, ecommerce, gifts, blind assortments | Affects packaging, SKU control, labeling, shipping protection, and instructions. | Sales channel, SKU count, and retail-display requirements |
PACKAGING OPTIONS
Choose Acrylic Puzzle Packaging by Sales Method and Protection Level
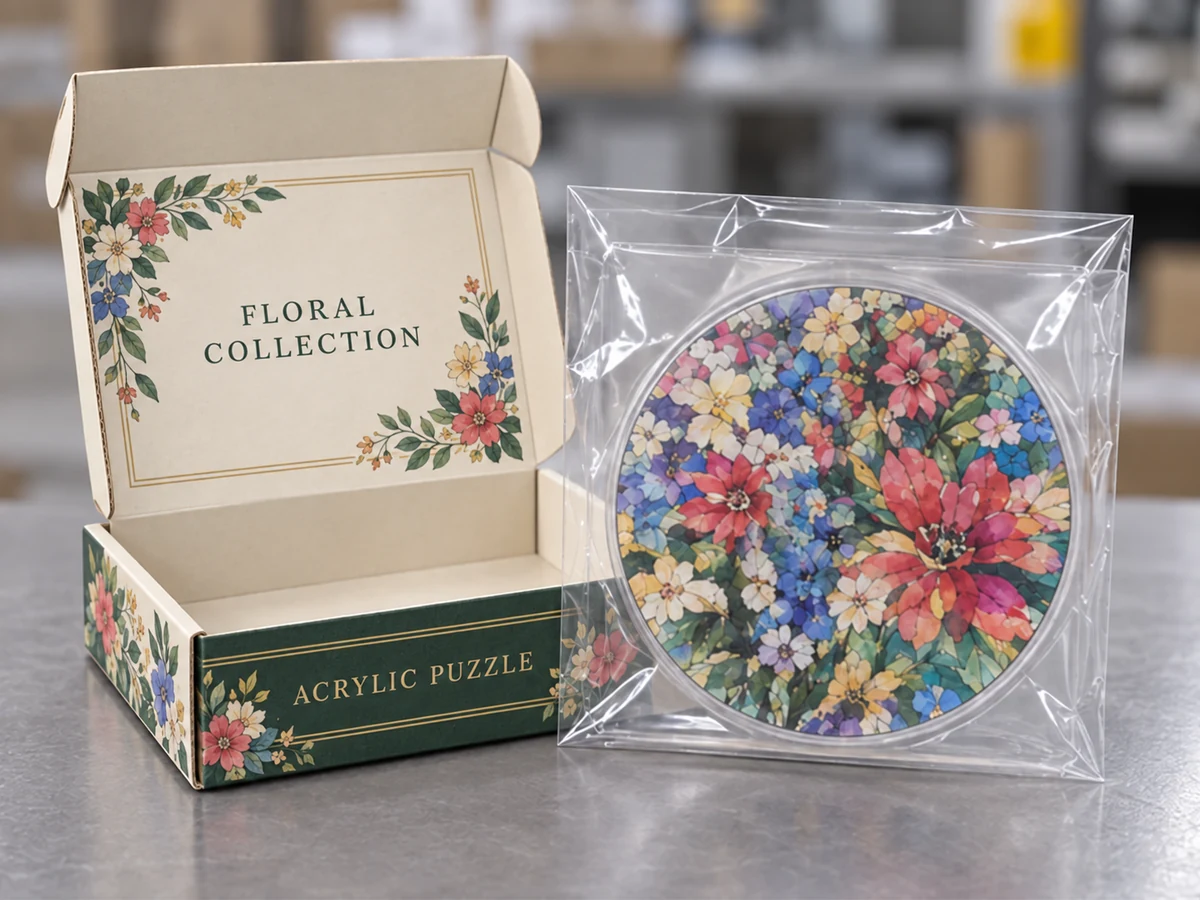
The outer box alone does not control scratches, missing pieces, or ease of opening. Review the finished pack, including inner bags, printed cards, trays, protective film, and labels.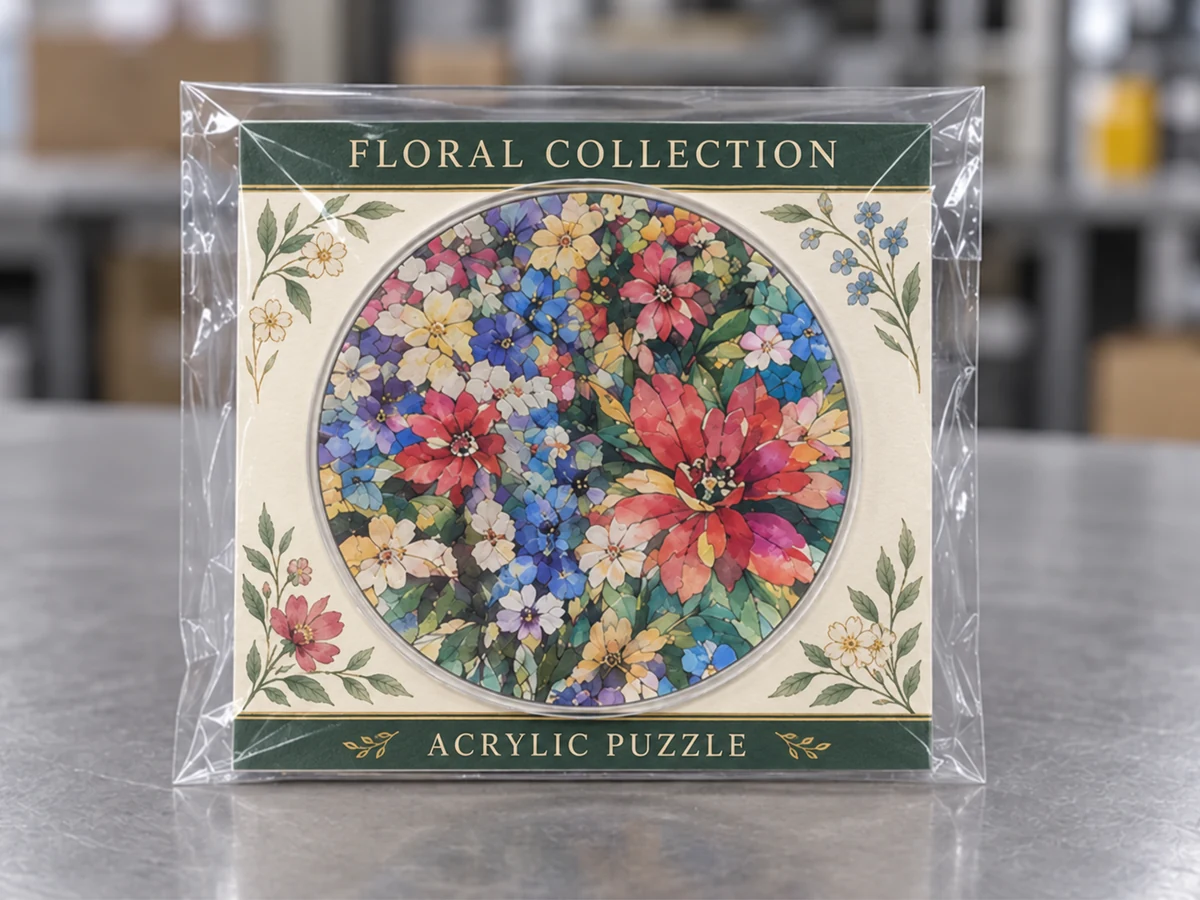
OPP Bag + Backing Card
A clear bag displays the product while the card controls orientation and contact. Suitable for event distribution and cost-sensitive programs.
- Retention
- Inner bag or retaining film
- Check
- Seal position and movement inside the bag
Folding Carton + Inner Bag
Loose pieces are grouped in an inner bag and placed in a carton. Instructions, barcodes, and warnings can be consolidated on the box.
- Retention
- Inner bag plus card insert or tray
- Check
- Internal space and ease of removal
Clear PET Case or Blister
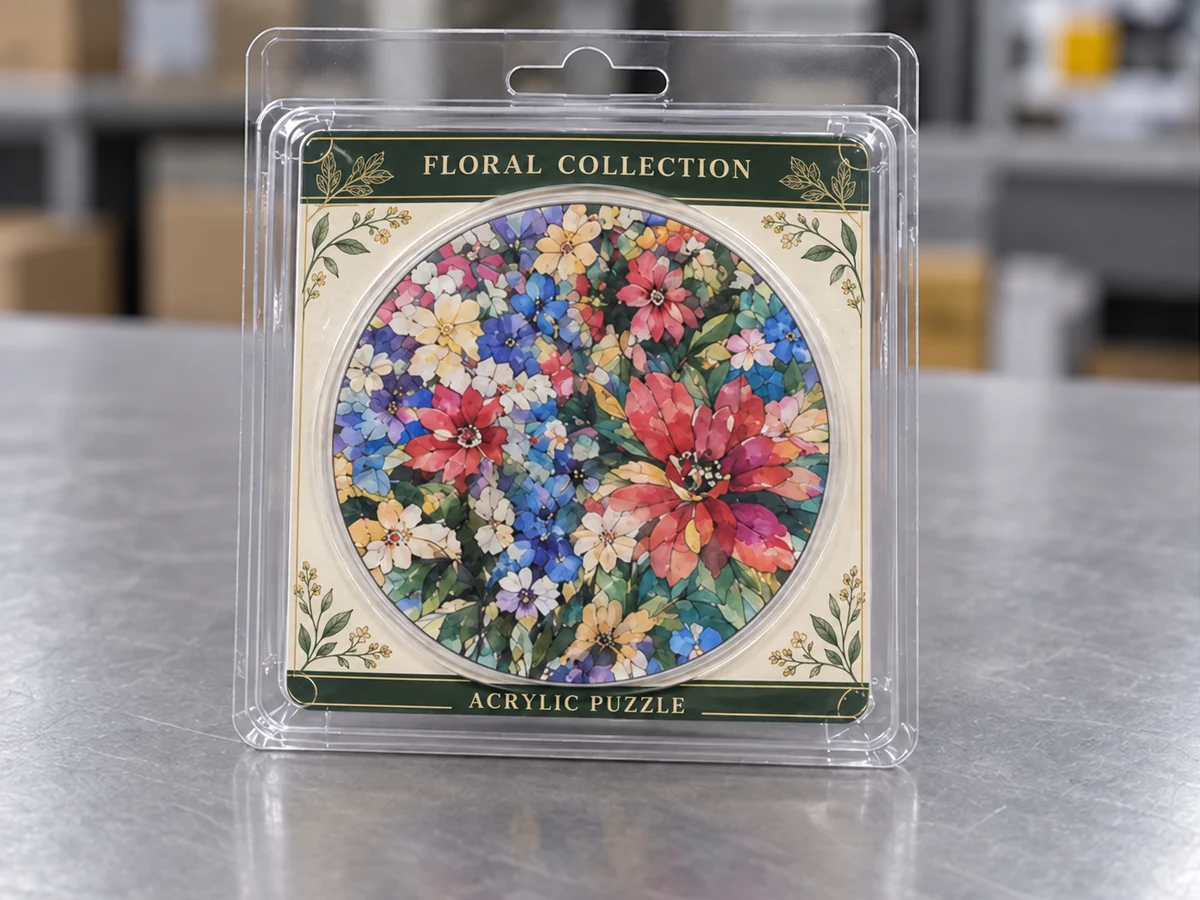
A clear case and printed card show the completed product. This suits hanging retail displays or shelves where the contents should remain visible.
- Retention
- Formed tray or card fixing
- Check
- Tooling, sealing method, and opening experience
Rigid Gift Box + Fitted Tray
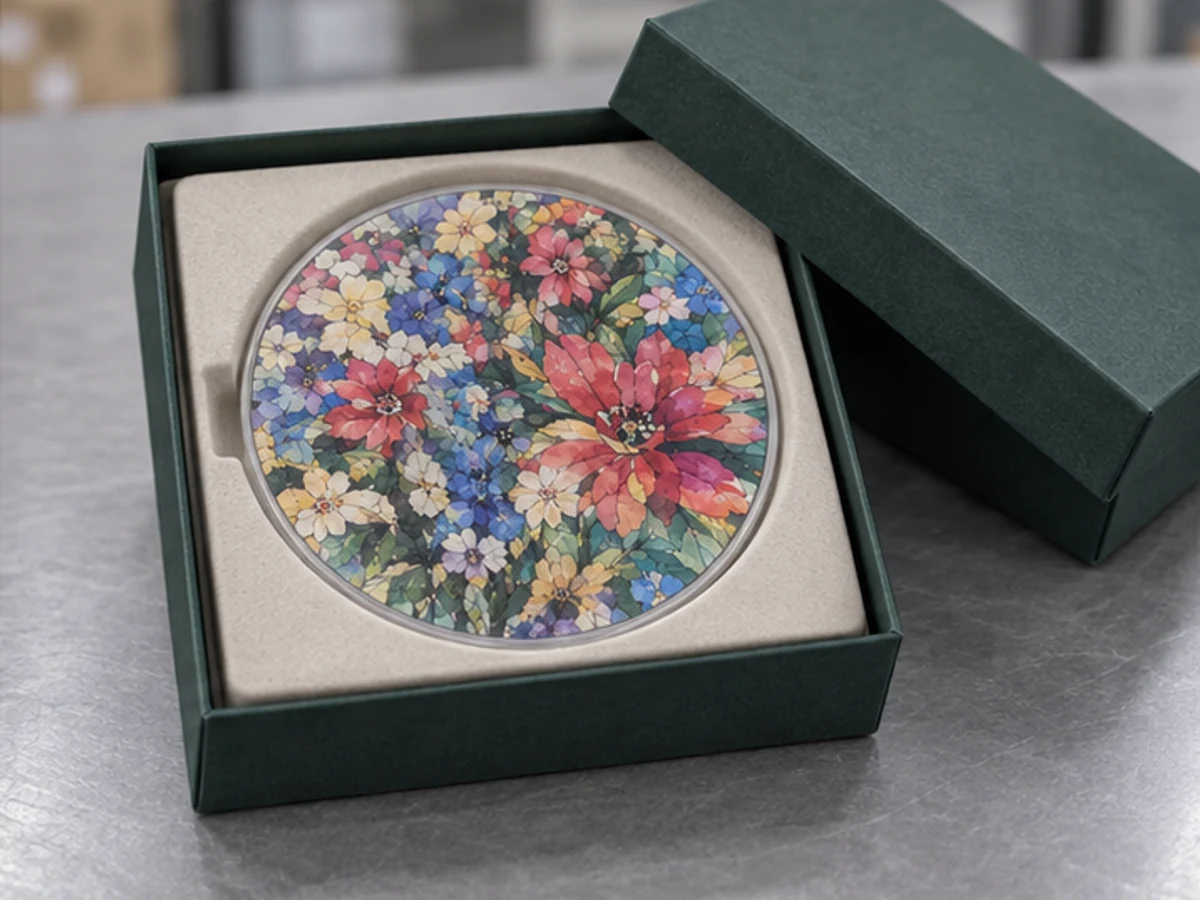
A rigid box and dedicated tray improve presentation and retention for limited editions, commemorative products, and gift sets.
- Retention
- Dedicated fitted tray
- Check
- Surface protection and movement in transit
RFQ READY SUMMARY
What Should You Send for a Custom Acrylic Puzzle Quote?
For a preliminary quote, share the use and sales method, finished size, piece count, frame requirement, print side and white ink, quantity and SKU count, packaging and labels, delivery destination, and requested timing. Mark undecided fields as proposal requested.- 01Use and Sales MethodEvents, retail, ecommerce, gifts, or another channel.
- 02Finished SizeW × H mm, diameter, or proposal requested.
- 03Piece CountTarget count, intended user, and assembly difficulty.
- 04Frame ConstructionNone, outer frame, or display-frame construction.
- 05Print DataPrint side, white ink, clear areas, and reference images.
- 06Quantity and SKUsTotal quantity, SKU count, and quantity by SKU.
- 07Packaging and LabelsBag, box, tray, barcode, and warning requirements.
- 08Delivery ConditionsDestination, requested timing, and split-shipment needs.
SPECIFICATION
Specification Review Fields
| Material | Acrylic (PMMA), confirmed for the project |
|---|---|
| Thickness | Confirmed against product size, piece geometry, handling, and packaging |
| Printing | UV printing with the print side, white ink, and clear areas documented |
| Cutting | Outer contour and puzzle-piece cut paths, plus edge review |
| Approval | Color, geometry, complete assembly, and packaging approved on a finished sample |
| Packaging | OPP bag, card, tray, separator, or box selected for the project |
Files and information to send for a quote
- Artwork and reference images
- Size, thickness, and piece count
- Quantity, SKU count, and packaging
- Destination and requested timing
FAQ
Frequently Asked Questions
What is the minimum order quantity for a custom acrylic puzzle?
MOQ depends on size, piece count, print construction, SKU count, and packaging. Send one defined specification so the supplier can confirm the project-specific quantity.
Is a physical sample recommended before mass production?
Yes. A finished sample lets the buyer approve color, white ink, clear areas, print position, piece fit, edge condition, and packaging before bulk production.
Can I request a quote before the artwork is complete?
Yes. Share reference images and the specifications already decided, and label open items as proposal requested. The supplier can then identify the files and decisions still needed.
Can an acrylic puzzle be sold as a children's product?
Requirements depend on the intended age grade, sales market, component size, edges, inks, and labeling. Define the market and age group first, then agree on project-specific testing and labeling.
What if the puzzle pieces fit too tightly or too loosely?
Assemble a complete set made with the intended material and process, then check tightness, looseness, lifting, and chipping. Adjust the cut layout from the finished sample rather than relying on one fixed clearance value.
How can UV-print adhesion be checked?
Adhesion varies with surface condition, cleaning, ink, and curing. Agree on any pretreatment and adhesion check appropriate to the material and use, then confirm it on the pre-production sample.
Can packaging help prevent missing pieces and surface scratches?
Packaging can reduce risk by combining piece-count verification, SKU identification, inner bags, backing cards, trays, and protective film. Approve the complete packed condition for the product shape and shipping method.
RELATED GUIDES
Related Acrylic Products and Production Guides
Move from product selection to artwork, UV printing, laser cutting, inspection, and packaging with a clearly separated search intent.PRODUCTCustom Acrylic Puzzle FramesCompare frame construction and request bulk production
 CATEGORYCustom Acrylic Goods OEMCompare product formats, specifications, packaging, and RFQ inputs
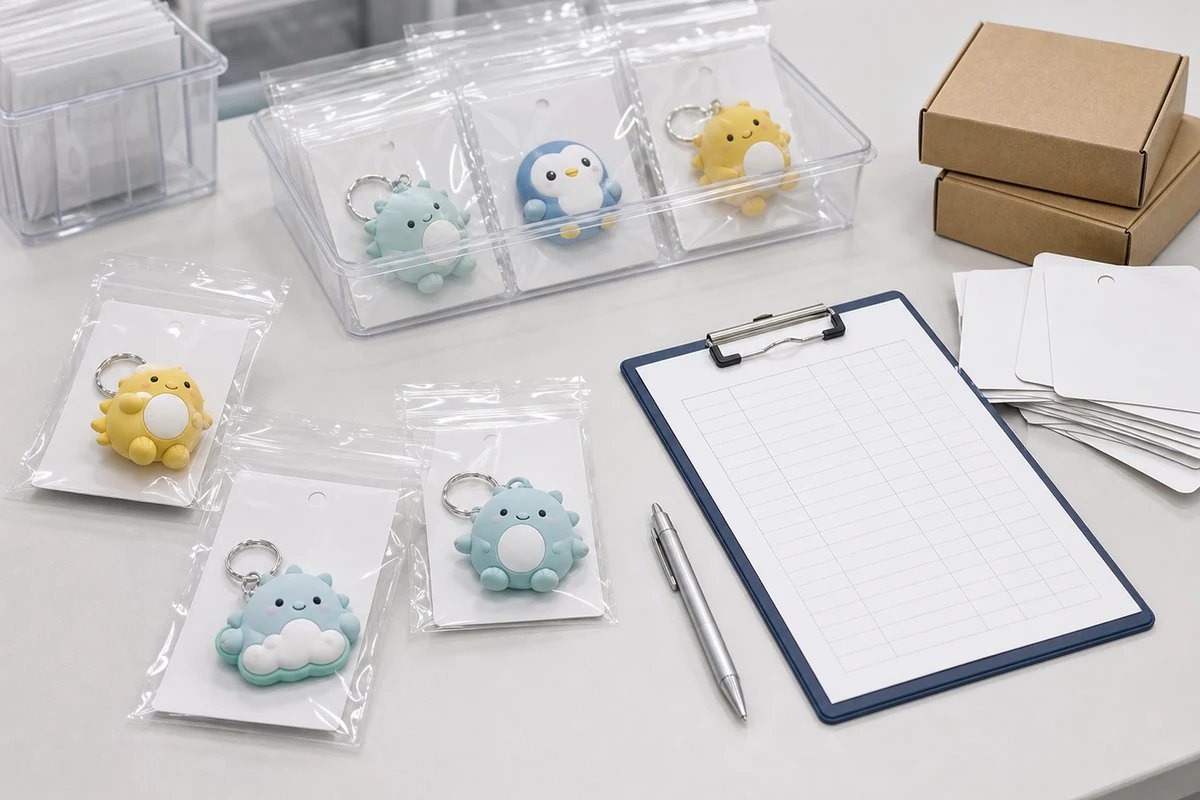 ARTWORK DATAAcrylic Artwork File GuideSeparate color, white ink, clear areas, and cut lines
 UV PRINTINGUV Printing on AcrylicReview print side, white ink, clear areas, and adhesion
 LASER CUTTINGLaser-Cut Acrylic GoodsReview geometry, edges, and production conditions
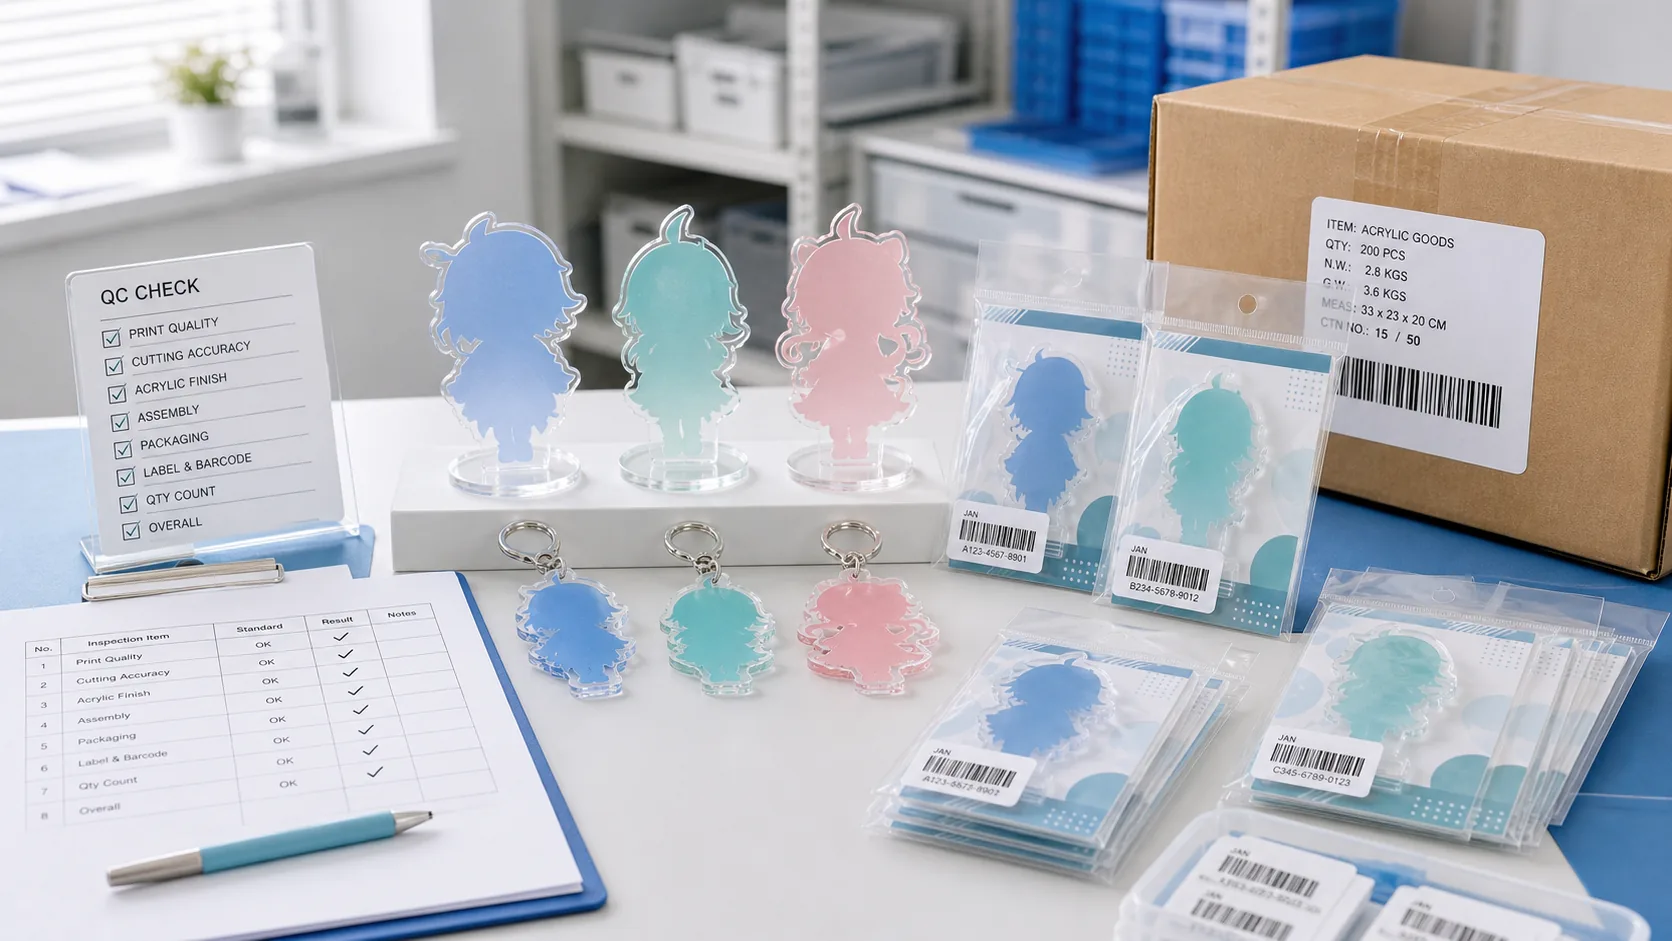 QUALITY CONTROLAcrylic Goods Quality InspectionPlan sample approval, inspection, and packed-product checks
FREE PDF GUIDE
A Custom Acrylic Puzzle Guide
for Internal Review and RFQ Preparation
This page is summarized in an eight-page A4 guide for product planners, designers, buyers, and sourcing teams.- Puzzle vs. puzzle frame
- Seven specification fields
- Seven manufacturing steps
- Six risks and controls
- Four quality gates
- Copyable RFQ template
EVEN IF THE SPECIFICATION IS NOT FINAL
We Can Help Organize the Project
Share the intended use, artwork status, open decisions, and delivery requirements so the next manufacturing checks are clear.- OEM team support
- Specification review from the planning stage
- Project-specific sample confirmation