
Product teams
Map artwork decisions to production controls.
Acrylic Goods Manufacturing Note
From artwork and printing to inspection and individual packaging
Acrylic stand production varies by factory and specification. In the laminated-film method shown here, artwork is checked and printed on PET film, then laminated to an acrylic sheet and UV-cured. The protected sheet is CNC-cut, ultrasonically cleaned, inspected for print, edges and base fit, assembled, and individually packed. Buyers should approve color, white ink, cut lines, tab-and-slot fit, and packaging before mass production.
Who this guide helps
Map artwork decisions to production controls.
Prepare RFQ inputs and sample approvals.
Define appearance, fit and packaging checks.
Twelve factory photographs show the sequence used for the laminated-film acrylic stands in this guide.
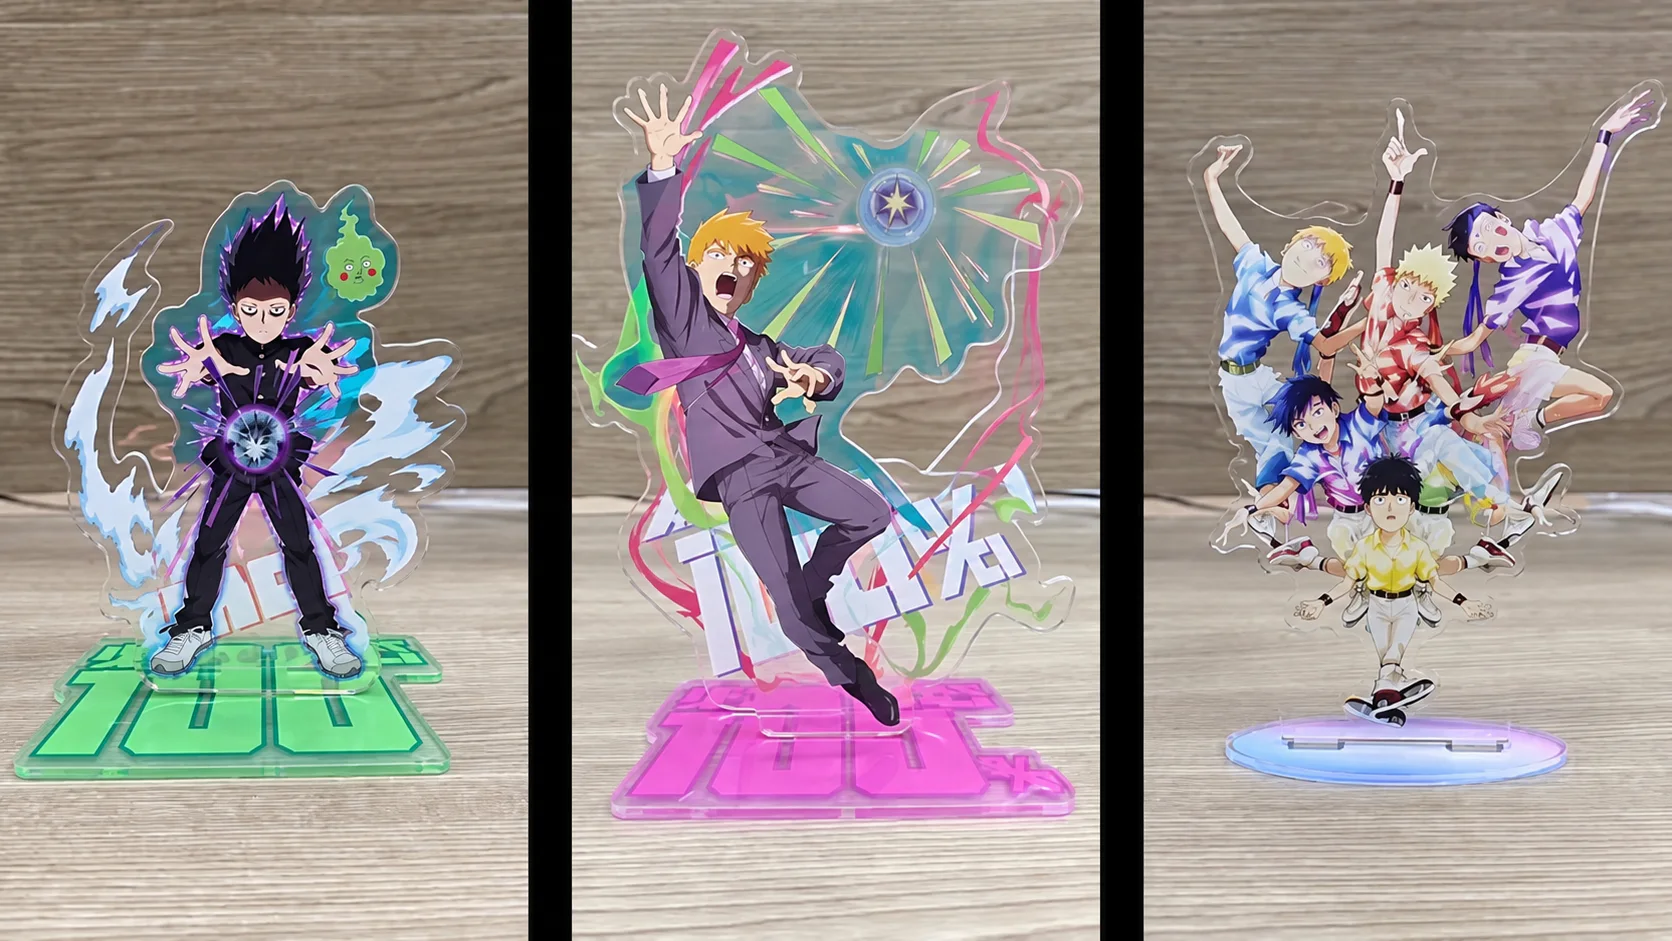
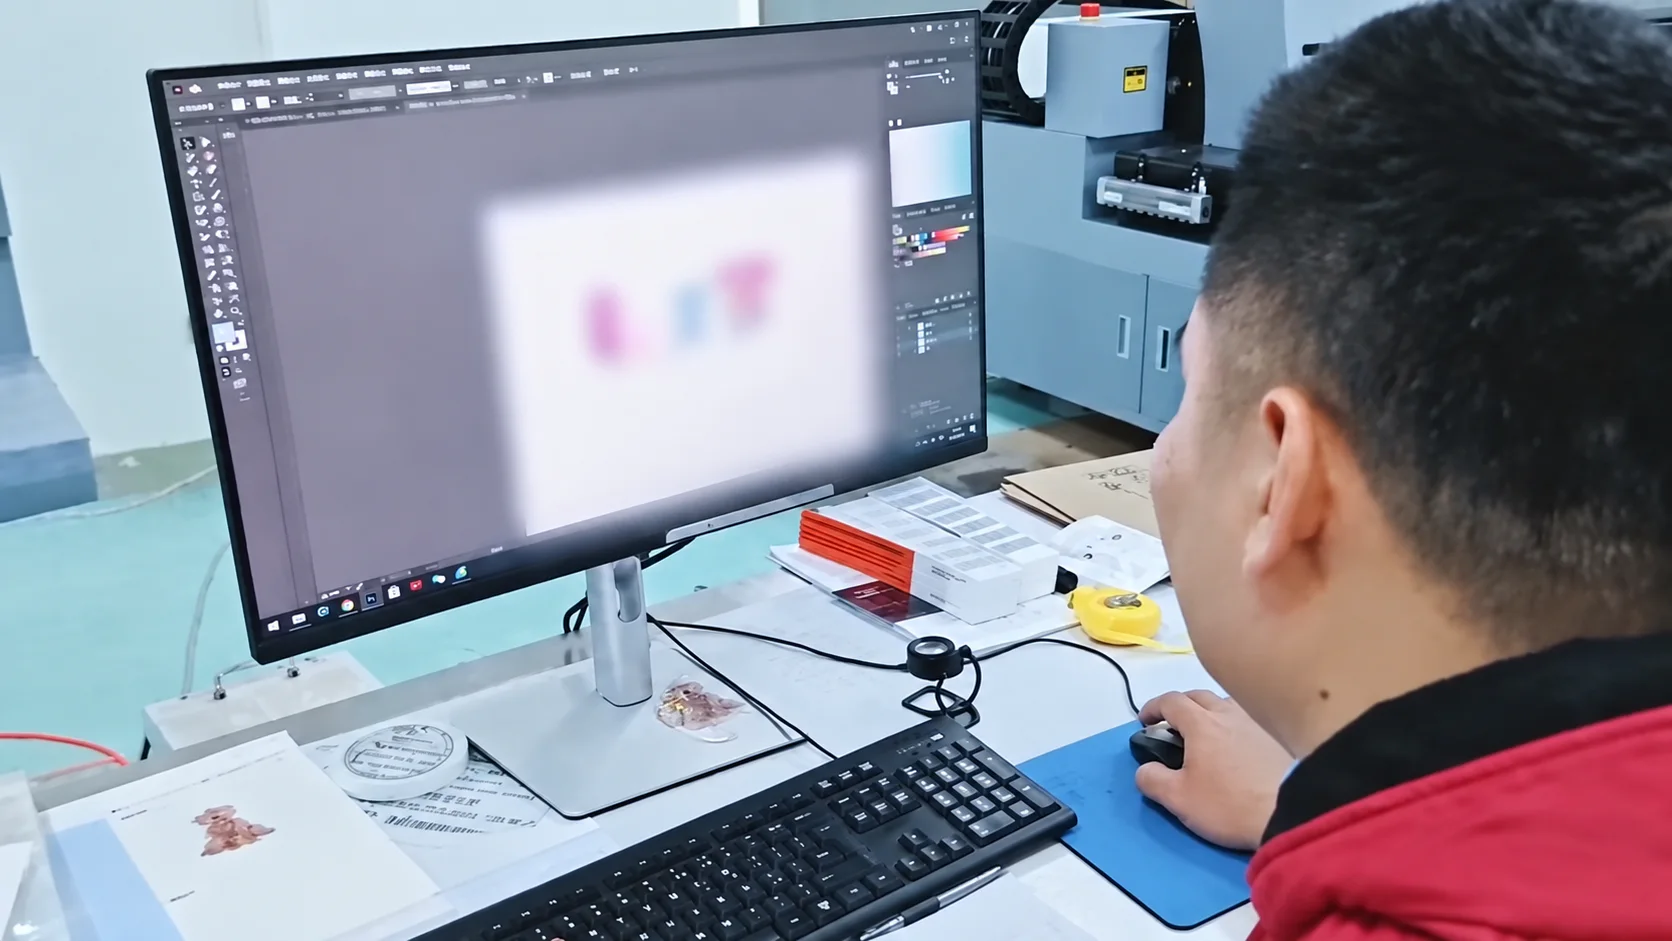
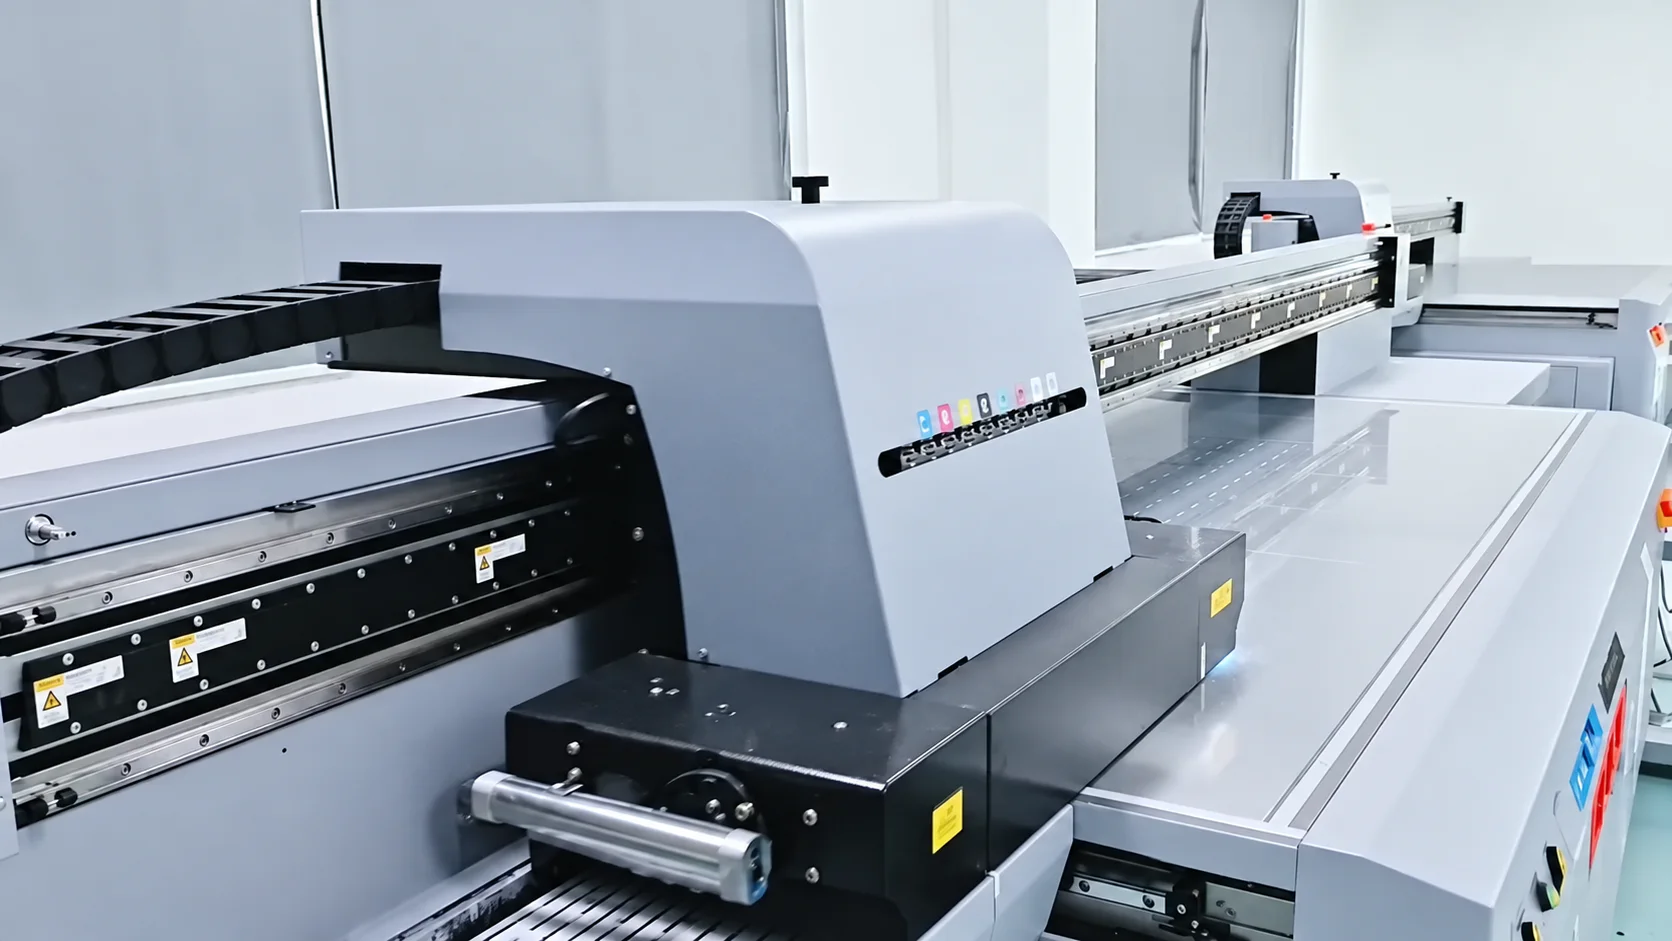
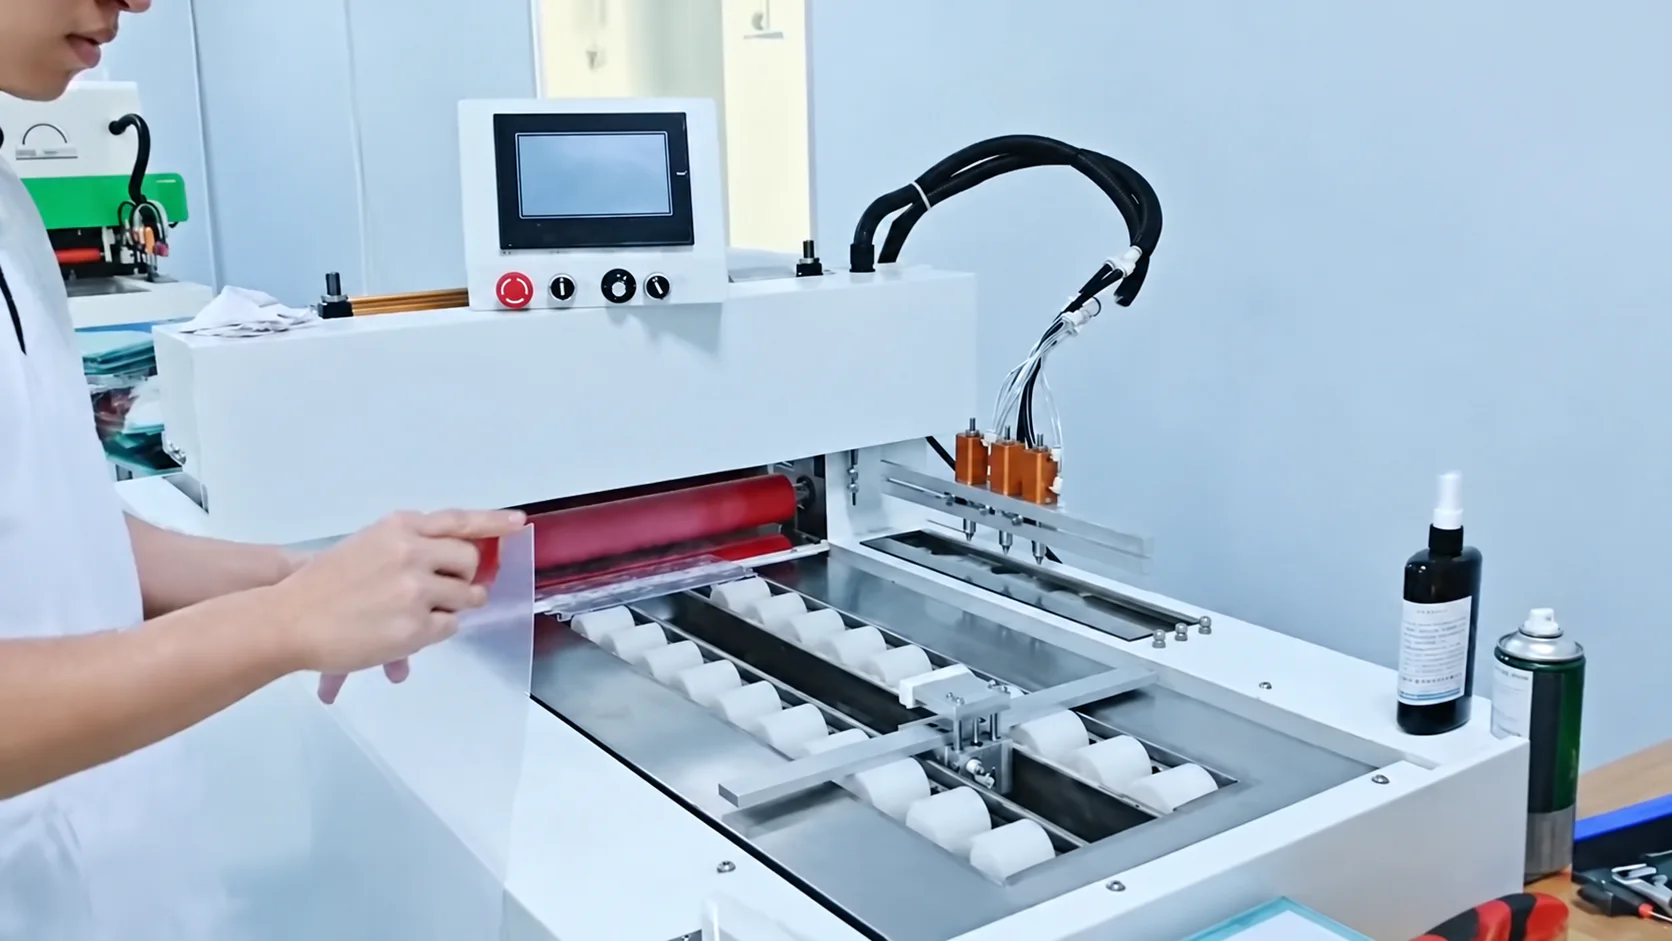
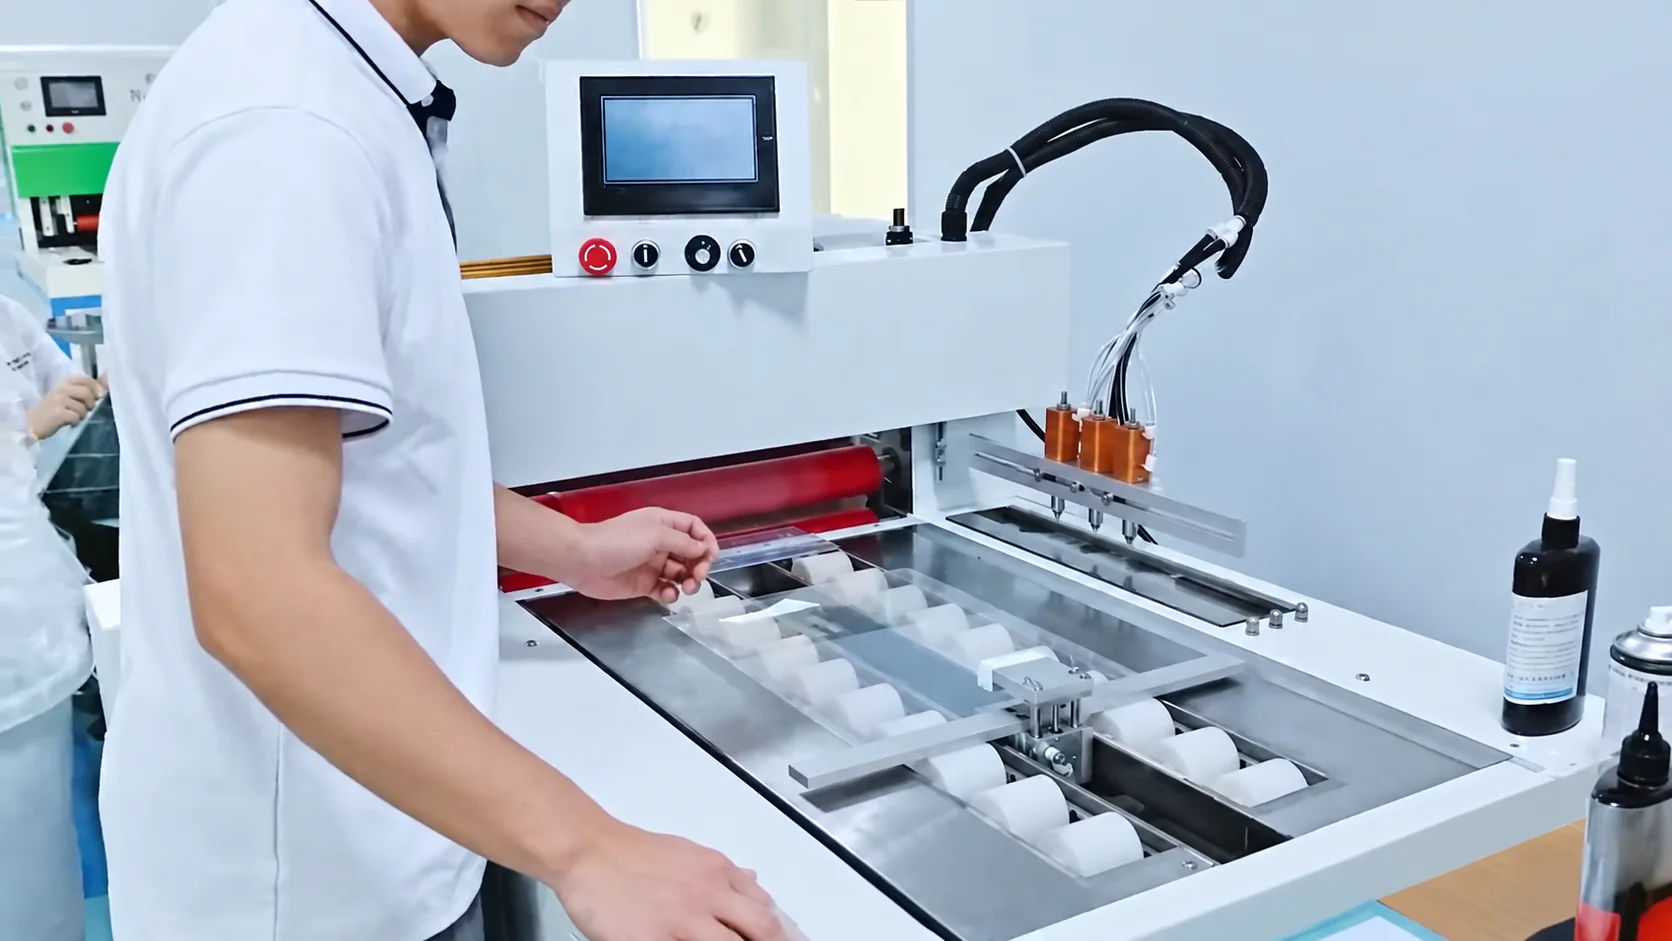
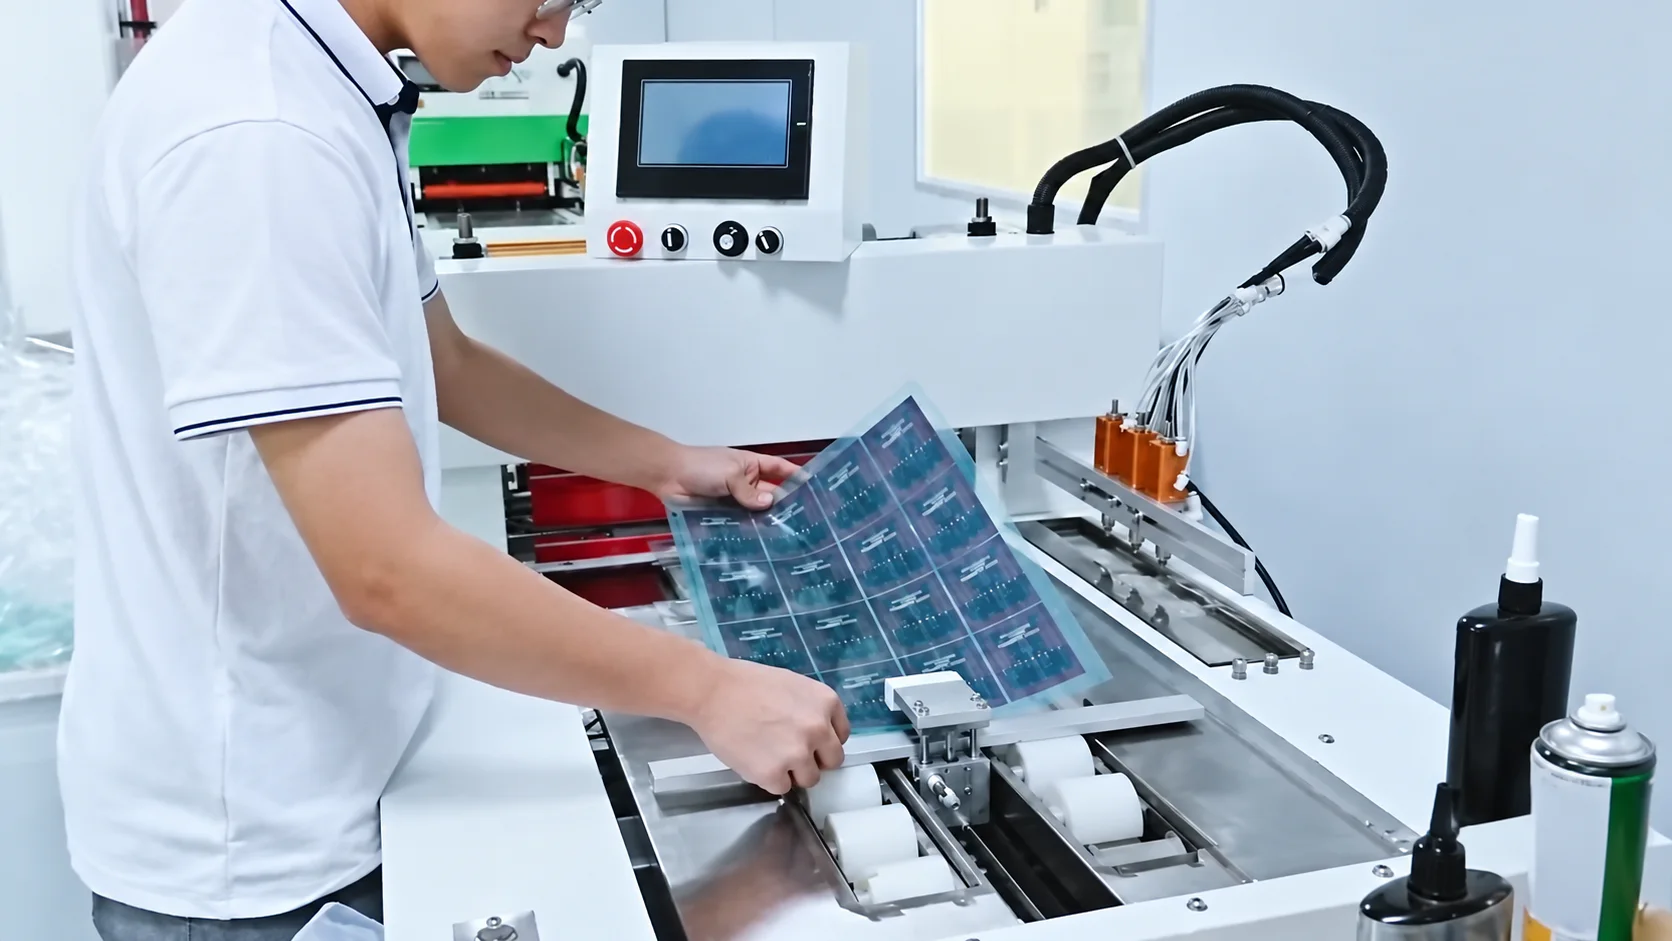
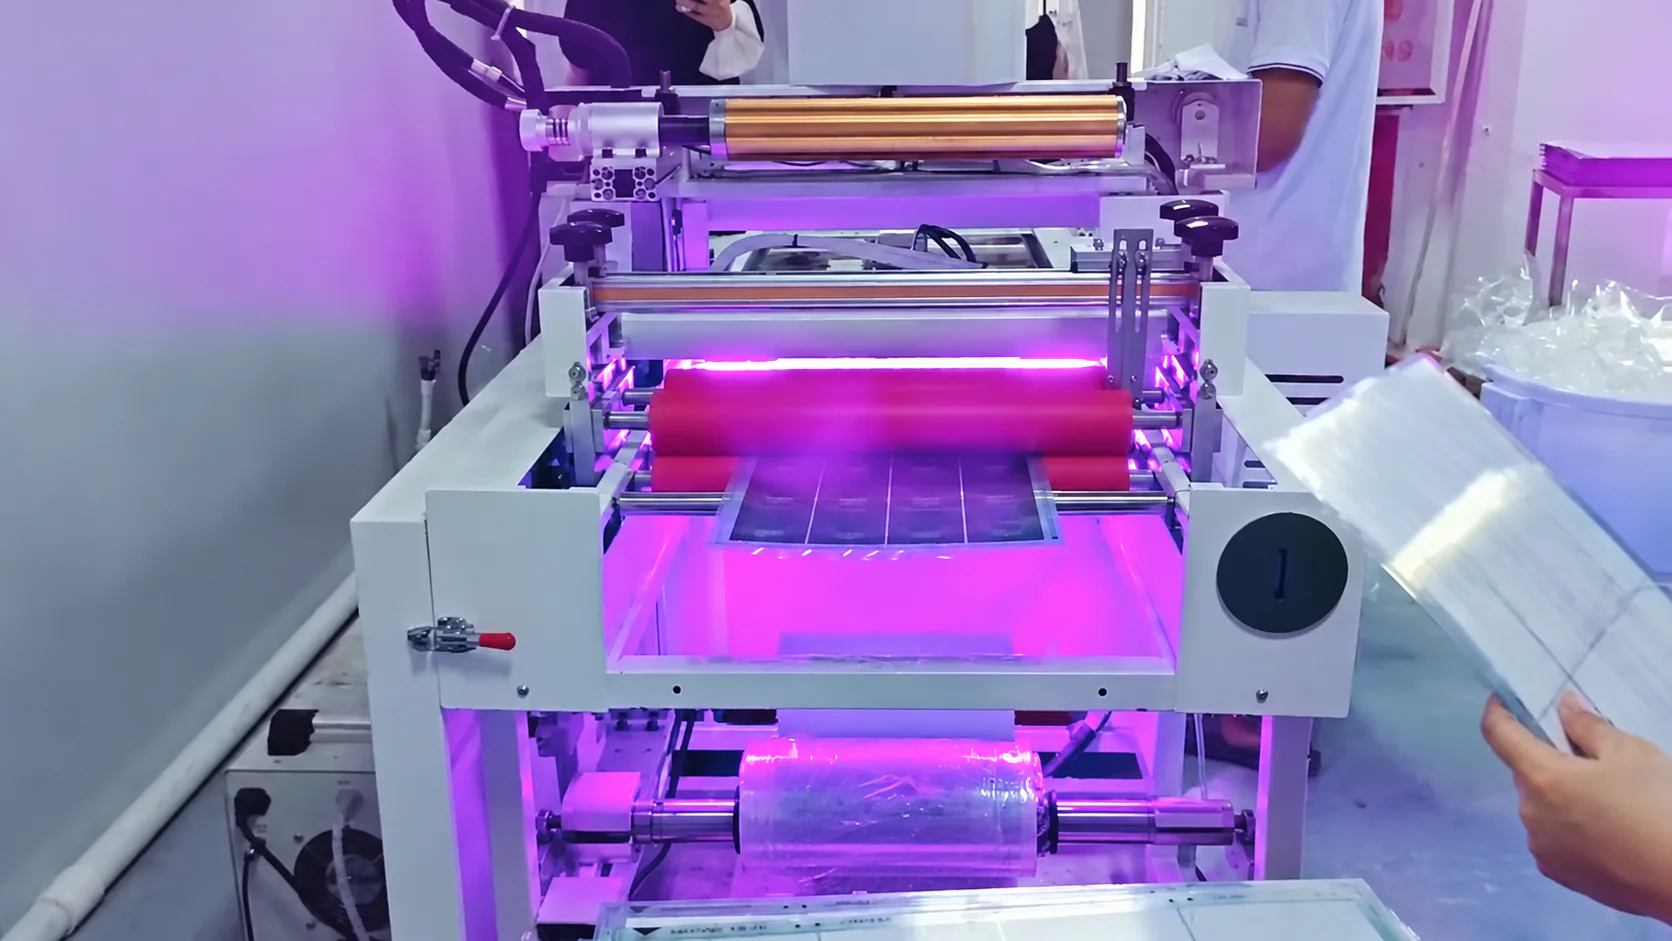
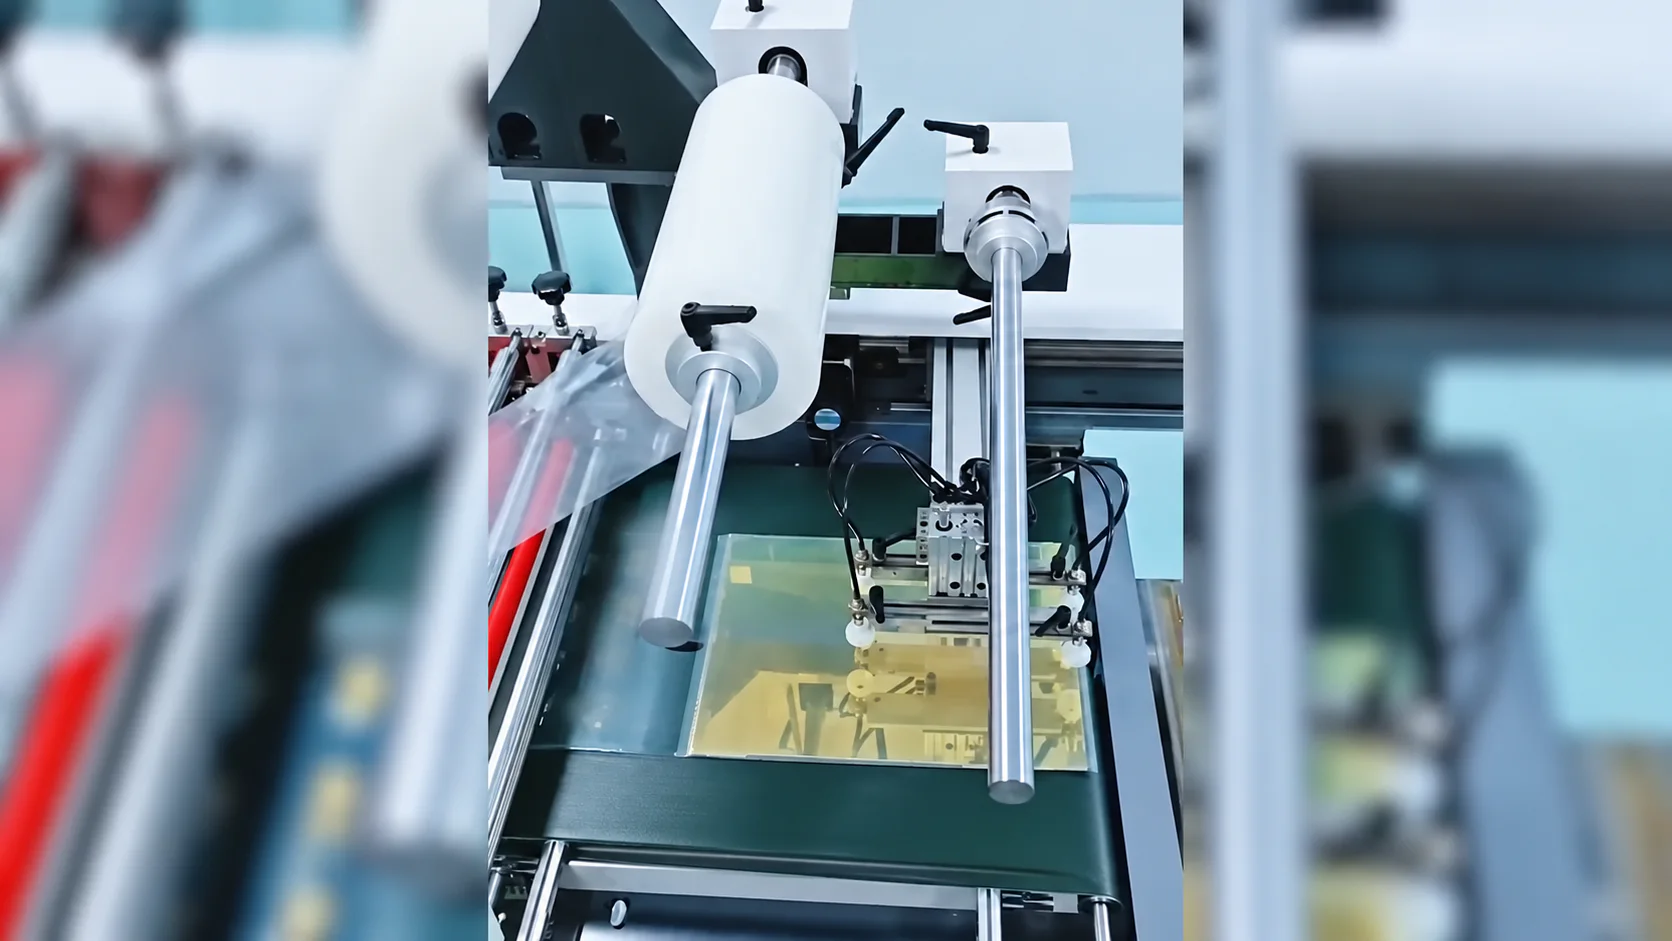
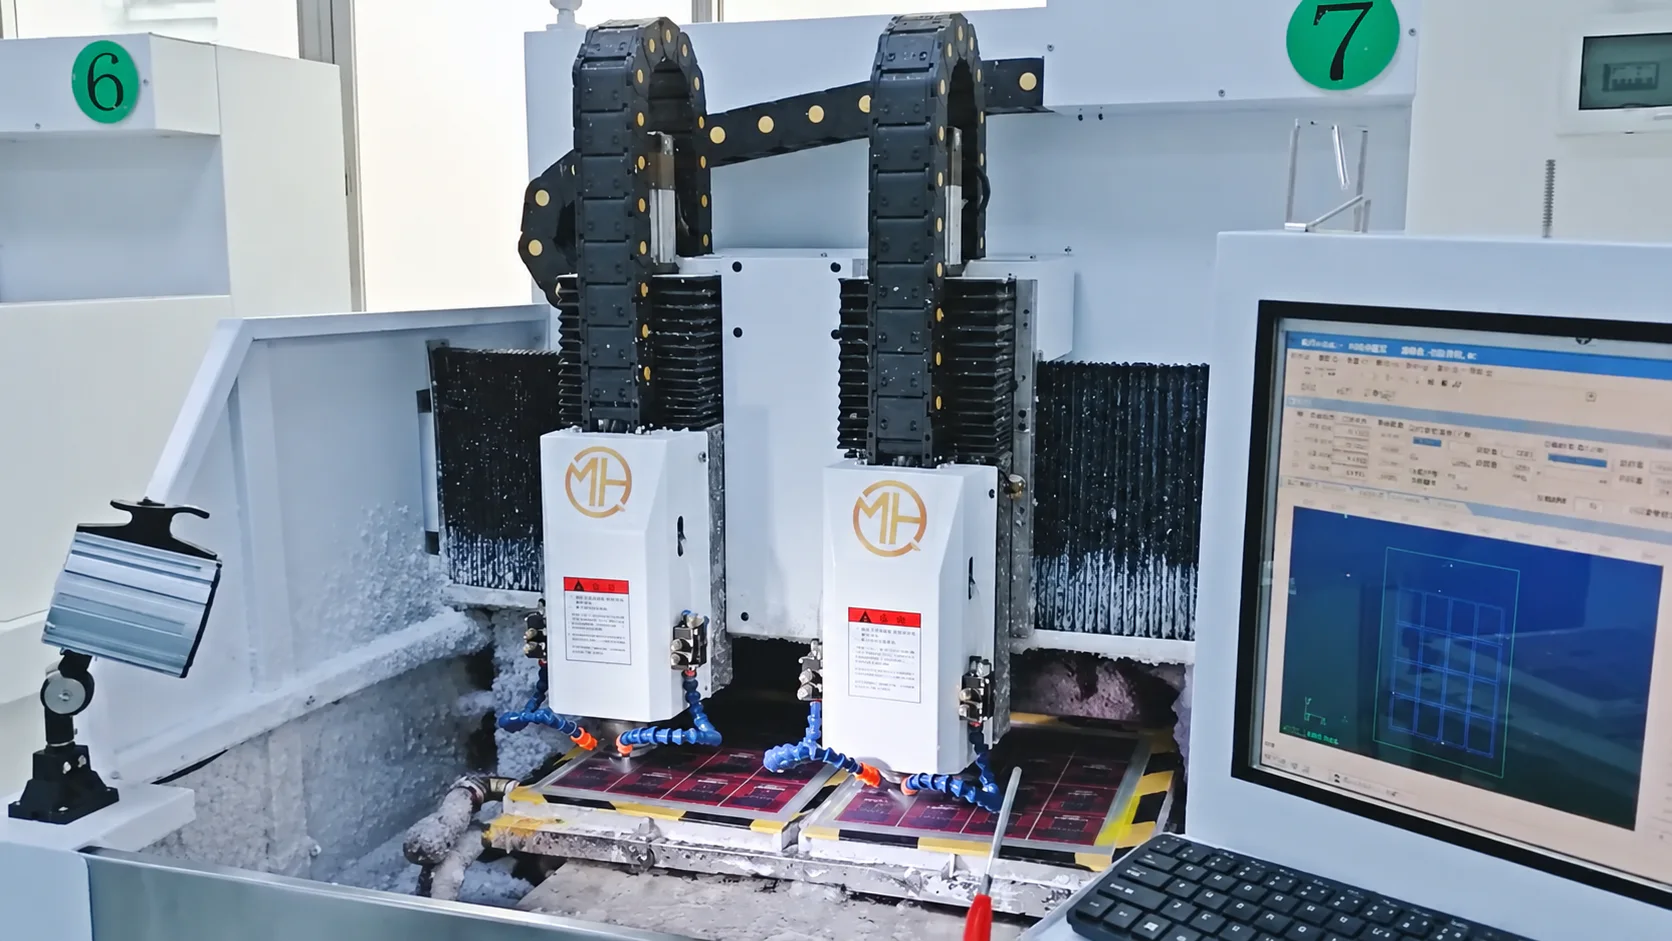
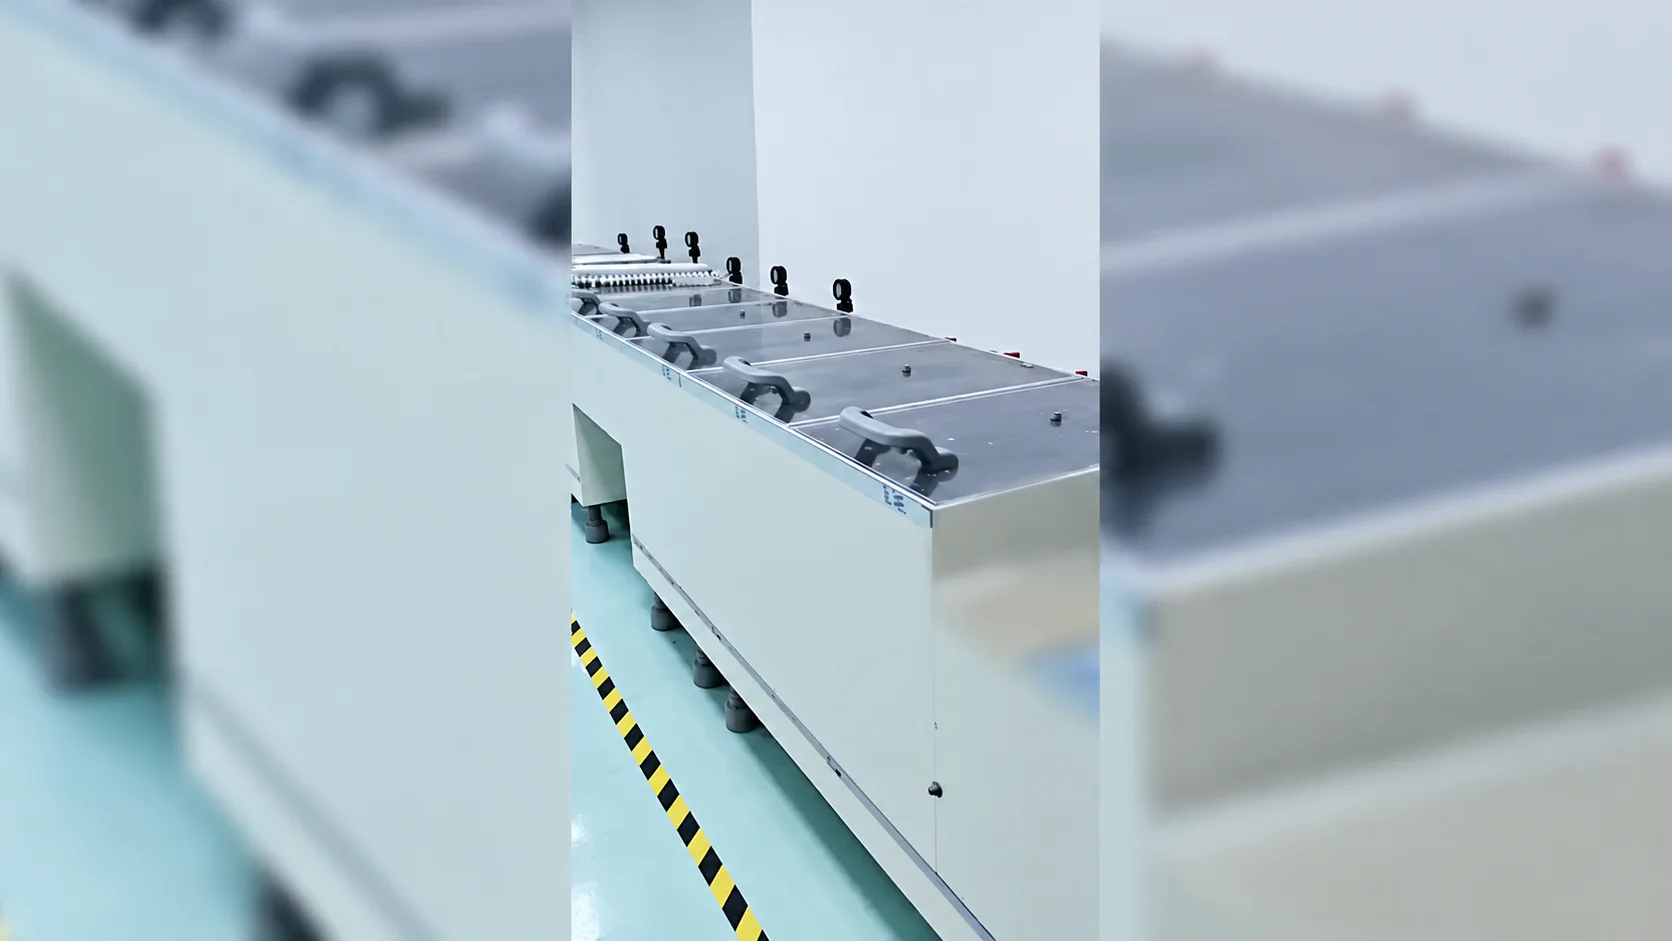
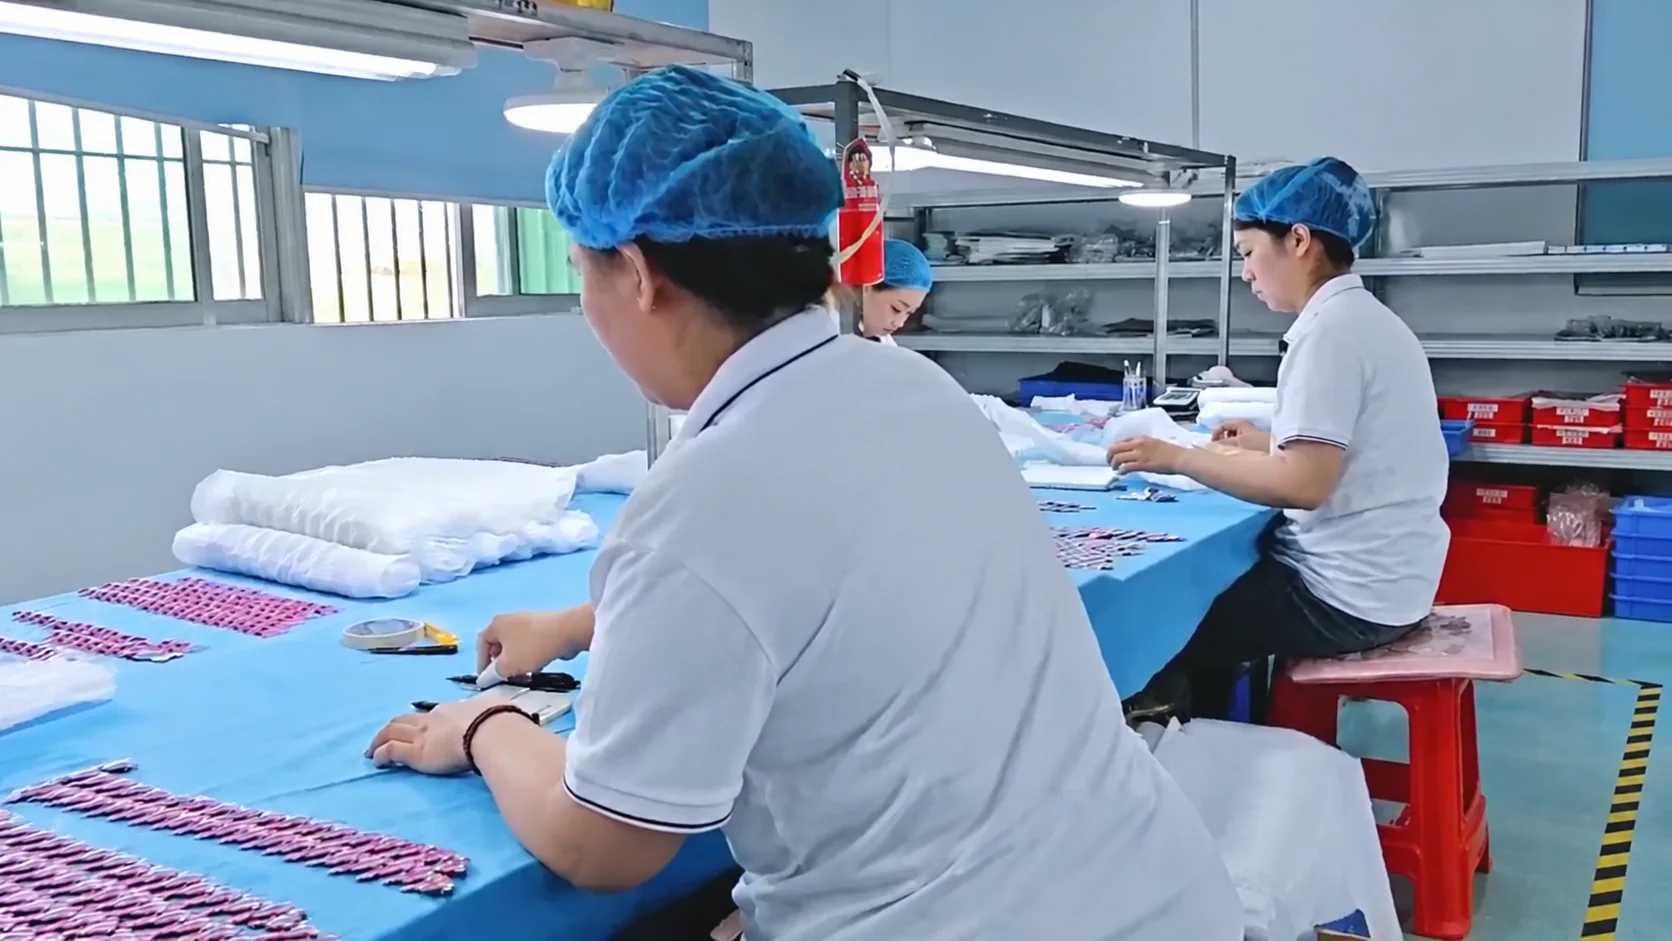
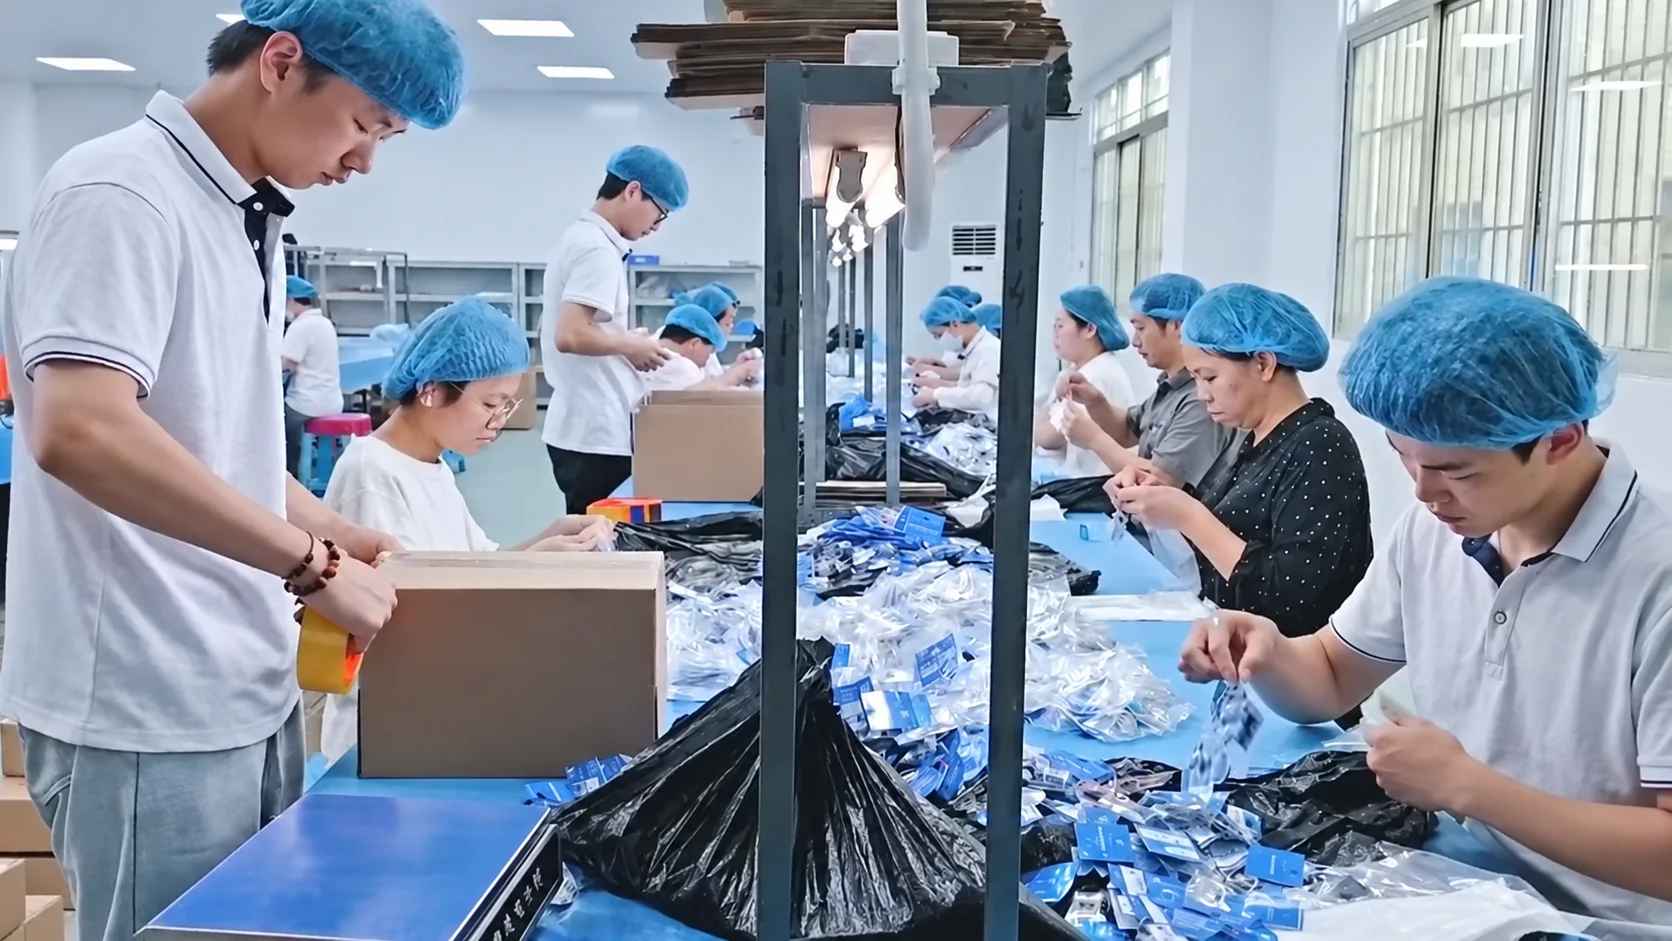
This is the printed-PET-film lamination route shown in the supplied photographs. Direct UV printing and other production routes use different controls.
Check finished size, print sides, white ink layer, contour cut line, base geometry and SKU quantities before printing.
Buyer check: artwork versions, dimensions, white underbase, cut line and base specification.The approved artwork is printed on PET film. Color and transparent areas should be judged against an approved sample, not a monitor alone.
Buyer check: color target, white ink coverage and intended transparent areas.After the acrylic surface is prepared, adhesive is applied and the printed PET film is laminated to the sheet. The bond is UV-cured while bubbles, voids and uneven adhesion are monitored.
Buyer check: bubbles, voids, adhesive consistency and surface appearance.The laminated panel is inspected before machining, then protected to reduce handling marks during contour cutting.
Buyer check: appearance criteria, protective-film handling and inspection method.A CNC machine cuts the stand body and base to the specified geometry. Fine details, edge defects, contour shift and the base slot require attention.
Buyer check: minimum features, contour shape and tab-and-slot geometry.Ultrasonic cleaning removes machining residue. Parts are dried before the final appearance and assembly checks.
Buyer check: residue, moisture, scratches and post-cleaning handling.The final check covers print position, surface condition, edges, tab-and-slot fit and standing stability before the body and base are packed.
Buyer check: acceptance sample, base fit, backing card, SKU label and packing sequence.Turn subjective expectations into an approved sample and written acceptance points.
Confirm finished dimensions, sheet thickness and print sides.
Check opacity, transparent areas and the approved physical color target.
Review contour position, fine details, chips, burrs and edge appearance.
Test insertion force, looseness, tilt and standing stability.
Agree how scratches, print shift, bubbles and foreign matter are judged.
Approve the bag, backing card, labels, SKU split and packing sequence.
Use the artwork preview guide to prepare the files before requesting a sample or quotation.
A useful RFQ identifies the risk, the approval point and the information the supplier needs.
Set the assumptions for printing, cutting, the base and packaging before comparing quotations.
Print and white inkColor target and transparency
Contour cut lineShape and fine-feature limits
Base geometryTab-and-slot fit and stability
Individual packagingBacking card, labels and SKUs
Use the right-hand column as a buyer-side specification prompt.
The photographs show a production sequence; commercial and performance conditions still require project confirmation.
Artwork checks, PET printing, lamination, UV curing, protection, CNC cutting, cleaning, inspection and packaging.
The relative quality of CNC and laser cutting, material performance, safety and odor claims depend on material and process conditions.
MOQ, price, lead time, yield, equipment capacity, certification, inspection levels, packaging and warranty.
Answers for product planning, procurement and quality teams preparing a sample or RFQ.
In the laminated-film method shown here, production moves through artwork checks, PET film printing, lamination and UV curing, pre-cut inspection, CNC cutting, ultrasonic cleaning, final inspection, base-fit assembly and individual packaging. The exact route varies by factory and specification.
No. This article shows artwork printed on PET film and laminated to an acrylic sheet. Direct UV printing places ink on the acrylic itself, so the production controls and layer structure are different.
Buyers generally need the approved artwork, finished dimensions, a white ink layer, a contour cut line and base geometry, plus the print-side and SKU specifications. File format and layer rules should be confirmed with the selected supplier.
The white ink layer controls opacity and the appearance of transparent areas. The cut line defines the outside contour and the tab-and-slot geometry used to assemble the body with its base.
Sample availability and the number of revisions depend on the order. Buyers should request a sample-approval step and define how color, white ink, lamination, cutting, base fit, surface condition and packaging will be signed off.
Do not approve color from a monitor alone. Compare a physical sample with the agreed target and check the white ink coverage and transparent areas under suitable viewing conditions.
Assemble the actual body and base, then check insertion force, looseness, tilt and standing stability. The approved sample should define the acceptable fit for mass production.
The laminated panel is inspected before contour cutting, and finished parts are checked again after cleaning. The order should define appearance limits and the agreed inspection method.
This process ends with individual packaging, but the exact packing sequence depends on the specification. Buyers should define the bag, backing card, abrasion protection and whether the body and base share one compartment.
Availability depends on the supplier and project. State backing-card dimensions, barcode or label data, quantities by SKU, assortment rules and the required delivery unit in the RFQ.
Provide finished size, thickness, print sides, design count, quantity by design, base specification, artwork status, sample requirement, packaging, SKU sorting, delivery destination and requested delivery date.
MOQ and lead time vary with size, thickness, design count, quantity, printing and cutting method, sample rounds, packaging, SKU sorting and delivery conditions. They should be confirmed against one complete specification rather than treated as universal figures.
Share quantity, size, design count, base, packaging and requested delivery date so the project conditions can be reviewed.