
Custom Plush Manufacturing Process: From Pattern Making to Final QC
A custom plush manufacturing process usually starts with sample and specification review, then moves through digital pattern making, paper pattern checks, scanning, laser cutting data, fabric cutting, sewing, turning, stuffing, hand finishing and final QC. For B2B buyers, the important point is not only whether the plush looks cute, but whether the approved sample can be repeated consistently in bulk production.
A custom plush manufacturing process is not just sewing a toy from a picture. For a B2B order, the project usually starts with sample and specification review, then moves through digital pattern making, paper pattern checks, scanning, laser cutting data, fabric cutting, sewing, turning, stuffing, hand finishing and final QC.
The goal is to make the approved sample repeatable. A plush toy can look acceptable in one photo but still fail in bulk if the face position, seam allowance, stuffing density, tag placement, fabric direction, or inspection standard is not controlled. This guide turns a factory-process storyboard into a buyer-readable workflow for OEM plush projects, brand merchandise, character plush, promotional mascots, and retail plush goods.
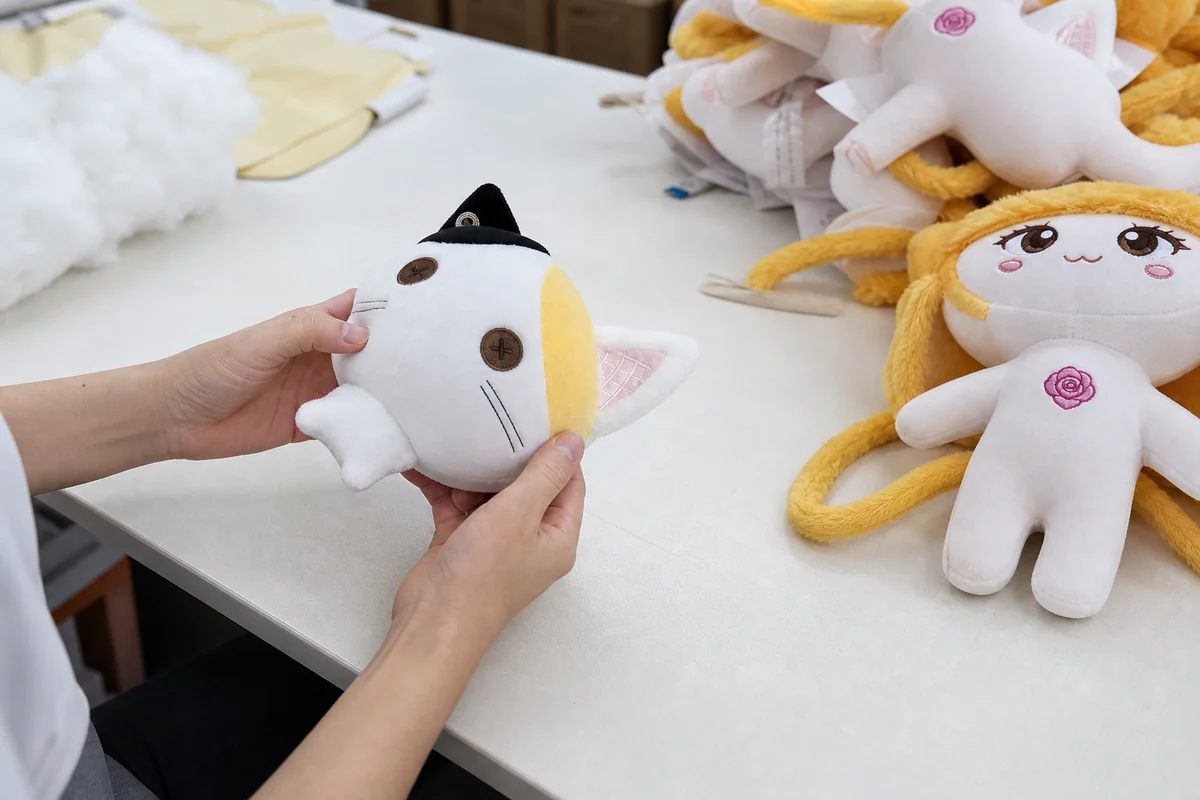
What integrated plush production means
Integrated plush production means the project is managed as one connected workflow rather than a set of isolated tasks. Artwork, tech pack notes, pattern decisions, fabric choices, sewing sequence, stuffing level, finishing, inspection, and packing all affect the final plush.
For buyers, this matters because the same character must look consistent across production lots and SKUs. Before sampling or mass production, the team should agree on the target size, fabric, embroidery or printing scope, accessory parts, hangtag or label position, package method, sales market, and quality-control criteria.
1. Review the sample and semi-finished plush
The first step is to review the reference sample, artwork, or semi-finished plush parts. The factory checks the face balance, body volume, hand and foot positions, ear angle, tail position, and tag location before building the pattern.
Buyer checkpoint: do not approve the front view only. Send front, side, back, bottom, close-up face details, and any accessory requirements. If the plush will be sold as a licensed character product, the approved expression and proportions should be documented early.
2. Create the digital pattern
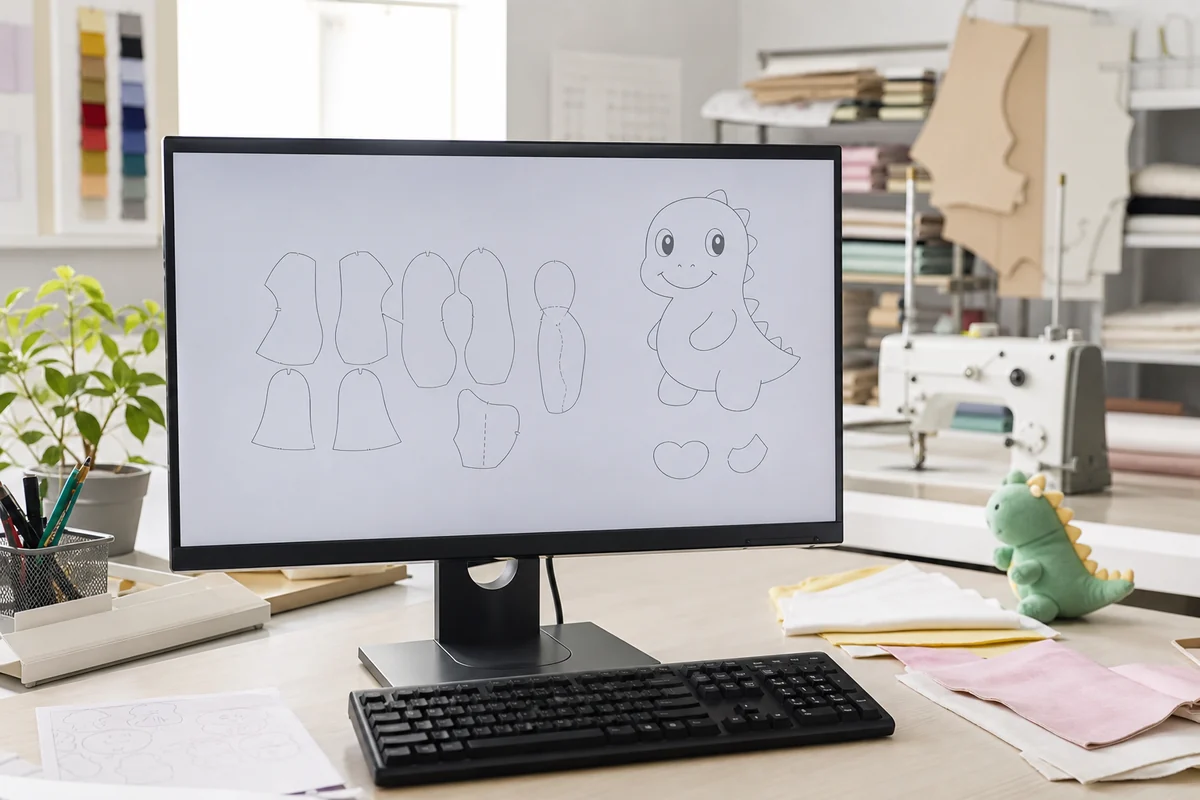
Pattern making translates flat artwork into three-dimensional fabric pieces. The pattern maker decides how the head, body, ears, arms, legs, tail, and facial areas are divided.
This is where many quality issues are either prevented or created. Too many small pieces can raise cost and sewing risk, while too few pieces can make the plush lose the intended shape. Buyers should confirm which parts are fabric panels, which details are embroidery, and which details are printed or attached separately.
3. Cut and check paper patterns
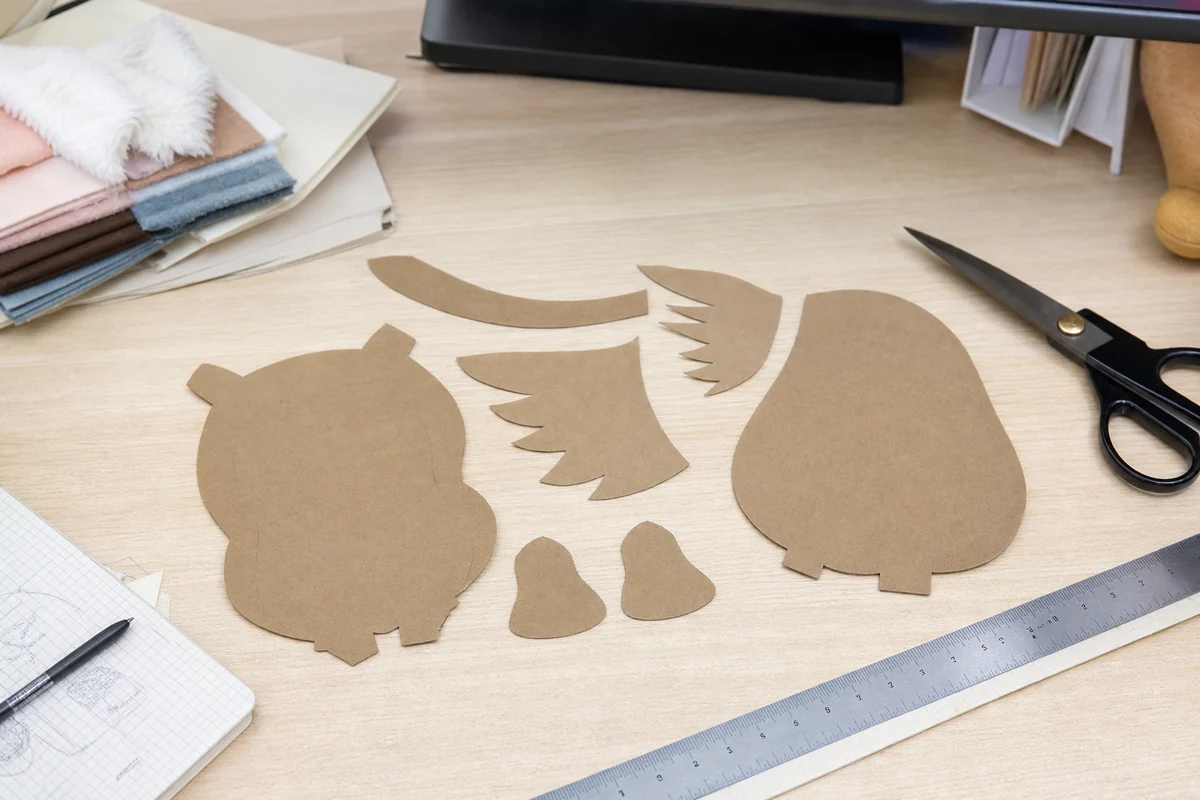
Paper patterns are used to check the actual shapes before fabric cutting. They also help the team confirm seam allowance, left-right symmetry, part count, and part naming.
Buyer checkpoint: paper-pattern confirmation is useful when a plush has many similar small parts or multiple SKUs. If the wrong part direction enters production, the error may not be obvious until sewing or stuffing.
4. Scan the paper pattern into production data
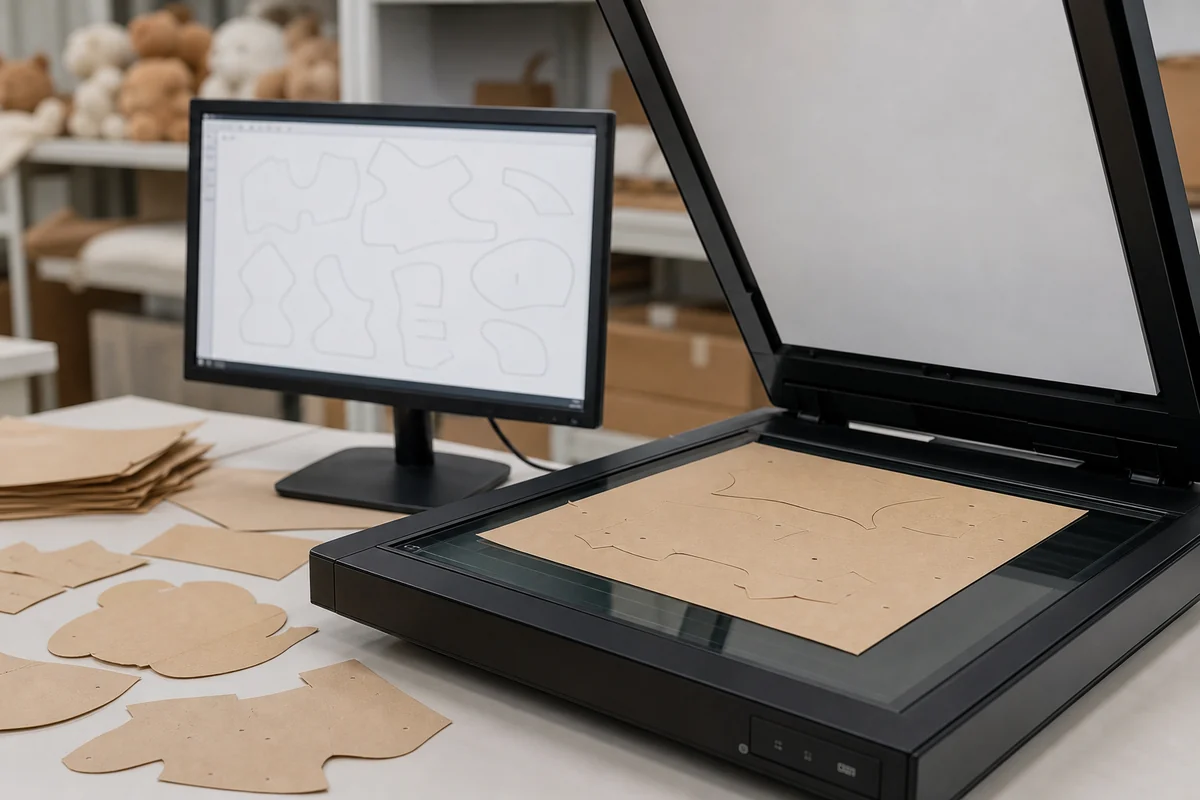
After the paper pattern is checked, it can be scanned and converted into cutting data. This makes repeated cutting more consistent and gives the factory a clearer production file for bulk work.
The important checks are clean outlines, correct scale, correct part names, and a match between the scanned data and the approved specification. For multi-character or multi-color orders, data naming and SKU control are part of quality control.
5. Prepare laser cutting data
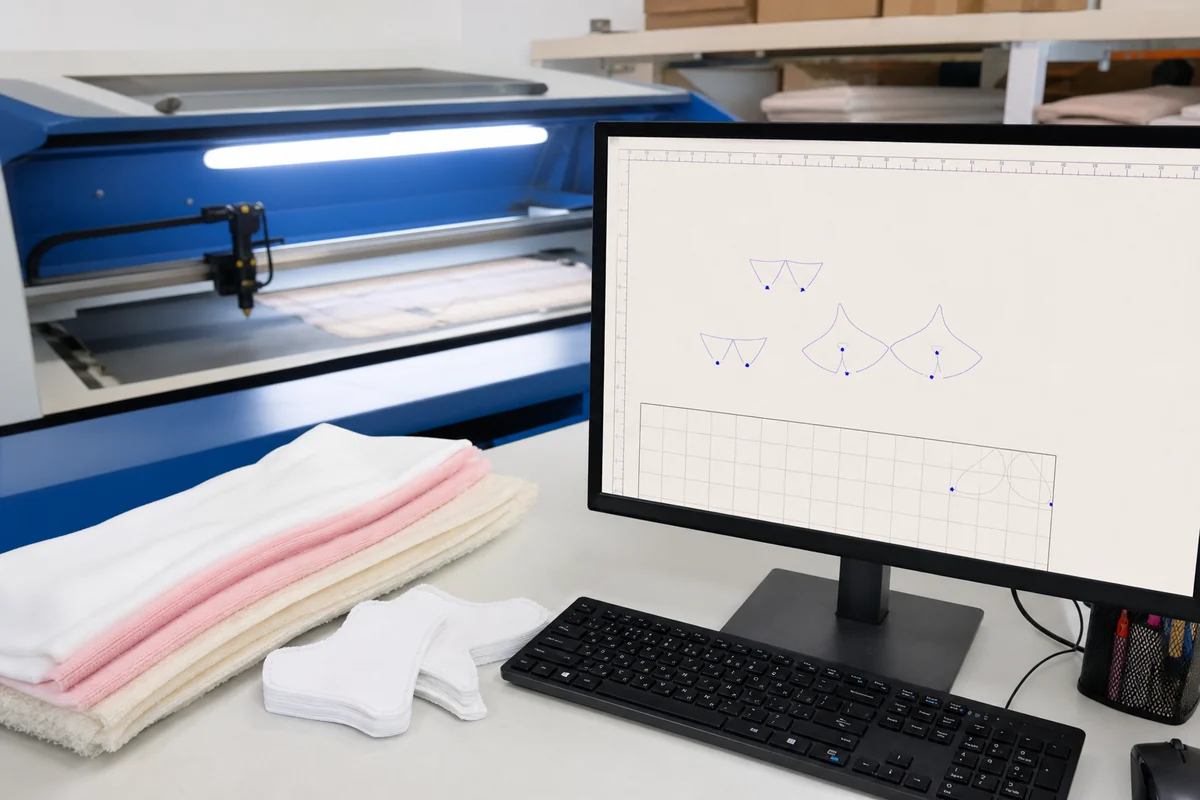
Laser cutting data defines how the fabric pieces will be cut. The same pattern may behave differently depending on fabric thickness, stretch, pile direction, and color.
For long-pile plush fabrics, small face pieces and curved parts need extra attention. Buyers should ask whether the fabric direction, cutting orientation, color lot, and tolerance rules are aligned with the approved sample.
6. Laser cut the fabric
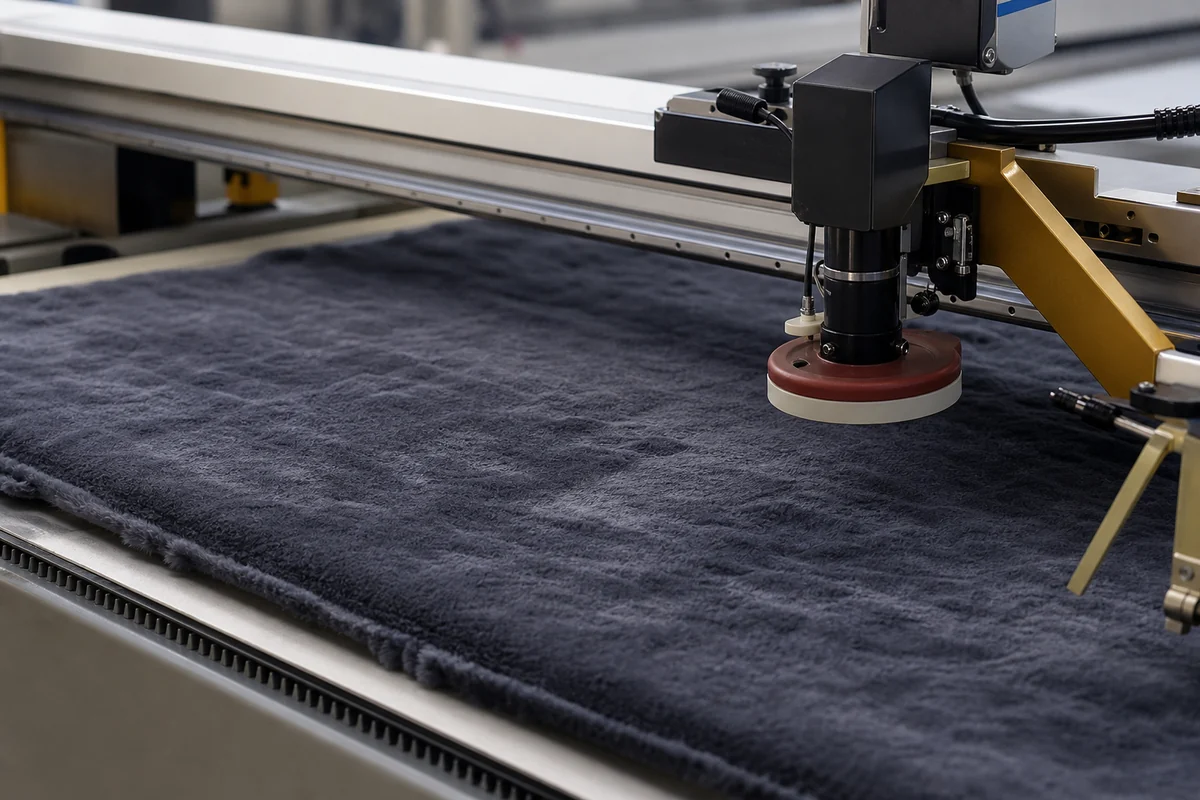
Fabric cutting turns the approved data into physical pieces for sewing. In mass production, the risk is not only cutting accuracy. Color-lot variation, pile direction, mixed parts, edge marks, and missing pieces can all affect the final product.
Buyer checkpoint: ask how cut pieces are separated by SKU, color, and size. If the project includes several characters or expression variants, part separation and batch traceability help prevent mixed components.
7. Sew the plush panels
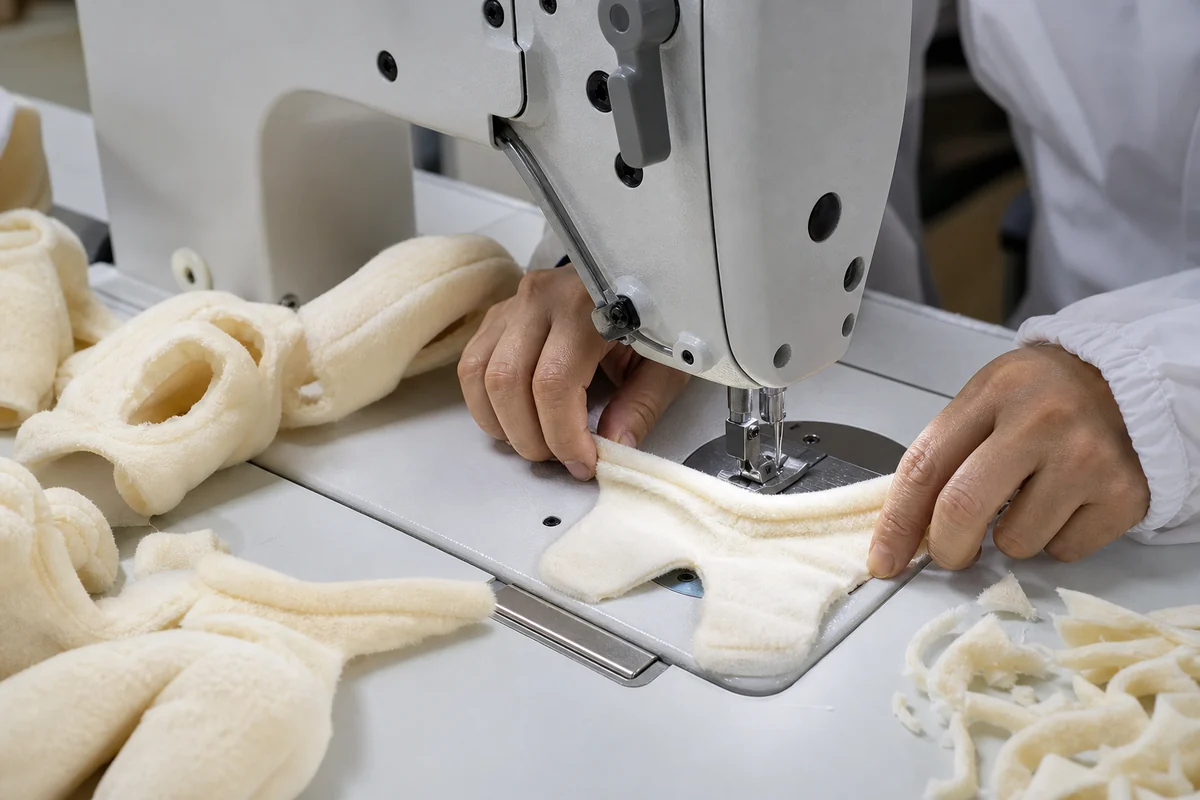
Sewing joins the fabric panels and determines the final shape, strength, and symmetry of the plush. Curved seams, ear angles, hand positions, and small mascot bodies are especially sensitive to sewing variation.
The buyer should review stitch quality, seam position, loose threads, left-right balance, and whether the sewn shell still matches the approved sample. For small mascot keychains, even a small shift can change the expression or sitting posture.
8. Turn the fabric shell
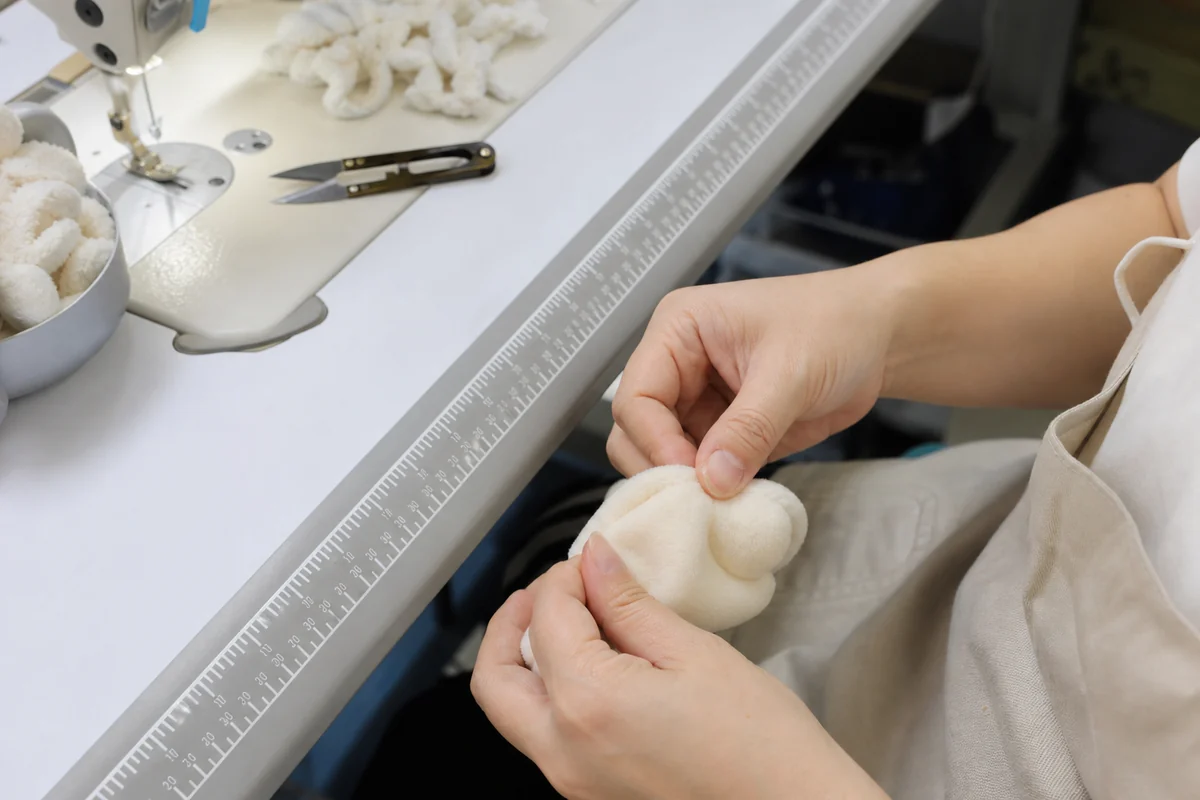
After sewing, the fabric shell is turned right side out. This step reveals whether corners, ears, hands, and curved seams can form the expected shape.
If the plush loses volume or the seams look strained at this stage, the project may need a pattern adjustment, sewing-order change, or different seam allowance before bulk production.
9. Add stuffing and control volume
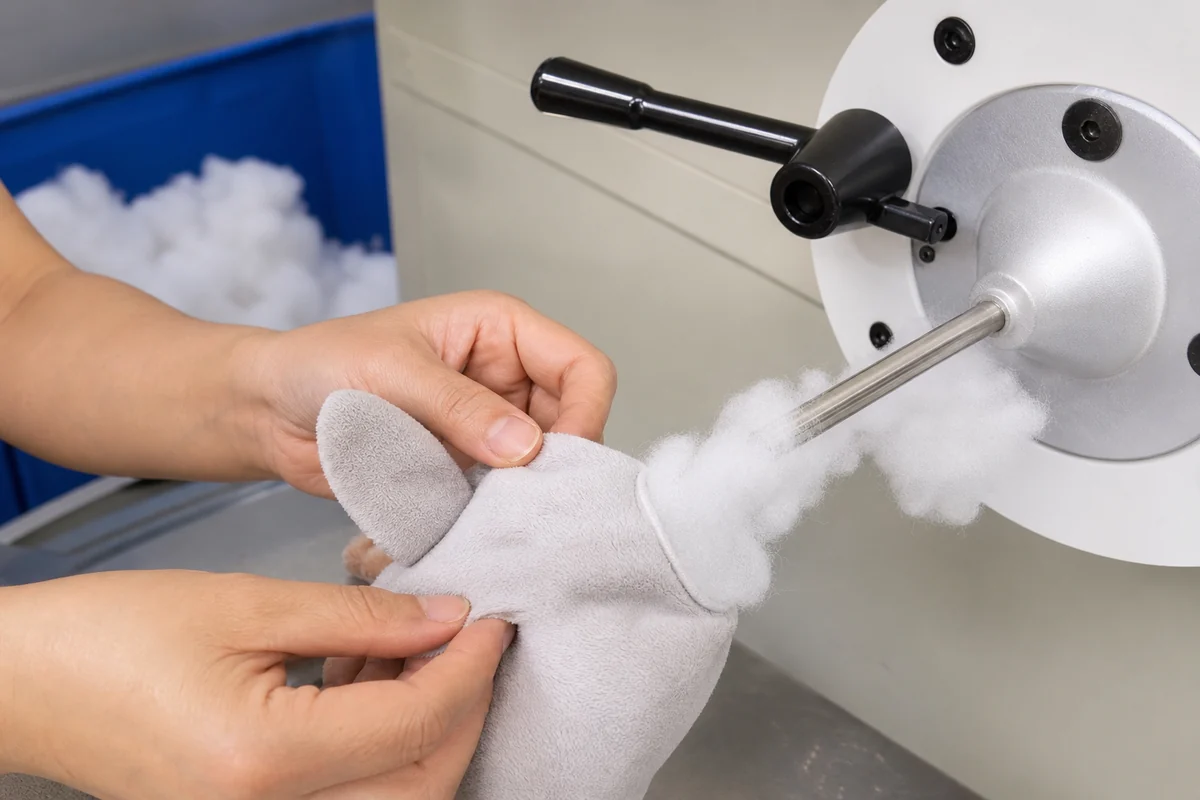
Stuffing creates the final volume, firmness, and tactile feel. Too little stuffing makes the plush weak and flat. Too much stuffing can distort the face, stress the seams, or make packing harder.
Buyer checkpoint: define stuffing density, hand feel, volume of the head and body, and left-right balance. For e-commerce or compressed packing, also check whether the plush recovers its shape after shipping.
10. Hand finish, shape and inspect
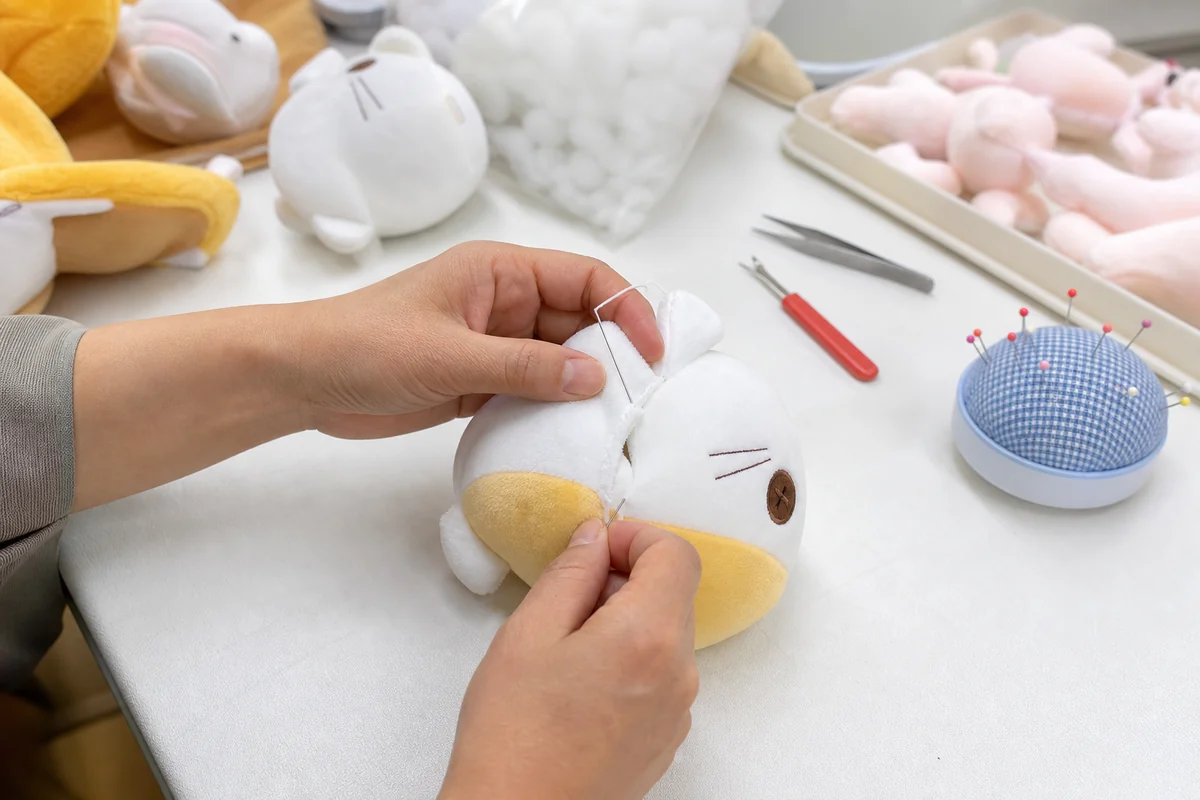
After stuffing, the opening is closed by hand and the plush is shaped. The next step is final QC, where the factory checks appearance, size, seams, stains, embroidery or print position, tag placement, accessories, packaging, and comparison with the approved sample.
For retail, children-oriented goods, or licensed merchandise, the QC plan may also include needle detection, seam strength checks, pull tests, AQL inspection, and compliance documentation such as EN71, ASTM F963, CPSIA, or REACH depending on the sales market.
What to prepare before asking for a quote
Prepare these materials before requesting a custom plush quote:
- Character artwork, reference sample, or front / side / back views
- Target size, order quantity, SKU count, and color variants
- Fabric preference, pile length, embroidery area, and printing requirements
- Accessories, keychain hardware, labels, hangtags, OPP bags, cartons, or retail packaging
- Target sample date, final delivery date, sales country, and safety-compliance needs
- Quality standard, approved-sample process, and inspection requirements
If you do not have a complete tech pack yet, a reference image, target quantity, size range, and use case are enough for an initial discussion. For licensed characters or multi-SKU projects, however, a more detailed specification will reduce sampling rounds and production risk.
Mass-production control checklist
| Stage | Buyer checkpoint | Typical risk |
|---|---|---|
| Pattern making | 3D shape, part split, embroidery position | Character face does not match artwork |
| Paper pattern | Symmetry, seam allowance, part naming | Missing part or wrong direction |
| Scanning | Scale, outline quality, SKU data | Cutting file does not match the spec |
| Fabric cutting | Pile direction, color lot, part separation | Mixed parts or visible color difference |
| Sewing | Stitch line, seam strength, symmetry | Loose threads, distortion, uneven posture |
| Turning | Rounded shape, corners, seam appearance | Ears or hands do not form correctly |
| Stuffing | Firmness, volume, balance | Overstuffing, flat body, shape collapse |
| Final QC | Appearance, size, tags, packaging | Difference from golden sample |
How CharacterCraft Gift supports plush OEM buyers
CharacterCraft Gift supports custom plush OEM projects, original plush toys, brand mascot plush, promotional plush, and licensed-style character merchandise production. We can help organize quote materials, sample revision points, pre-production approval, inspection criteria, and packaging requirements before bulk production.
Use these related guides when preparing a custom plush project:
- Broad OEM overview: custom plush toys OEM
- RFQ preparation: plush quotation materials
- Sample revisions and lead time: plush sample revision and lead time
- Before bulk production: plush pre-production checklist
- Quality requirements: plush inspection standards
FAQ
What is the first step in a custom plush manufacturing process?
Most B2B projects start with artwork, sample, or specification review. The factory then creates patterns, makes a sample, revises details, and only enters bulk production after sample approval.
Why is pattern making important for plush OEM?
Plush products turn flat artwork into a three-dimensional object. Pattern split, seam allowance, sewing order, and stuffing volume directly affect the final face, posture, and hand feel.
Does laser cutting guarantee consistent plush quality?
Laser cutting improves repeatability, but it does not solve every issue. Fabric pile direction, color lot, part separation, sewing accuracy, and final QC still need project-level control.
What should buyers check during stuffing?
Check stuffing density, firmness, left-right balance, head and body volume, and shape recovery after packing or shipping. The approved sample should define the target feel.
What documents should I send for a plush quote?
Send character images, target size, quantity, SKU count, fabric or embroidery preferences, packaging requirements, target delivery date, and sales market. A tech pack or physical reference sample makes the quote and sampling plan more accurate.
Summary
The quality of a custom plush order is built step by step: pattern making, cutting, sewing, turning, stuffing, hand finishing, and inspection all affect the final result. Buyers should not judge the project only by the final photo. A clear specification, approved sample, material plan, stuffing target, and QC standard make bulk production easier to control.
If you are planning a custom plush project, share your reference image, expected quantity, size, and use case. We can help map the required production steps and buyer-side checkpoints before sampling.
Send your reference image, target quantity, size, SKU count and packaging needs. We can help identify the production steps and quote materials needed before sampling.
Request a quote