Plush Embroidery Expression Guide
How to Reproduce Plush Expressions with Embroidery
B2B guide to custom plush facial embroidery: buyer inputs, samples, MOQ, production risks, quality checks, lead time, and quote preparation.
A plush expression is not reproduced by converting every artwork line directly into stitches. Finished size, fabric pile, thread color, line weight, placement and the sewn three-dimensional face must be reviewed together.
Six checks that define an embroidered expression
Review artwork, finished size, fabric, embroidery data and the sewn face against one reference.
Separate eyes, pupils, highlights, brows, mouth and cheeks into controllable elements.
Specify height, angle and spacing from a face centerline at finished size.
Fine lines and gaps can close, so test them at actual scale on the selected fabric.
Use thread references and check sheen and contrast with adjacent colors.
Pile, stretch and thickness can hide lines or cause waviness around filled embroidery.
Darts, seam allowance and filling can tilt or move embroidery that looked correct while flat.
Checklist for converting eyes, brows and mouth into embroidery specifications
Separate the artwork intent and production review point for each facial part.
| Expression part | Define in artwork | Specify for embroidery | Review on sample | Commonly missed |
|---|---|---|---|---|
| Eyes and pupils | Shape, tilt, asymmetry and gaze | Width, height, placement, color and fill | Gaze, level and outline | Gate Eyes may look closer after sewing |
| Whites and highlights | Area, count and direction | Minimum size, color and overlap order | Closing, gaps and contrast | Gate Small plush may need simplification |
| Brows | Angle, length and eye distance | Line width, end shape and placement | Emotion strength and left-right angle | Gate A small angle change alters the expression |
| Mouth and corners | Curve, open or closed, emotion | Line width, endpoints and fill | Corners, center and curve | Gate Seams and filling can change the curve |
| Nose, cheeks and marks | Shape, tone and placement | Embroidery, applique, color and size | Presence and overall balance | Gate Tiny points can disappear in pile |
| Contours and markings | Color areas and boundaries | Embroidery, applique or print choice | Thickness, boundary and distortion | Gate Large fills can add stiffness or waviness |
Original Flow: From Artwork to Production Embroidery Approval
Freeze part separation, stitch test, sewn sample and revision history in sequence.
Separate eyes, brows and mouth
Placement, dimensions and colors
Line width, gaps and output
Review the three-dimensional face
Freeze data and reference sample
Four priorities for actionable sample revisions
Convert “the face does not look right” into measurable instructions.
Show pupil and highlight movement with dimensions and state the intended viewing direction.
Prioritize which of brow angle, eye opening or mouth corner defines the target emotion.
Use a centerline and front photograph to compare height and angle after sewing.
Record thread code, line weight and filled area without changing every variable at once.
Three physical stages for reviewing embroidered expressions
Match the stitched surface, specification sheet and sewn production reference.
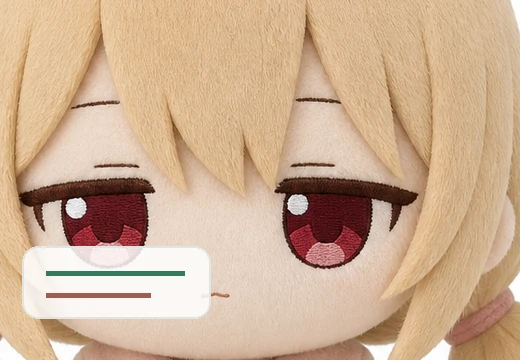
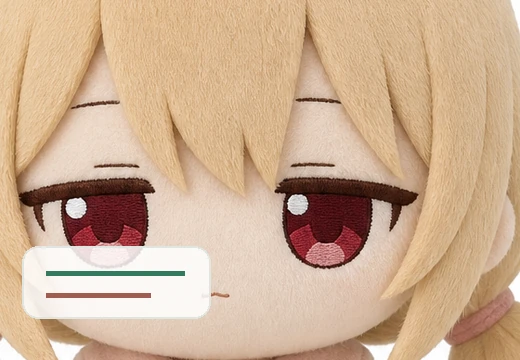
Review thread sheen, line width, needle penetration, color boundaries and visibility within pile.
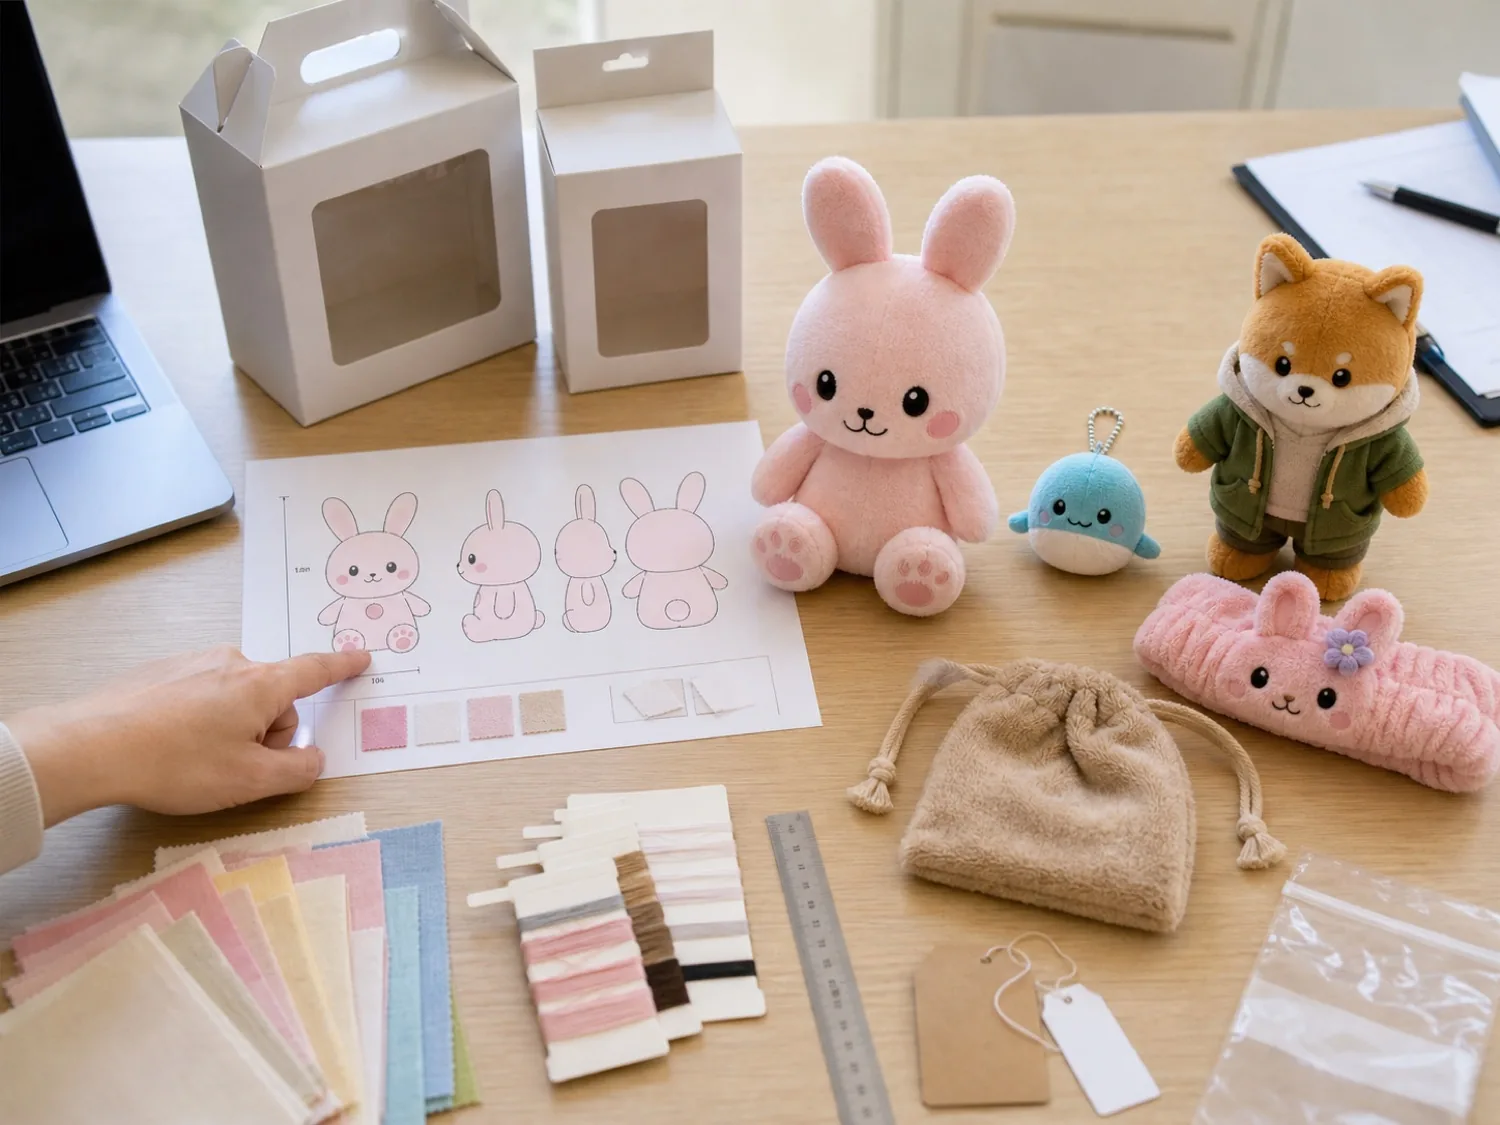
Record centerline, reference points, dimensions, thread codes and revision notes.
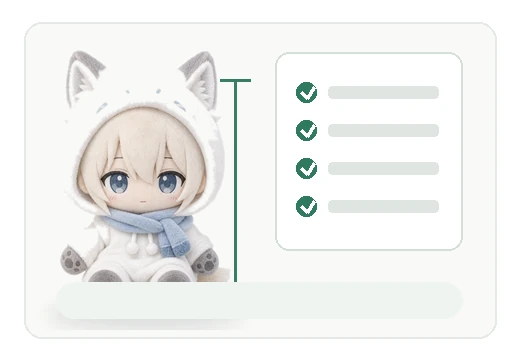
Compare placement, symmetry, mouth curve and outline in front, three-quarter and side views.
Information to prepare before an embroidery quotation
Provide finished-size and expression priorities in addition to the artwork.
- Front artwork and facial close-up
- Separate eye, brow and mouth layers
- Intentional asymmetry notes
- Body and face dimensions
- Selected fabric and pile
- Areas to embroider
- Color and thread references
- Line, fill or applique distinction
- Preferred sheen
- Highest-priority expression cues
- Revision version number
- Approver and approval record
Related pages
Expression embroidery connects to fabric selection, quote materials, fan plush, corporate mascots, sample revisions and pre-production approval.
FAQ
Can every fine artwork line be embroidered directly?
Reproducibility changes with finished size, fabric, thread and machine conditions. Test closing and gaps at actual scale, then adjust line weight or simplify elements when needed.
What is the minimum embroidery line width?
There is no fixed value that applies to every project. It changes with thread, fabric, line direction, adjacent fills and finished size, so confirm it through data review and a stitch test.
Can thread color be specified only from an on-screen color code?
Displays vary. Combine a thread reference, physical color sample and code, then check sheen and contrast with adjacent colors.
Can an intentionally asymmetric expression be produced?
It may be possible. Document centerline, left-right dimensions and angles so intended asymmetry is not mistaken for sewing variation.
Is a flat embroidery test enough for production approval?
A flat result can move after sewing, filling and darts. Review the completed sewn sample before production approval.
How should sample revisions be written?
Identify the facial part, current and target state, reference point, dimension, thread color and priority in a marked-up drawing, with version and approval history.
Share artwork, finished size, fabric and quantity to organize the expression embroidery checks
Provide eye, brow and mouth layers, target thread colors, finished size, fabric, quantity and the highest-priority expression cues so the sample specification can be reviewed project by project.